Best Timelapse Software (2026): Free and Pro Picks Ranked
Compare 8 timelapse software tools for Windows, Mac, GoPro, and DSLR workflows, including Filmora, iMovie, Final Cut Pro, Quik, and LRTimelapse.
Quick AnswerWondershare Filmora is the most beginner-friendly free timelapse software for Windows and Mac, while LRTimelapse is the professional standard for DSLR shooters processing raw frame sequences.
Picking the right timelapse software comes down to your camera, your operating system, and how much frame-level control you need. This shortlist compares eight popular tools on price, learning curve, frame handling, and export quality across Windows, Mac, GoPro, and DSLR workflows.
- Wondershare Filmora is the easiest free starting point for Windows and Mac, with drag-and-drop speed ramps for stills or video clips.
- LRTimelapse pairs with Lightroom to handle deflicker, holy-grail transitions, and 8K export for serious DSLR work.
- iMovie creates short photo-based timelapses on Mac and iPhone with a 0.1-second-per-frame minimum duration.
- GoPro Quik stitches Hero 7 and later TimeWarp clips without a separate raw conversion step.
- Adobe Premiere Pro and Final Cut Pro suit creators who already own a license; both cost more than Filmora for the same result.
#What Makes a Good Timelapse Software?
A capable timelapse tool has to do more than play frames quickly. It needs to import image sequences as a single clip, expose frame rate and duration controls, smooth exposure flicker between frames, and export to a format your platform actually accepts. The pricier picks add holy-grail ramping for day-to-night sunsets, motion blur synthesis, and deflicker built on Lightroom-style raw processing.
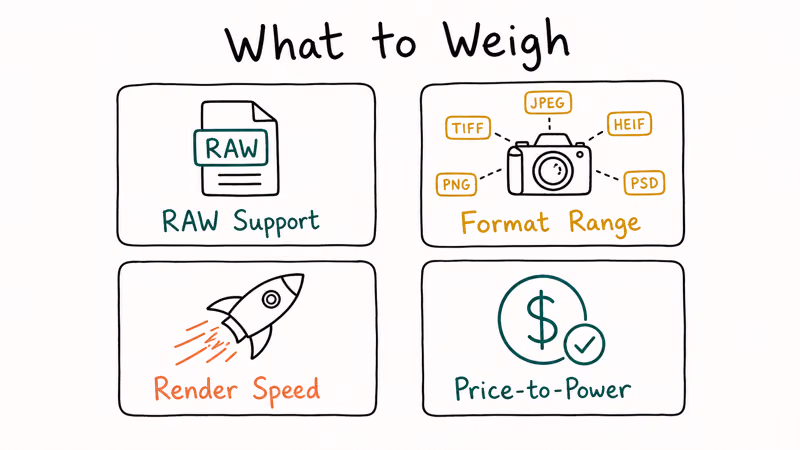
This comparison weighs four things:
- Frame handling. Can it ingest 500+ stills as one clip without choking?
- Speed control. Does it offer per-clip speed ramps and constant-speed retiming?
- Flicker control. Does it have a real deflicker pass, or just a global brightness slider?
- Export quality. Can it write 4K H.264, ProRes, or HEVC without watermarks?
If you’re choosing a laptop to run any of these tools, our best laptops for video editing under $1000 guide covers the hardware floor you’ll want.
#Wondershare Filmora: Best Free Pick for Windows and Mac
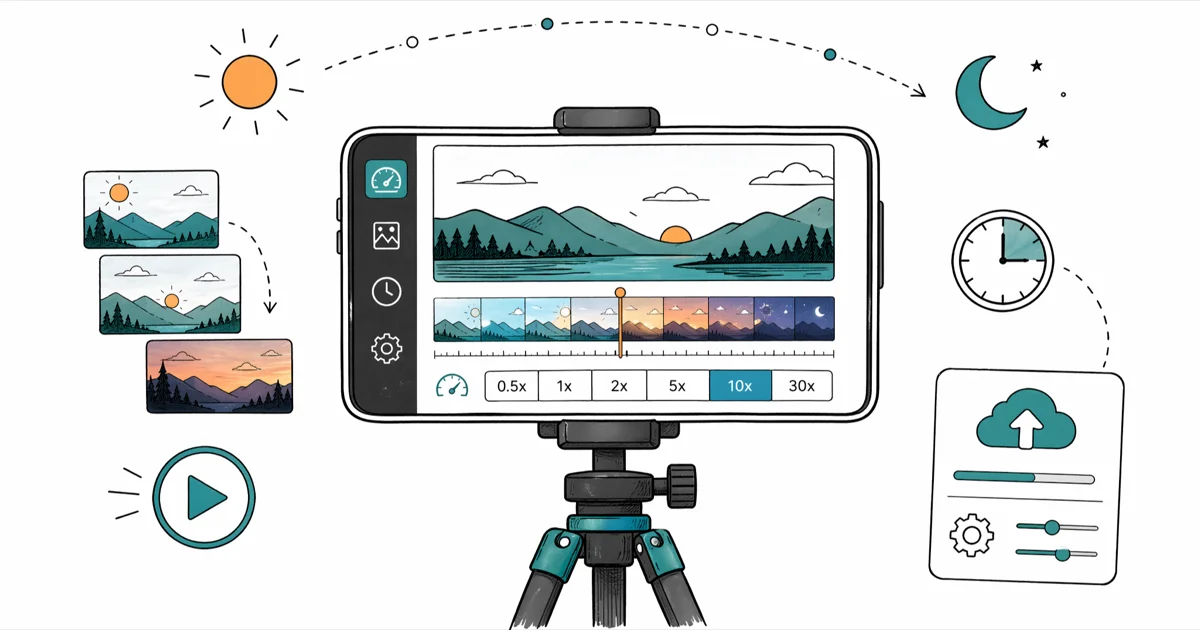
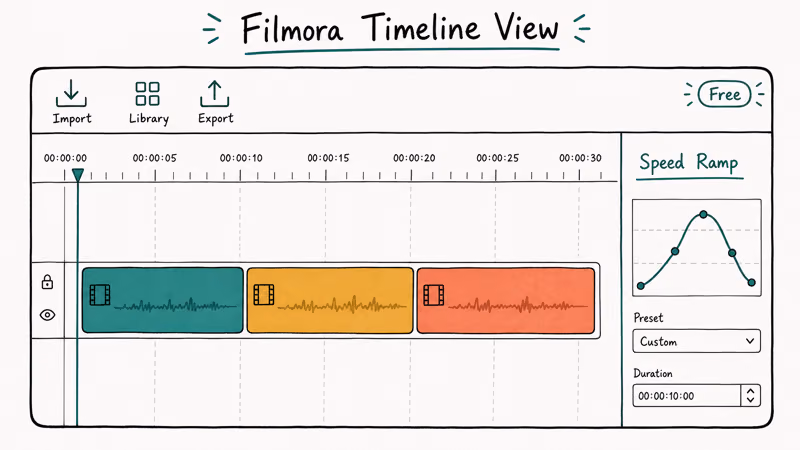
Filmora is the tool we recommend first to anyone making a timelapse for the first time. Speed ramps live on the right-click menu of every clip, and image sequences drop into the timeline as either individual frames or a single clip when you tick the right import box.
Some links on this page are affiliate links, which means fone.tips may earn a commission at no extra cost to you.
The free tier exports with a watermark; if that’s a blocker, our roundup of free video editing software without watermarks lists watermark-free alternatives.
For a still-image sequence, select the frames in the timeline, right-click, choose Duration, and set each clip to 0.04 seconds for a clean 25 frames per second. Filmora’s audio side is competent too, so adding a soundtrack and balancing levels is a one-pass job. If you’re stacking timelapses with regular footage, the speed slider also pairs well with the techniques in our guide on how to make a video louder for matching audio energy to fast cuts.
Verdict: Best free starting point. Buy the Pro upgrade only if the watermark or 4K export becomes a real obstacle.
#LRTimelapse: Best for DSLR Raw Sequences
LRTimelapse is built for one job: turning long raw DSLR sequences into a flicker-free, professionally graded clip.
According to LRTimelapse’s product documentation, the standard workflow is to pre-grade key frames in Lightroom and let LRTimelapse interpolate the rest of the sequence with smooth color and exposure transitions. That workflow is designed for holy-grail sequences where exposure shifts between daylight and dusk can otherwise create visible flicker.
The trade-off is price and complexity. A perpetual license starts at €99 for the Private edition and €299 for Pro, and the learning curve is steep if you’ve never worked in Lightroom. If you have, LRTimelapse is the only tool on this list that handles thousands of raw frames end to end without forcing you back into a generic NLE.
Verdict: Mandatory if you shoot raw timelapses on a DSLR or mirrorless camera. Overkill for anyone working from video clips or smartphone bursts.
#iMovie: Best Free Option for Mac and iPhone
iMovie is the free default on every Mac and iPhone. The Clip Information panel sets photo duration as low as 0.1 second per frame.
That 0.1-second floor caps you at 10 frames per second, which feels noticeably choppy on landscape and skyline shots. The workaround is to export the timelapse, re-import it, and apply the Custom speed setting from the Speed menu, doubling or tripling playback to get closer to 24 fps. It works, but it adds a render pass.
iMovie pairs well with its own ecosystem. A few companion walkthroughs cover the specifics:
- Making a timelapse in iMovie: exact panel-by-panel steps
- iMovie vs Final Cut Pro comparison: when the free tier stops being enough
- How to change aspect ratio in iMovie: important for vertical timelapses
Verdict: Fine for short, free, casual timelapses on Apple devices. Outgrown the moment you want 24 fps without a re-export trip.
#GoPro Quik: Best for Action Camera Footage
Quik is the official GoPro app for stitching, trimming, and sharing footage shot on Hero and Max cameras. GoPro confirms on its Quik download page that the app supports both video clips and photo sequences from Hero 7 and later models, which covers TimeWarp and night-lapse modes.
The catch is Quik’s editing toolkit is thin compared with Filmora or Premiere. If you want anything beyond stitching and basic color, you’ll move the rendered clip into a real editor.
For panning timelapses, you’ll need rotating mounts and enough storage. Our piece on the best SD cards for GoPro Hero 8 covers the storage side; if you’ve already shot footage and need to move it, the transfer GoPro videos to iPhone workflow handles the offload step.
Verdict: Best free pick for GoPro shooters. Pair with a heavier editor when you want grading and titles.
#Adobe Premiere Pro: Best for Long-Form Production
Premiere Pro is the industry default for long-form video that includes timelapse sequences. According to Adobe’s product page, the Image Sequence import option stitches numerically named stills into one clip during import, which is the cleanest way to get a 1,000-frame burst onto a timeline without dragging files one at a time.
At $22.99 per month, Premiere is the most expensive ongoing cost on this list. What you get for that price is the deepest NLE in the category: Lumetri color, Warp Stabilizer, time-remap curves, and tight integration with After Effects when you want to layer motion graphics over a timelapse. Our DaVinci Resolve vs Premiere Pro comparison goes into the cost vs feature trade-off if you’re considering a switch.
Verdict: Buy it if you’re already a Creative Cloud subscriber or producing long-form video where timelapse is one element among many. Otherwise, Filmora delivers the same timelapse output for less.
#Final Cut Pro: Best for Mac-Only Studios
Final Cut Pro is a one-time $299.99 purchase on the Mac App Store. For a Mac-only shop, that’s a strong value compared with Premiere’s recurring subscription. Speed control lives under the Retime submenu in the Modify menu, with options for Fast, Custom Speed, and Blade Speed cuts that let you ramp a timelapse in or out of normal-speed footage.
Apple’s Final Cut Pro listing states that the app supports a free 90-day trial, which is enough time to test it against your real footage before committing. The trade-off is platform lock-in: Final Cut projects don’t open anywhere else, and there’s no Windows version.
If you want to ramp speed inside a clip rather than applying a constant speed change, our walkthrough on speeding up clips in DaVinci Resolve covers a similar technique that’s transferable to Final Cut’s Blade Speed tool.
Verdict: The best one-time-purchase NLE on Mac. Skip if you ever need to hand projects to a Windows collaborator.
#Movavi Video Editor Plus: Best Lightweight Paid Pick
Movavi is the middle ground between Filmora’s all-in-one approach and Premiere’s full studio toolkit. It’s a one-time purchase rather than a subscription, the interface is straightforward, and the speed slider under Clip Properties handles both timelapses from video clips and stills.
Movavi’s trade-off is a cleaner interface for users who don’t want every button visible at once. The audio library is decent, and the export presets cover the major social-video sizes including vertical formats.
For shorter cuts, the speed controls pair well with techniques covered in our video speed controller guide, and for trimming the final result the trim MP4 walkthrough handles the last-step polish.
Verdict: A solid one-time-purchase pick if you don’t need Premiere’s depth or Filmora’s effect library.
#How Many Frames Per Second Make a Smooth Timelapse?
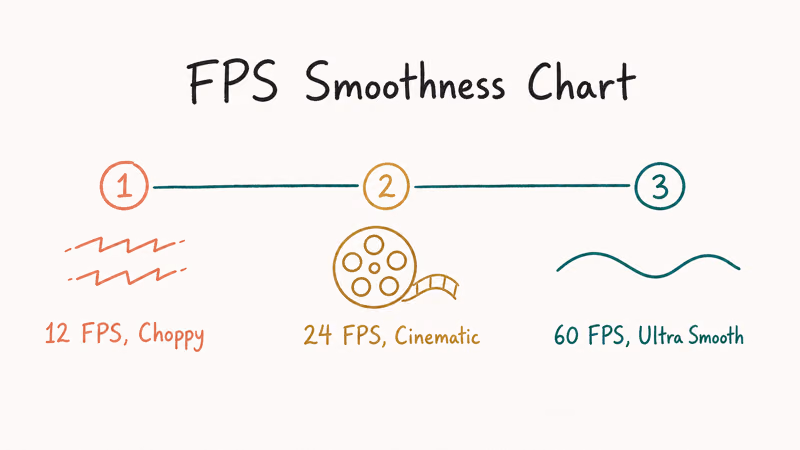
The frame rate target depends on your delivery platform and the speed effect you want.
| Frame rate | Look | Best use |
|---|---|---|
| 24 fps | Cinematic, slight motion blur | Narrative video, film-style projects |
| 25 fps | Smooth, broadcast-clean | European broadcast, web delivery |
| 30 fps | Smooth, slightly crisper | US broadcast, YouTube default |
| 60 fps | Hyper-smooth, fast-motion | Sports, action, slow-motion edits later |
Table: Recommended frame rate targets for different timelapse delivery contexts.
For most landscape and skyline timelapses, 24 to 30 fps is the right window. Adobe’s Premiere Pro documentation recommends matching the sequence frame rate to your delivery target so the output plays back at the speed you intended.
Source-photo math follows the frame rate. A 10-second clip at 30 fps needs 300 stills. A 30-second clip at 24 fps needs 720 stills.
#Making a Timelapse Without Special Software
Yes, but with caveats. Every modern iPhone and most recent Android phones have a built-in Time-lapse mode in the camera app that handles capture and stitching automatically. The output is a single MP4 file ready to share, with no editing software required. The trade-off is you don’t get to choose the interval, the frame rate, or the final clip length; the phone picks all of those for you based on how long you record.
For a polished result, you’ll still want desktop software. Even a 30-second smartphone timelapse benefits from a quick speed-ramp pass, a color tweak, and a music track, which is exactly the workflow Filmora or iMovie covers in a few minutes. If you’re slowing the result down at points for emphasis, our how to slow down a video on iPhone guide covers the technique.
For action camera shooters, GoPro’s TimeWarp mode does the same in-camera capture with built-in stabilization. Pair it with Quik for an even faster path from card to share.
#Bottom Line
For most people starting out, Wondershare Filmora is the right first pick. It’s the cheapest path to a finished 4K timelapse with speed control, audio mixing, and color tools, and the learning curve is the shortest on this list. The free tier is enough to test the workflow on real footage before you commit to a paid upgrade.
If you shoot raw, LRTimelapse is the only pick that handles holy-grail transitions and deflicker properly.
For action camera shooters specifically, GoPro Quik is the right starting point because it’s free and stitches Hero footage without a re-encode step. Move to Filmora or Premiere only when you need grading or titles. And if you already pay for Creative Cloud, Premiere Pro covers the same timelapse output you’d get from Filmora, plus everything else you need for long-form production.
#Frequently Asked Questions
Can I make a timelapse on my smartphone without extra software?
Yes. Every iPhone since iOS 8 and most recent Android phones include a built-in Time-lapse mode in the camera app, and the system handles the entire pipeline end to end. It captures the sequence at a dynamic interval the phone chooses, stitches the frames into a single MP4 in the background, and exposes the result the moment recording stops, ready for sharing.
Do I need an expensive camera to shoot a usable timelapse?
No. Tripods and intervalometers matter more than sensor size for landscape work.
How long does a timelapse capture typically take?
It depends on the interval and the final clip length. For a 10-second 30 fps result, you need 300 frames. Shooting one frame every two seconds gives you 10 minutes of capture; one frame every 10 seconds gives you 50 minutes.
Can these timelapse software tools add music?
Yes. All seven editors covered above let you drop an audio file onto the timeline.
Which timelapse software is best for beginners?
Filmora and iMovie are the easiest starting points. iMovie is free on Mac and iPhone but caps frame timing at 0.1 second per still. Filmora is paid but handles speed ramps, audio, and 4K export in the same interface.
What’s the cheapest way to make a flicker-free DSLR timelapse?
LRTimelapse Private at €99 plus a Lightroom subscription is the cheapest serious option. The free LRTimelapse Pro Timer mobile app helps with capture intervals, but the deflicker and holy-grail processing only run in the desktop tool. For sequences shot over a long shutter window where exposure drifts, the holy-grail ramping in the desktop edition is the part you actually pay for, and no free pipeline matches the same flicker-correction quality on raw frames.
Is GoPro Quik free for non-GoPro footage?
Yes. The desktop and mobile versions of Quik edit footage from any source, not just GoPro cameras. The features tuned specifically for GoPro footage (auto-trim, highlight detection from Hero metadata) only work with GoPro files, but the basic stitching, speed, and export work on any MP4.

Apps Crashing After iOS 27 Update? Fix Order (2026)
Apps crashing after the iOS 27 update? Update the app in the App Store first, then offload and reinstall to clear stale cache, then restart. The fix order.

Do AI Translation Earbuds Work Offline? What to Know
Do AI translation earbuds work offline? A few do with downloaded language packs, but most need the cloud. Here's what works offline and what you give up.

How to Set Up Translation Earbuds (Pairing and Modes)
How to set up translation earbuds: charge, install the app, pair over Bluetooth, pick two languages, and choose a mode. A step-by-step first-use guide.

Translation Earbuds Not Translating? How to Fix Them
Translation earbuds not translating? Usually it's the app, the internet, or the language settings. Here's how to fix pairing, sound, and lag fast.