How to Transfer GoPro Videos to iPhone: 4 Easy Methods
Transfer GoPro videos to iPhone with four methods: Quik app over Wi-Fi, SD card reader, computer relay, or cloud upload. Works on iPhone 12 and newer.
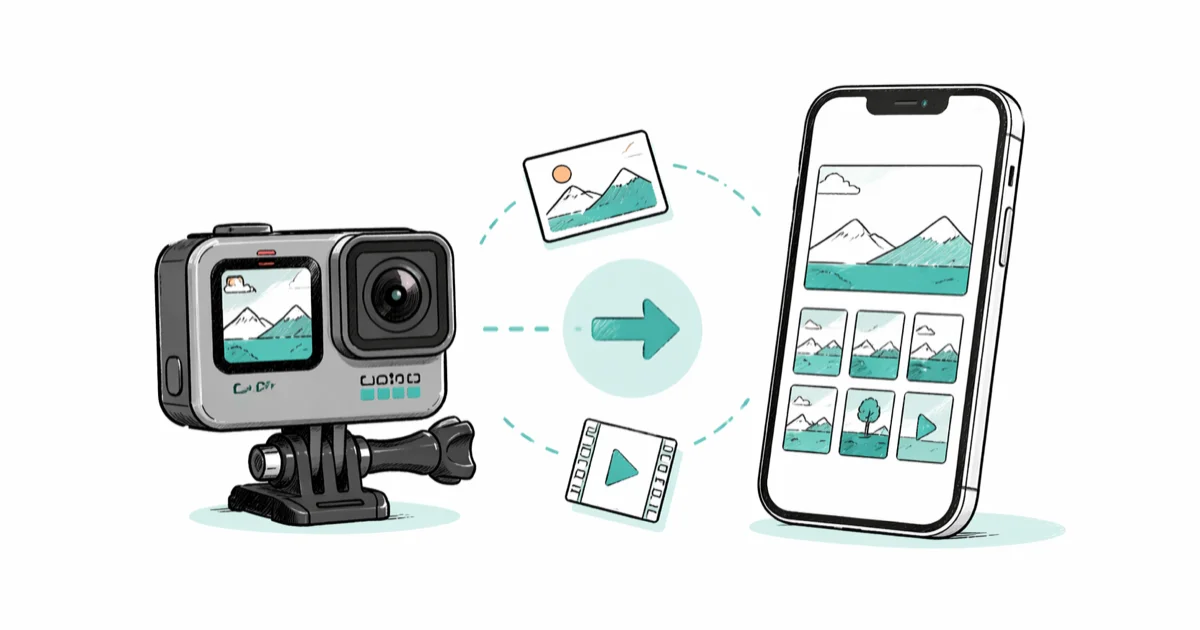
Quick AnswerThe fastest way to transfer GoPro videos to iPhone is the GoPro Quik app over Wi-Fi for short clips, or a Lightning or USB-C SD card reader for large 4K files.
You can transfer GoPro videos to iPhone four ways: the GoPro Quik app over Wi-Fi, an Apple SD card reader plugged into the iPhone, a computer that bridges the SD card to Photos, or cloud upload through GoPro’s subscription or any storage service. Each path has a sweet spot. Short clips ship fastest over Quik; 4K footage moves fastest off the SD card; long shoots survive best in the cloud.
- GoPro Quik over Wi-Fi handles smaller clips cleanly; large 4K60 transfers slow to a crawl over the camera’s radio
- A Lightning to SD Card Camera Reader or USB-C card reader copies a full SD card to Photos far faster than Wi-Fi, especially for large folders
- iPhones running iOS 11 and later play HEVC clips natively, which covers GoPro HERO6 and newer
- The computer route works when Quik fails on long trips, since macOS and Windows always read FAT32 or exFAT cards
- GoPro’s subscription auto-uploads clips when the camera charges on Wi-Fi, so you can pull edits to iPhone from anywhere
#Which Transfer Method Should You Pick?
The right method depends on three things: file size, whether you have a card reader, and how much Wi-Fi patience you have. The four methods below cover every common pairing, from a recent GoPro HERO12 Black down to older HERO models, with the trade-offs that matter for each.
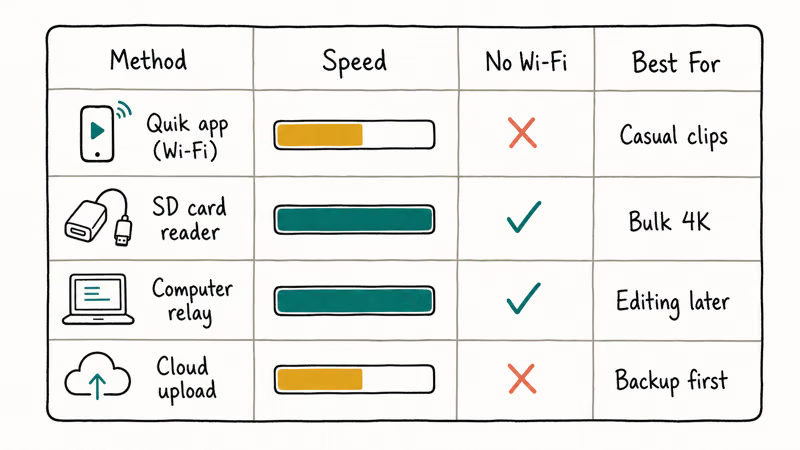
| Method | Best for | Speed (1-minute 4K60 clip, ~320 MB) | Needs computer? |
|---|---|---|---|
| GoPro Quik (Wi-Fi) | Quick edits, 1-3 short clips | About 3-4 minutes | No |
| SD card reader | Bulk 4K, vacation dumps | Under 60 seconds | No |
| Computer relay | Long shoots, mixed cards | 1-2 minutes plus AirDrop | Yes |
| Cloud upload | Multi-camera trips, backup | Depends on upload speed | Optional |
Table: GoPro to iPhone transfer methods compared on speed, Wi-Fi need, and best use case.
Short clips and Reels-bound footage favor Quik because you skip cables entirely. Anything over a gigabyte favors the SD card path. The computer relay earns its keep when the GoPro battery is too low to hold a Wi-Fi link, and the cloud route is the only one that will survive a phone you lost mid-trip.
#Method 1: Transfer Wirelessly With the GoPro Quik App
Quik is GoPro’s official companion app and the simplest first try. It pairs the camera to the iPhone over its own Wi-Fi network, then offloads clips into the Quik media library, which mirrors into the iOS Photos app once you tap Save to Camera Roll.
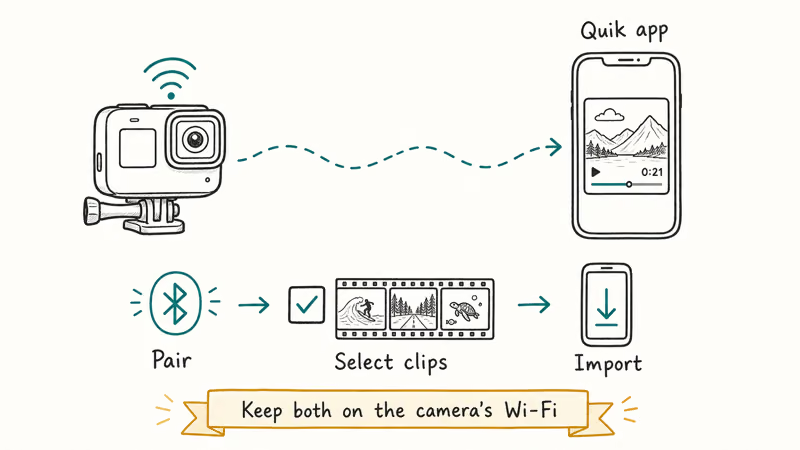
- Install Quik from the App Store on your iPhone.
- Power on the GoPro and hold the Mode button until the Wi-Fi icon turns blue (HERO7 and newer auto-broadcast).
- Open Quik, tap Add Camera, and follow the pairing prompts (the iPhone will jump to the GoPro’s Wi-Fi network).
- Tap the Media tab inside Quik, select clips, then choose Download.
- After download, tap each clip and pick Save to Camera Roll.
According to GoPro’s Quik app overview, the app supports every HERO model from HERO5 forward plus all MAX cameras, which covers most cameras still in active use today. Transferring a 4K60 clip can take several minutes over the camera’s 2.4 GHz radio; HERO11 and newer broadcast on 5 GHz when iPhones are close, which noticeably improves throughput.
Wi-Fi is the weak link here. If pairing drops, toggle Bluetooth on the iPhone, then forget the GoPro Wi-Fi profile under Settings > Wi-Fi and try again.
Battery also matters. Quik won’t start a download below 20% camera battery, so keep a USB-C cable nearby. If clips look broken after import, the issue often lives in the file itself rather than the transfer; our walkthrough on how to repair GoPro video files covers what to try next.
#Method 2: Use a Lightning or USB-C SD Card Reader
This is the fastest method for big footage. You pop the microSD out of the GoPro, slot it into Apple’s Lightning to SD Card Camera Reader (for older iPhones) or a USB-C reader (for iPhone 15 and newer), and Photos opens an Import screen automatically.
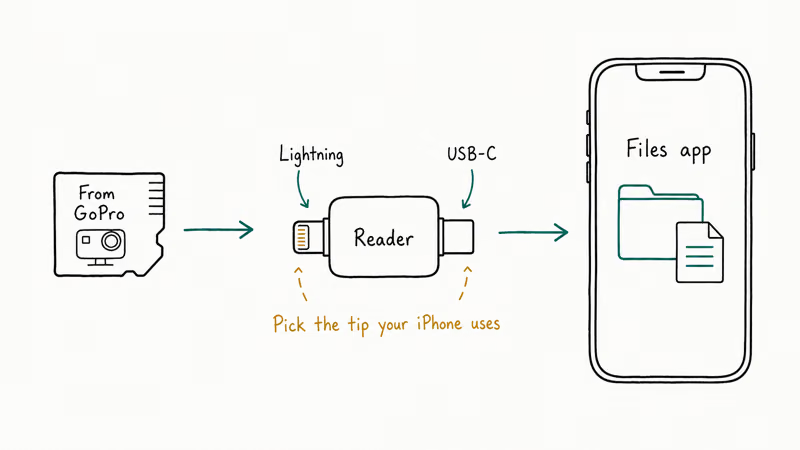
- Eject the microSD from the GoPro (the slot lives under the battery door).
- Insert it into a microSD-to-SD adapter, then plug that into the iPhone’s card reader.
- Photos launches the Import view; tap Import All or pick specific clips.
- Choose Keep or Delete when Photos asks about the originals on the card.
Apple’s photo transfer guide confirms that iPhones running iOS 13 and later can import directly from SD cards without iTunes, with no third-party app needed.
A folder of HEVC 4K clips copies quickly with a USB-C card reader. A Lightning reader on an older iPhone is noticeably slower for the same files, because the older connector caps at USB 2.0 speeds. USB-C card readers on iPhone 15 and later are much faster.
Two gotchas worth knowing. First, GoPro HERO10 and newer can shoot in 5.3K at high bitrates, which produces .MP4 files using HEVC (H.265). iPhones from the iPhone 7 forward decode HEVC, but if your editor of choice rejects them, our notes on converting HEVC footage lay out the options.
Second, the card matters. A cheap, slow V10 card can simply refuse to import. If you’re shopping, see our list of best SD cards for GoPro HERO 8 for reliable options.
#Method 3: Route Through a Computer (Mac or Windows)
When Wi-Fi and SD readers both fail, the computer detour is the reliable fallback. You pull the card or connect the GoPro by USB-C, copy files to a folder, and then ship them to the iPhone with AirDrop on Mac or with iCloud Photos on Windows.
On macOS:
- Plug the GoPro into a Mac with the supplied USB-C cable (or slot the microSD into the Mac’s SD reader).
- Open Image Capture or Photos, then drag the clips to a folder on the desktop.
- Right-click the folder or selected clips and choose
Share>AirDrop, then pick your iPhone. - Accept the AirDrop prompt on the iPhone; files land in Photos.
On Windows:
- Connect the camera by USB-C; Windows mounts the card as a drive letter (usually D: or E:).
- Copy the DCIM\100GOPRO folder to a local folder.
- Install iCloud for Windows and sign in with the same Apple ID as your iPhone.
- Drop the clips into the iCloud Photos folder; they sync to the iPhone Photos app once Wi-Fi is online.
AirDrop from a MacBook to an iPhone within the same room is fast. AirDrop occasionally stalls on the “Waiting” status; when it does, our guide on fixing AirDrop stuck on Waiting covers the radio reset that usually clears it. Windows users who don’t want iCloud can still ship files over by uploading them to OneDrive or Google Drive from the PC, then pulling them down inside the matching iPhone app.
#Method 4: Upload to Cloud Storage Then Download on iPhone
The cloud path is the only one that works when the iPhone and the camera aren’t in the same room. It’s also the safest backup for week-long trips, because the footage lives off the SD card before the card gets lost or full.
GoPro’s own subscription (GoPro Premium+) auto-uploads clips whenever the camera charges on a known Wi-Fi network. GoPro states that the service uploads only while the camera is charging and has enough battery, which keeps it from interrupting an active shoot. The clips then appear in the Quik cloud tab on iPhone for download to Camera Roll.
For people without the subscription, the manual path works just as well:
- Move clips off the SD card to a desktop folder using a card reader.
- Drop them into Google Drive, Dropbox, or iCloud Drive from the desktop.
- Open the same service on the iPhone, tap a clip, and choose Save to Files or Save to Camera Roll.
Apple’s documentation recommends iCloud Drive for native integration with Files and Photos. Download speed depends entirely on your internet connection, so a fast home broadband line moves 4K clips far quicker than a phone hotspot. Cloud transfers eat data fast, though; a 1-hour 4K60 GoPro session can hit 50-70 GB, so save this method for clips you actually plan to edit, not bulk archives.
#What Video Formats Does iPhone Support?
GoPro HERO6 and newer record in HEVC (H.265) by default at high resolutions, and the modern HERO11 and HERO12 add the 10-bit GP-Log option. iPhones from the iPhone 7 forward decode 8-bit HEVC in hardware, so most GoPro footage plays natively in Photos without any conversion step.
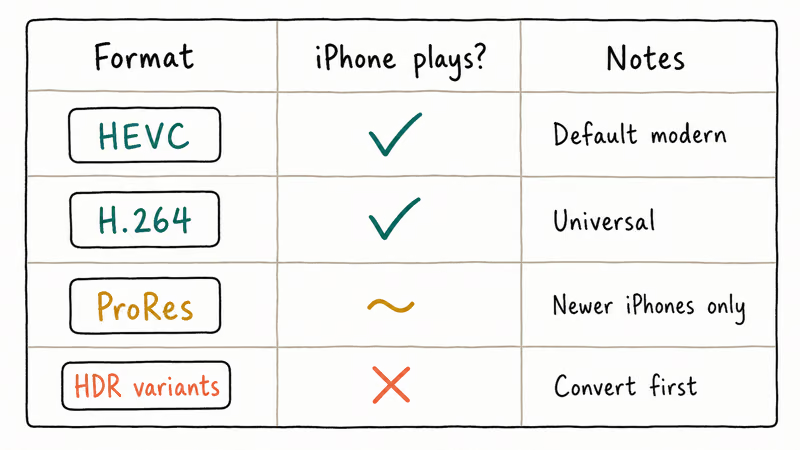
| Format | iPhone playback | Edit in iMovie? | Edit in LumaFusion? |
|---|---|---|---|
| MP4 (H.264) | Yes, all iPhones | Yes | Yes |
| MP4 (HEVC 8-bit) | iPhone 7 and newer | Yes (iOS 11+) | Yes |
| HEVC 10-bit (GP-Log) | iPhone 12 and newer | Limited | Yes |
| 5.3K60 / 4K120 | All decode; previews stutter on older models | Lags below iPhone 13 | Smooth on Pro Display models |
Table: GoPro export formats and which iPhones play and edit them.
If iMovie throws an “incompatible format” error, the usual culprit is HEVC 10-bit log footage. Convert it to ProRes or MOV first; our writeup on importing MP4 into iMovie walks through the conversion. For social-first edits, LumaFusion handles nearly every GoPro format on iPhone, including 5.3K HEVC at 60 fps.
#Saving iPhone Storage After a Big Transfer
A 1-hour GoPro session in 4K60 HEVC can hit 50 GB by itself. Once those clips are on the iPhone, storage management becomes the real headache. Apple’s Photos app supports Optimize iPhone Storage under Settings > [Your Name] > iCloud > Photos, which keeps lightweight previews on the device while the originals live in iCloud.
A few tactics worth using after every shoot:
- Toggle Optimize iPhone Storage before importing, so big clips offload automatically once Wi-Fi syncs them.
- Delete clips from the GoPro card only after the iPhone shows the originals in Photos (the Recently Deleted folder keeps them for 30 days as a safety net).
- Use the iPhone Storage view under
Settings>General> iPhone Storage to spot any clip larger than 1 GB; tap each one and decide to keep or delete.
If Photos suddenly stops loading thumbnails after a big import, this is usually a database hiccup rather than a storage problem; our guide to iPhone storage not loading covers the force-quit-and-restart sequence that clears it in most cases.
#Bottom Line
Pick the GoPro Quik app for one or two short clips you want to edit on the phone tonight. Switch to a USB-C or Lightning SD card reader the moment you have shot more than a gigabyte. The computer relay is the backup when Wi-Fi won’t hold; the cloud is your safety net for multi-day shoots.
For an iPhone 12 paired with a HERO9 or newer, the SD card reader is the right default. An Apple USB-C reader paired with a fast V30 card such as the SanDisk Extreme Pro is a dependable combination.
#Frequently Asked Questions
Can I transfer GoPro videos to iPhone without a computer?
Yes. The GoPro Quik app and the Apple SD card reader both move footage directly from the camera or its SD card to the iPhone Photos app, with no Mac or PC in the loop.
Why is the GoPro Quik app so slow on Wi-Fi?
The camera’s built-in Wi-Fi tops out around 2-4 MB/s on most HERO models because it uses 2.4 GHz radio with limited bandwidth. Close the gap to under three feet, kill any other 2.4 GHz devices nearby, and the speed improves; 4K clips longer than a minute still copy faster off the SD card.
Will iPhone Photos accept HEVC GoPro clips natively?
Yes, on any iPhone 7 or newer running iOS 11 or later. Apple’s HEIF and HEVC support page announced full HEVC playback and editing on iOS 11, which is why GoPro HERO6 was the first model to enable HEVC capture by default.
Older iPhones still play HEVC through software decoding, but the iPhone 6s and earlier drain battery fast and stutter on long clips; transcode to H.264 first on those.
Do I need the GoPro subscription to use Quik?
No. Quik is free. Premium+ only adds cloud auto-upload.
How do I transfer 4K clips that iMovie won’t open?
iMovie chokes on 10-bit HEVC log footage from GoPro HERO10 and newer. Convert the clip to ProRes or H.264 MP4 on a Mac with HandBrake, then reimport; iMovie reads the converted file without issue, and the original stays on the SD card as your master.
Can AirDrop transfer GoPro videos directly from the camera?
No, the camera itself doesn’t support AirDrop. You can AirDrop GoPro footage from a Mac or iPad to the iPhone after the clips are already off the card, but the GoPro camera communicates only over its own Wi-Fi or USB-C connection.
What happens to the originals on the SD card after import?
iOS Photos asks at the end of the import whether to keep or delete the originals. Choose Keep until you confirm every clip imported correctly; only delete the card copies once you’ve watched the clips back on the iPhone and verified frame rates match. The card’s Recently Deleted area on most GoPro models is empty by default, so a deletion from the card is permanent.
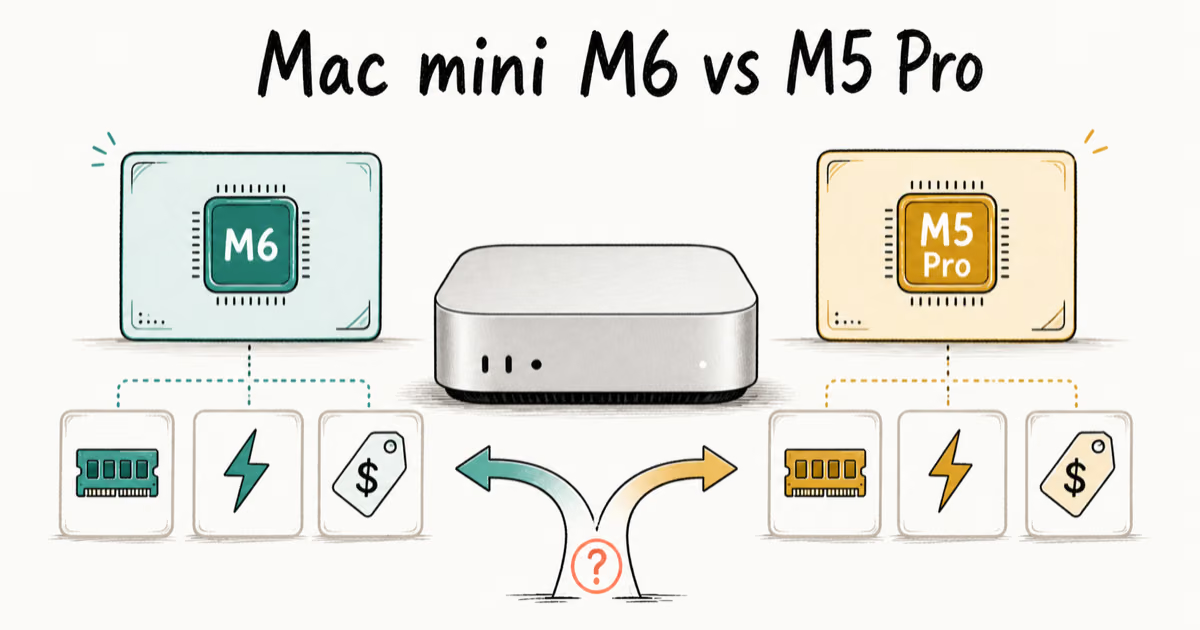
Mac mini M6 vs M5 Pro: Which Model Should You Buy?
Mac mini M6 vs M5 Pro compared on price, memory, ports, displays, and real workloads. Find the better 2026 Mac mini for your desk and budget.
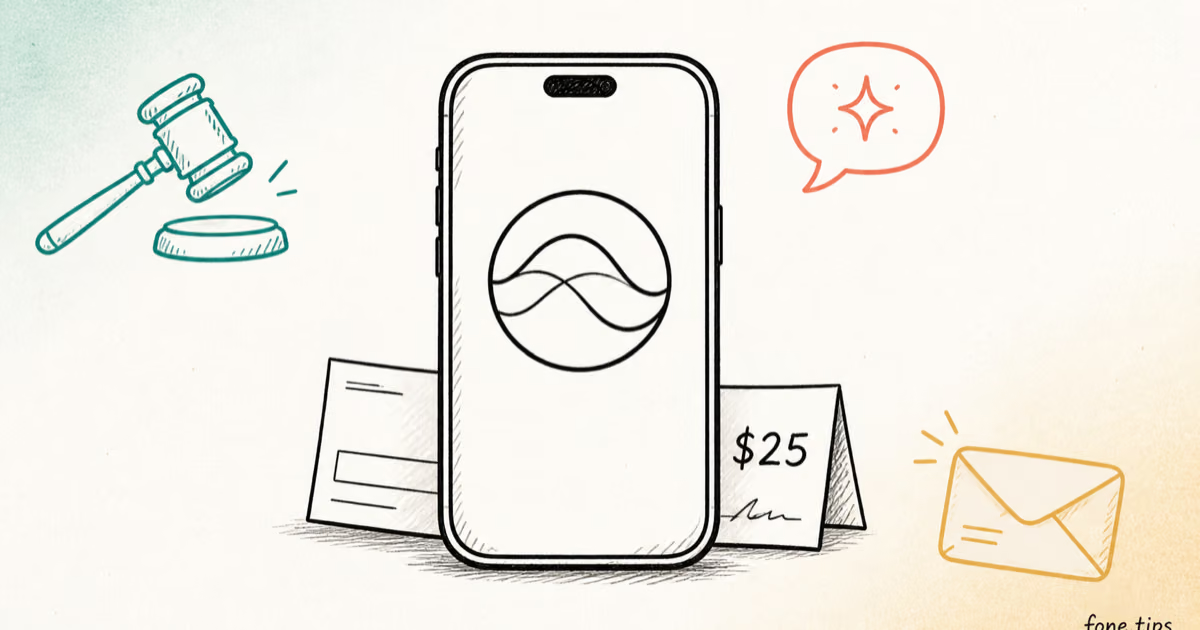
Apple Siri Settlement: Who Qualifies and How to Claim
Apple's $250 million Siri settlement covers iPhone 15 Pro and iPhone 16 models bought June 2024 to March 2025. See who qualifies and how claims work.
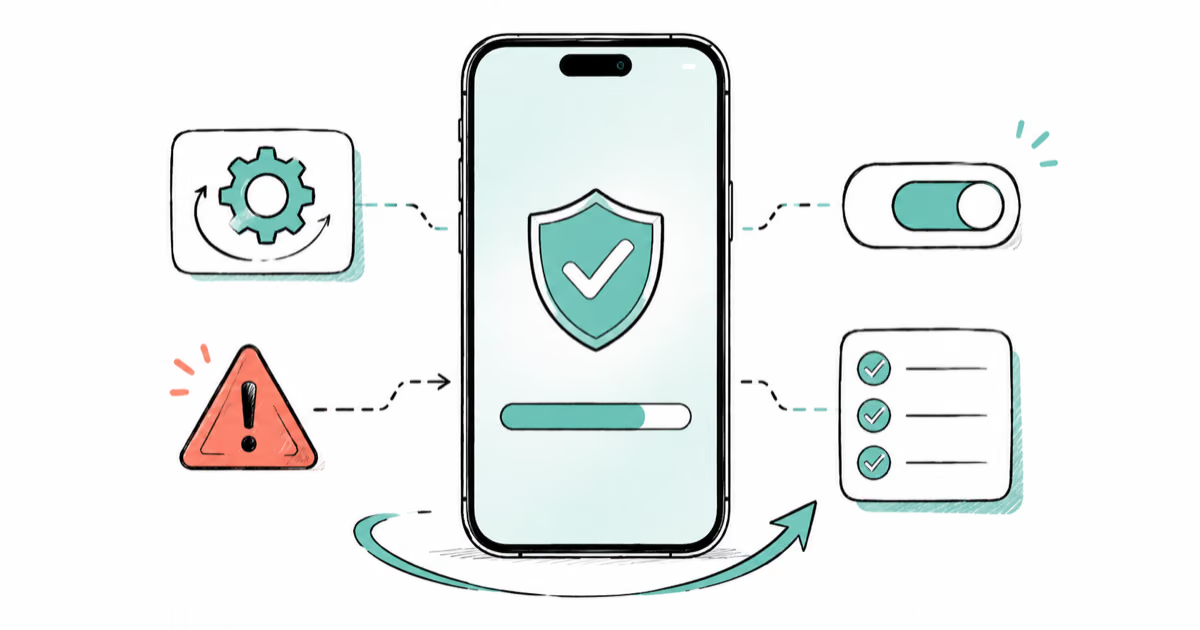
iOS 26.6.1 Security Update: What Apple Fixed and Who Gets It
Apple released iOS 26.6.1 on August 17 with 29 security fixes, including an IPSec interception bug. See what it patches, who gets it, and how to update.
iPhone Adaptive Power: How It Works and When to Use It
Learn how iPhone Adaptive Power works, which models support it, what it changes, and when Low Power Mode is still the better battery-saving choice.