How to Strikethrough Text in Gmail: Desktop and Mobile
Learn how to strikethrough text in Gmail using the formatting toolbar, keyboard shortcuts, and workarounds for mobile. Works on desktop and phone.
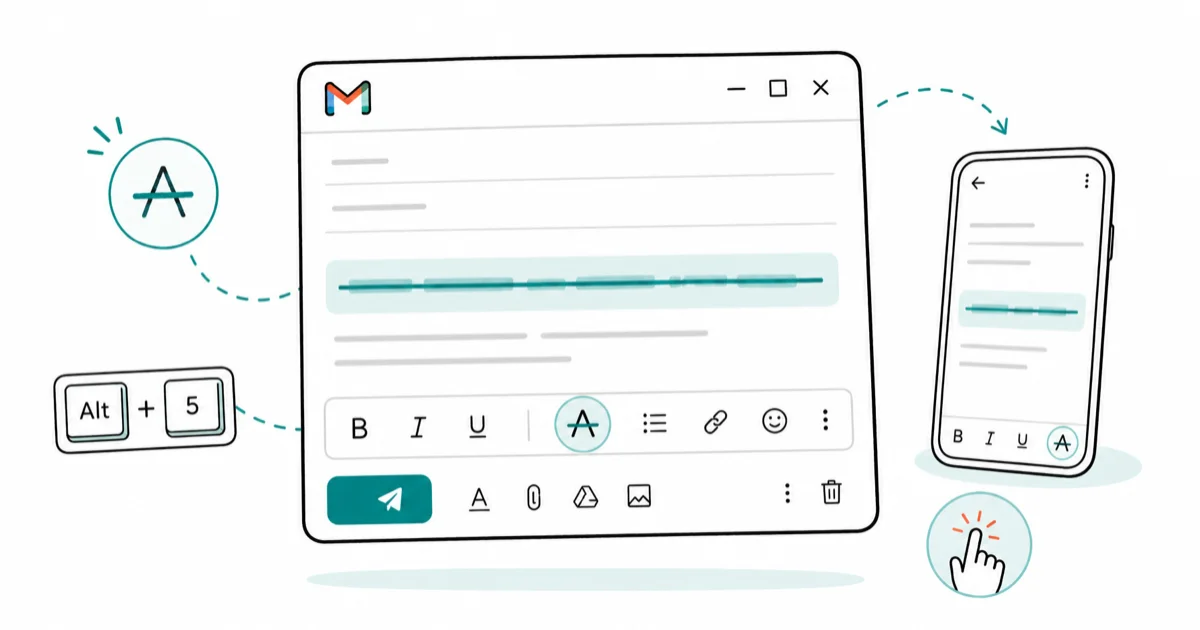
Quick AnswerIn Gmail on desktop, select the text you want to strike through, then press Alt+Shift+5 (Windows) or Cmd+Shift+X (Mac). You can also use the formatting toolbar by clicking the underlined A icon and choosing strikethrough.
Strikethrough text is useful in Gmail for marking edits, showing outdated info, or crossing off tasks in list-style emails. Gmail supports it natively on desktop, though the button is buried.
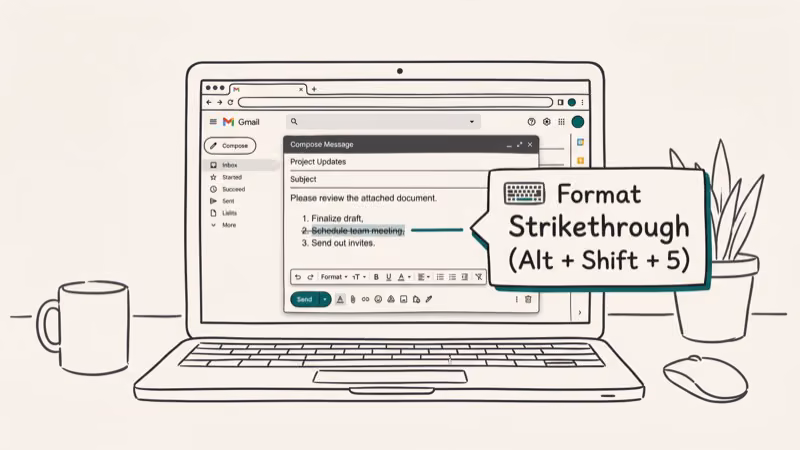
- The fastest desktop method is a keyboard shortcut: Alt+Shift+5 on Windows or Cmd+Shift+X on Mac, which applies instantly to selected text.
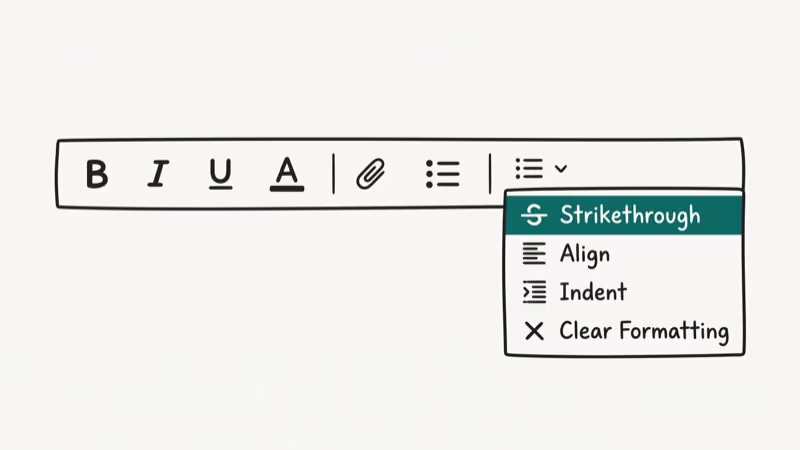
- The formatting toolbar strikethrough button is hidden under the three-dot “More formatting options” menu in the compose window.
- Gmail’s mobile app has no native strikethrough support, so you’ll need a text generator site or the Google Docs app to paste formatted text.
- The Google Docs method (
Format>Text>Strikethrough, then copy-paste) is the most reliable approach for complex mixed-formatting emails. - The Chrome extension “StrikeThrough for Gmail” adds a dedicated toolbar button and the shortcut Ctrl+Shift+S for one-click strikethrough.
#Gmail Strikethrough Keyboard Shortcuts
The quickest way to strikethrough text in Gmail is the keyboard shortcut. On Windows, use Alt+Shift+5. On Mac, use Cmd+Shift+X.
Here’s how:
- Open Gmail and compose a new email or reply
- Select the text you want to cross out
- Press the shortcut for your OS
The strikethrough applies instantly. No menus needed.
Shortcut not working? Confirm keyboard shortcuts are enabled: go to Gmail Settings > See All Settings > General > Keyboard shortcuts > turn on “Keyboard shortcuts.” Google recommends this step for all new accounts since keyboard shortcuts are off by default.
#Strikethrough Using the Gmail Formatting Toolbar
If you prefer clicking over keyboard shortcuts, the toolbar works well too:
- Open Gmail and start composing
- Select the text you want to format
- Click the A (underlined) icon at the bottom of the compose window
- Click the three-dot More formatting options button if you don’t see a strikethrough button
- Click the S with a line through it
To remove strikethrough, select the text again and click the same button. The same toolbar control toggles the formatting on and off.
#How Do You Strikethrough Text in the Gmail Mobile App?
The Gmail iOS and Android apps don’t support native strikethrough. According to Google’s Gmail formatting help, the mobile apps offer a limited formatting toolbar that doesn’t include strikethrough, unlike the desktop compose view.
You have two workarounds:
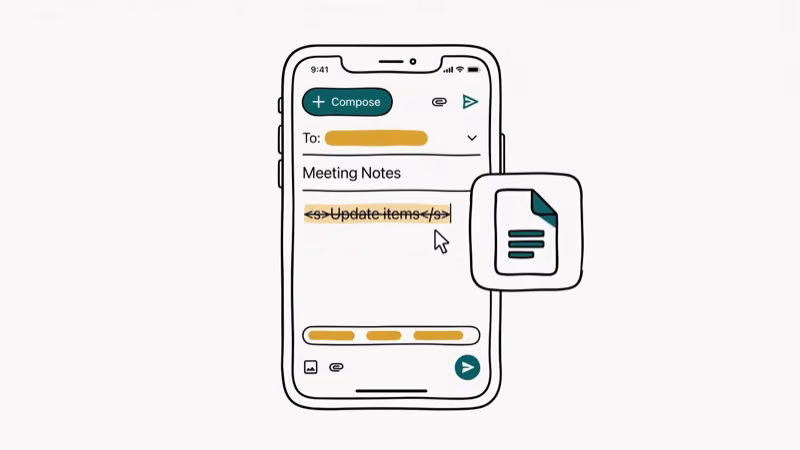
Option 1: Strikethrough text generator
- Open Strike.me or a similar text generator in your phone’s browser
- Type your text and copy the generated strikethrough version
- Paste it into Gmail on mobile
The result uses special Unicode characters that display as strikethrough text in most email clients.
Option 2: Google Docs app
- Open Google Docs on your phone
- Type your text, select it, then tap
Format>Text>Strikethrough - Copy the formatted text and paste it into Gmail
The Docs method keeps proper formatting but takes about a minute longer than the text generator approach.
#The Google Docs Method for Strikethrough in Gmail
This method is useful if you’re writing a long email with mixed formatting. It’s also the most reliable for keeping strikethrough intact across different email clients.
- Open a new Google Doc at docs.google.com
- Type or paste your email content
- Select the text you want to cross out
- Go to
Format>Text>Strikethrough - Copy all your formatted content
- Paste it into the Gmail compose window
Google’s Docs formatting guide confirms that strikethrough is one of 4 inline Markdown text styles (alongside italics, bold, and combined bold-italic) you can apply in Docs, and that formatting carries over when you copy the text into Gmail’s rich text editor.
The downside is switching between apps. For quick one-line strikethroughs, use the keyboard shortcut instead.
#Adding Strikethrough with a Chrome Extension
Yes. The “StrikeThrough for Gmail” Chrome extension adds a persistent strikethrough button directly to Gmail’s toolbar.
- Install it from the Chrome Web Store
- Refresh your Gmail tab
- Compose a new email; you’ll see the new strikethrough button
- Select text and click the button, or use Ctrl+Shift+S
The extension is maintained by a third-party developer, not Google. Check reviews before installing and only grant it the permissions it actually needs.
#Why Is Strikethrough Not Working in Gmail?
A few issues come up repeatedly:
Shortcut does nothing: Keyboard shortcuts must be enabled in Gmail settings. This is off by default for new accounts. Go to Settings > See All Settings > General and turn on “Keyboard shortcuts on.”
Formatting disappears when sending: Some older email clients strip rich text formatting on receipt. If a recipient reports seeing plain text, the issue is on their end. Consider adding “(strikethrough intended)” in parentheses for important cases.
Strikethrough button missing from toolbar: Click the three-dot “More formatting options” icon. Gmail hides less-common formatting in an overflow menu.
If you’re having broader Gmail sending issues that prevent emails from going out at all, that’s a separate problem from formatting.
For tips on managing your Gmail inbox more effectively, see our guide on recovering deleted Gmail emails.
You can also add a signature to Gmail replies to keep your professional formatting consistent across every email.
If you’re looking for other formatting tools, our guide on sending emails to undisclosed recipients in Gmail covers advanced Gmail features. You can also send a fax from Gmail if you need to work with legacy systems.
#Bottom Line
For most people, the keyboard shortcut is the best option: Alt+Shift+5 on Windows or Cmd+Shift+X on Mac. If you’re on mobile, use a Unicode text generator or the Google Docs app to apply strikethrough before pasting into Gmail. The Chrome extension is worth it if you use strikethrough frequently enough to justify adding a browser extension.
#Frequently Asked Questions
Will all email clients display my strikethrough text?
Most modern email clients including Outlook, Apple Mail, and Thunderbird support strikethrough. Some older webmail clients may strip rich text formatting and show plain text instead. If you need to guarantee formatting, include a plain-text note explaining the intended edit.
Does strikethrough work in Gmail’s confidential mode?
No. Confidential mode emails don’t support rich text formatting. The compose toolbar is simplified in confidential mode, and strikethrough won’t apply.
Can I add strikethrough to a Gmail subject line?
No. Gmail doesn’t allow any text formatting in subject lines. Only the email body supports strikethrough, bold, and other rich text options.
Will strikethrough be preserved when I forward an email?
Usually yes, as long as both Gmail accounts use rich text mode. If the forwarded email shows in plain text format, the strikethrough will be lost.
Is there a limit to how much text I can strikethrough?
No limit exists for strikethrough specifically. However, heavy use of text formatting can sometimes trigger spam filters in recipients’ email clients, so use it for clarity rather than decoration.
Does the keyboard shortcut work on Chromebook?
Yes. On a Chromebook, use Alt+Shift+5 just like on Windows. The shortcut is consistent across Chrome OS.
What Unicode strikethrough generators are available?
Sites like Strike.me, LingoJam, and YayText all generate strikethrough Unicode text that pastes into Gmail mobile. The output uses combining Unicode characters rather than true HTML formatting, so it works in plain text fields too.

Apps Crashing After iOS 27 Update? Fix Order (2026)
Apps crashing after the iOS 27 update? Update the app in the App Store first, then offload and reinstall to clear stale cache, then restart. The fix order.

Do AI Translation Earbuds Work Offline? What to Know
Do AI translation earbuds work offline? A few do with downloaded language packs, but most need the cloud. Here's what works offline and what you give up.

How to Set Up Translation Earbuds (Pairing and Modes)
How to set up translation earbuds: charge, install the app, pair over Bluetooth, pick two languages, and choose a mode. A step-by-step first-use guide.

Translation Earbuds Not Translating? How to Fix Them
Translation earbuds not translating? Usually it's the app, the internet, or the language settings. Here's how to fix pairing, sound, and lag fast.