How to Secure Your Google Account: 8 Steps for 2026
Lock down your Google account in 2026: run Security Checkup, turn on 2-Step Verification and passkeys, set recovery options, and audit app access.
Quick AnswerStart with Google Security Checkup, which shows your weak spots in one screen. The two highest-impact steps are turning on 2-Step Verification and adding a passkey, and an app or security key beats SMS codes.
Knowing how to secure your Google account matters because that one login usually controls your email, photos, payments, and password resets for everything else. The fastest start is Google’s own Security Checkup, which surfaces your weak spots in a single screen. This guide walks through the steps in priority order, from the highest-impact protections to the optional extras.
- Google’s Security Checkup is the best starting point, since it shows every weak spot on your account in one screen and ranks what’s urgent
- The two highest-impact steps are turning on 2-Step Verification and adding a passkey, which together block most account takeovers
- An authenticator app, prompt, or security key is safer than SMS codes, which can be intercepted through SIM swapping
- Recovery contacts let up to 10 trusted people help you regain access without ever seeing your data
- Google never asks for your password by email or phone, so any message that does is a phishing attempt
#Where Should You Start Securing Your Google Account?
Start with one screen that does the triage for you. Google built a tool that scans your account and ranks the problems, so you don’t have to guess where to begin.
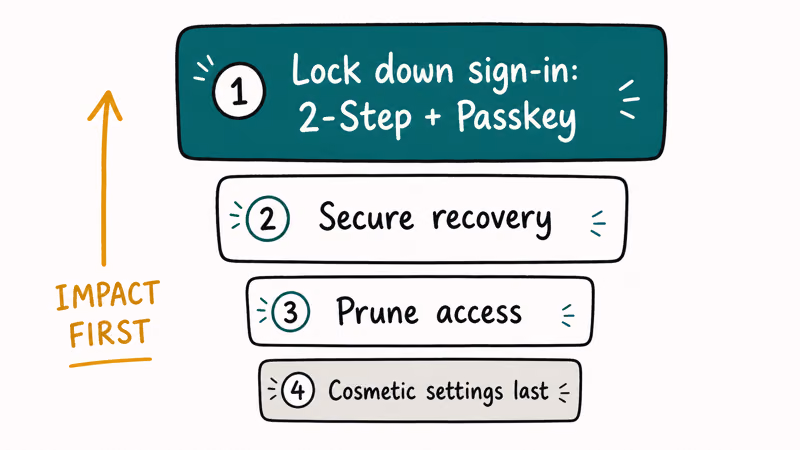
The right order is impact-first. Lock down sign-in with 2-Step Verification and a passkey, then secure recovery, then prune access. Cosmetic settings come last, after the protections that actually stop a takeover, because a strong password means little if a forgotten recovery email or an old app token hands an attacker a side door straight into the account.
Most people overthink this. Run the Checkup, fix what it flags, then add the two sign-in protections below. That alone puts you ahead of nearly everyone.
#Run Google’s Security Checkup First
Go to myaccount.google.com and open Security Checkup. It walks through your devices, recent security activity, 2-Step Verification status, and third-party access, flagging issues with yellow or red markers so you can see what needs attention.
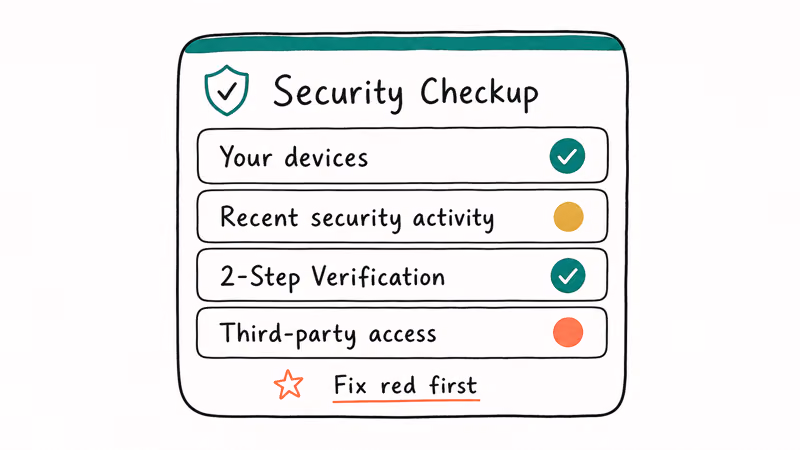
A green checkmark means that area is fine; yellow means a recommendation; red means act now. Work top to bottom and clear the red items first. According to Google’s make-your-account-more-secure page, the Checkup is the recommended first step for hardening an account. The Checkup can also surface stale third-party app grants, which are easy to forget.
It only takes a few minutes. The Checkup is also the easiest thing to repeat, so set a reminder to run it every few months.
#Turn On 2-Step Verification and Passkeys
This is the single biggest upgrade. 2-Step Verification adds a second factor on top of your password, so a stolen password alone can’t get in.
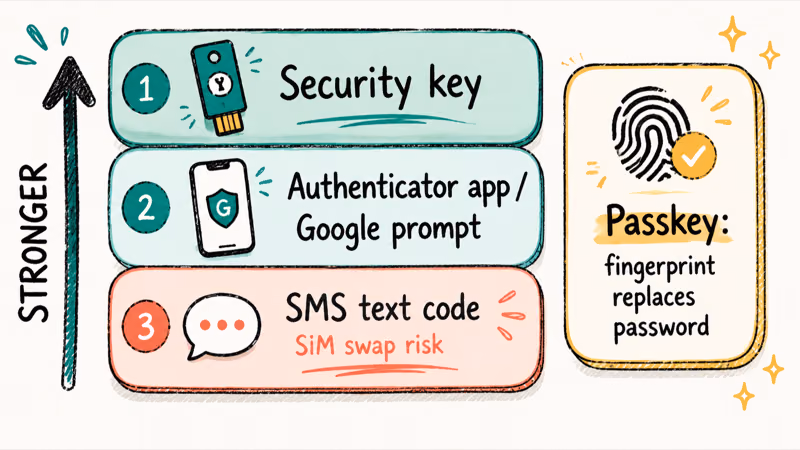
When you set it up, choose the strongest second factor you can. Google prompts on your phone or an authenticator app both beat SMS text codes. SMS codes can be intercepted through SIM swapping; the guide on how to prevent SIM swapping breaks down that attack. A physical security key is the strongest of all.
Then add a passkey. A passkey replaces your password with your device’s screen lock or fingerprint, and because there’s nothing to type, there’s nothing to phish. According to Google’s 2026 account-safety post, passkeys are now Google’s recommended everyday sign-in method, and Google’s passkeys help page walks through enrollment. Passkey sign-in uses your device’s screen lock or biometric prompt instead of typing the password.
Setting one up takes about a minute. The step-by-step guide to setting up passkeys on Android covers the screens, and the comparison of passkeys versus an authenticator app explains when to use each.
#Set Recovery Options and Recovery Contacts
Locking the front door is no good if you can’t get back in. Add a recovery phone and recovery email, and keep them current, because Google uses them to verify it’s really you during a lockout.
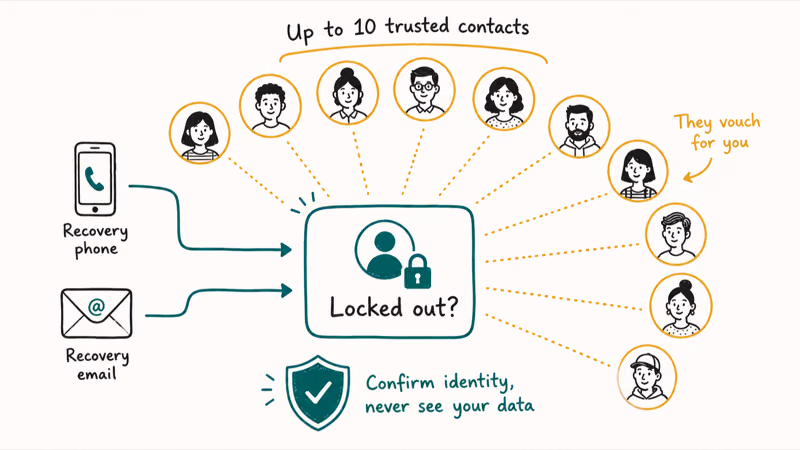
Then add recovery contacts. You can name up to 10 trusted people who can help you regain access, and they never see your data or get into your account, they only vouch for you. It’s a safety net that doesn’t expand your attack surface, which is the rare security feature that’s pure upside, so there’s no reason to skip it once your phone and email are in place.
Review these every time you change your phone number or break up with an old email address. Stale recovery info is a common reason people get permanently locked out.
#Why Should You Audit Devices and App Access?
Because old access is invisible until it bites you. Over years you sign in on phones you’ve sold and grant random apps permission to read your Gmail, and any one of those forgotten grants can quietly become the way an attacker gets in long after you stopped thinking about it.
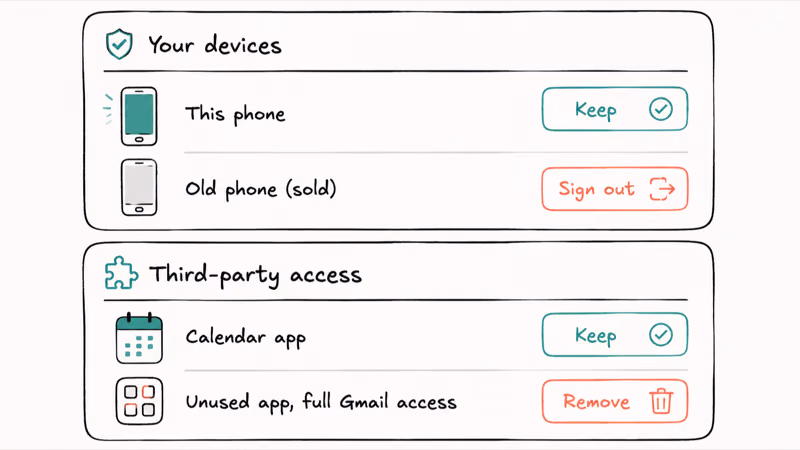
Open Your Devices in your account settings and review the list. Sign out of anything you don’t recognize. A phone you sold two years ago shouldn’t still hold a live session.
Then audit third-party app access. Remove anything you don’t actively use, especially apps with broad permissions like full Gmail access. Google’s documentation calls reviewing connected apps a core security habit.
#Use a Strong Password and Consider Advanced Protection
Your password still matters as the base layer. Make it long, unique, and unused anywhere else, because a reused password means one breach unlocks your Google account too. A password manager, including Google’s built-in one, generates and stores these for you, and the guide on how to create a strong password breaks down what actually makes one strong.
For high-risk users, Google offers the Advanced Protection Program. It requires a physical security key and locks recovery down tightly. The trade-off: you need that key to sign in.
One last rule worth memorizing: Google never asks for your password by email, text, or phone call. Any message that does is a phishing attempt, and accessing an account that isn’t yours is illegal, so keep this to your own account. Learning to spot a phishing email protects this account directly, and it’s the single habit that defeats the takeovers all the other steps are trying to prevent.
#Bottom Line
Start with Google’s Security Checkup, because it surfaces the exact weak spots on your account in one screen and tells you what’s urgent. The two highest-impact steps are turning on 2-Step Verification and adding a passkey, and where you can choose, an app or security key beats SMS codes.
Keep recovery phone, email, and contacts current so a lockout is recoverable, and prune unknown devices and stale app access. If you’re high-risk, the Advanced Protection Program with a physical key is the strongest option.
#Frequently Asked Questions
What is Google’s Security Checkup?
It’s a tool at myaccount.google.com that scans your account and ranks issues with green, yellow, and red markers. It reviews your devices, recent security events, 2-Step Verification, and connected apps in one place, which is exactly why it’s the right starting point: instead of hunting through menus, you get a prioritized list that tells you what to fix first.
Is 2-Step Verification by text message safe enough?
It’s far better than no second factor, but SMS is the weakest option. Text codes can be intercepted through SIM swapping. Switch to a Google prompt, an authenticator app, or a security key if you can.
What is a passkey and should I use one?
A passkey replaces your password with your device’s screen lock, fingerprint, or face scan. Because there’s nothing to type, there’s nothing for a scammer to phish or steal. Google now recommends passkeys as the everyday sign-in method, so set one up if your devices support it.
What are recovery contacts?
Recovery contacts are up to 10 trusted people you nominate to help you regain access if you’re locked out. They confirm your identity but never see your data.
How do I remove a device I don’t recognize?
Open Your Devices in your Google account settings, find the unfamiliar device, and choose Sign out, which ends that session immediately. If you see something you definitely never used, sign it out, then change your password and run Security Checkup to look for any other damage, since an unknown active session can be a sign someone else got in.
Who needs the Advanced Protection Program?
It’s built for people at higher risk of targeted attacks, like journalists, activists, and business leaders. It requires a physical security key. Most people don’t need it.
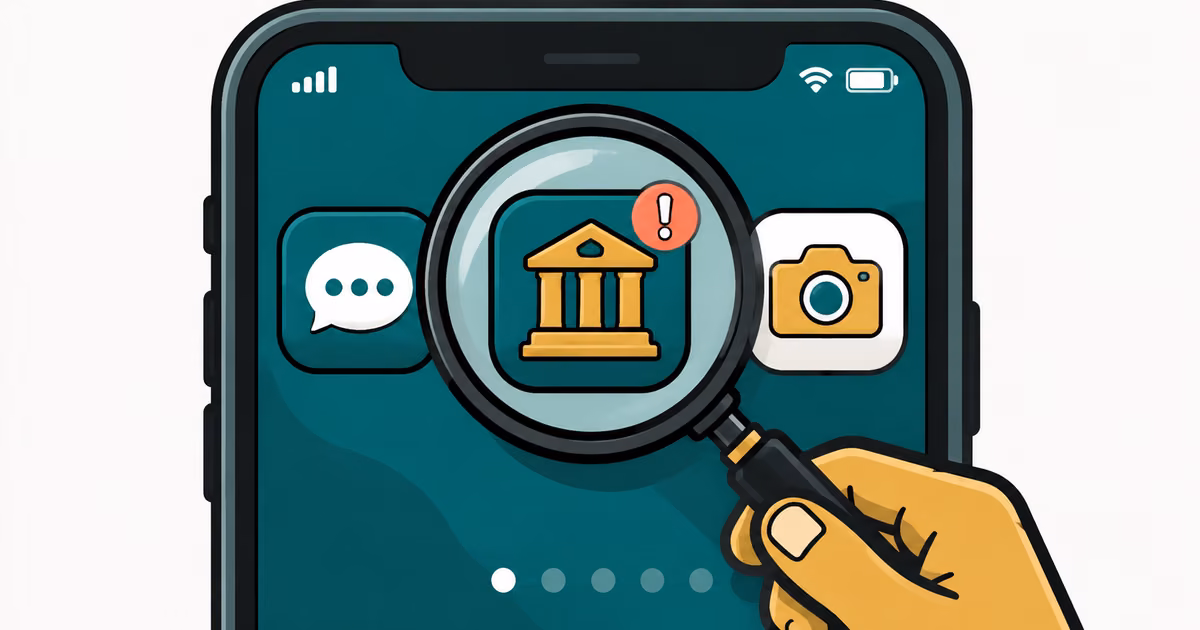
Is This Bank App Real? Spot a Fake App on Your Home Screen
A bank app can land on your home screen from a web page with no install warning. Learn the checks that tell a real banking app from a phishing web app.
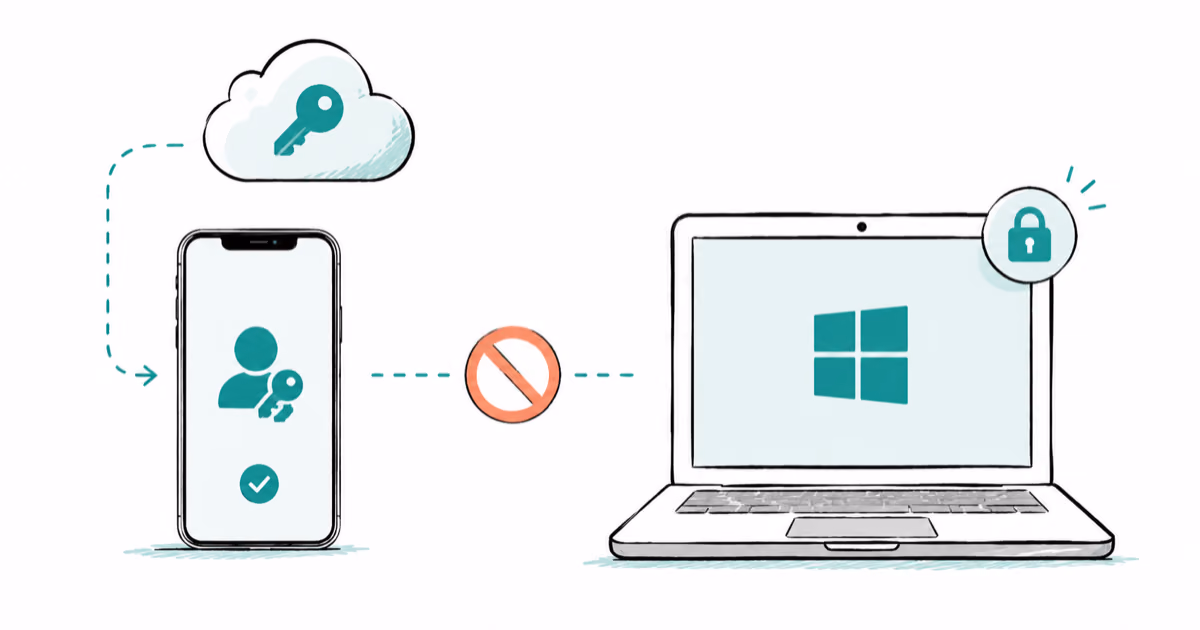
Passkeys Not Syncing Between iPhone and Windows? Read This
Passkeys not syncing between iPhone and Windows is by design, not a bug. Here is why iCloud passkeys skip Windows Hello and the three ways to fix it.
VPN Not Working on Snapdragon X? Why It Fails, How to Fix
Your VPN won't install or connect on a Snapdragon X Copilot Plus PC because Windows on ARM can't emulate the network driver. Here are the fixes that work.
How to Check If a Link Is Safe Before You Click It
Learn how to check if a link is safe with official-first steps: read the real domain, use the app instead, and treat scanners as a second opinion only.