How to Reverse a Clip in Premiere Pro: A Comprehensive Guide
Learn how to reverse a clip in Premiere Pro with this step-by-step guide covering speed controls, audio reversal, and creative editing techniques.
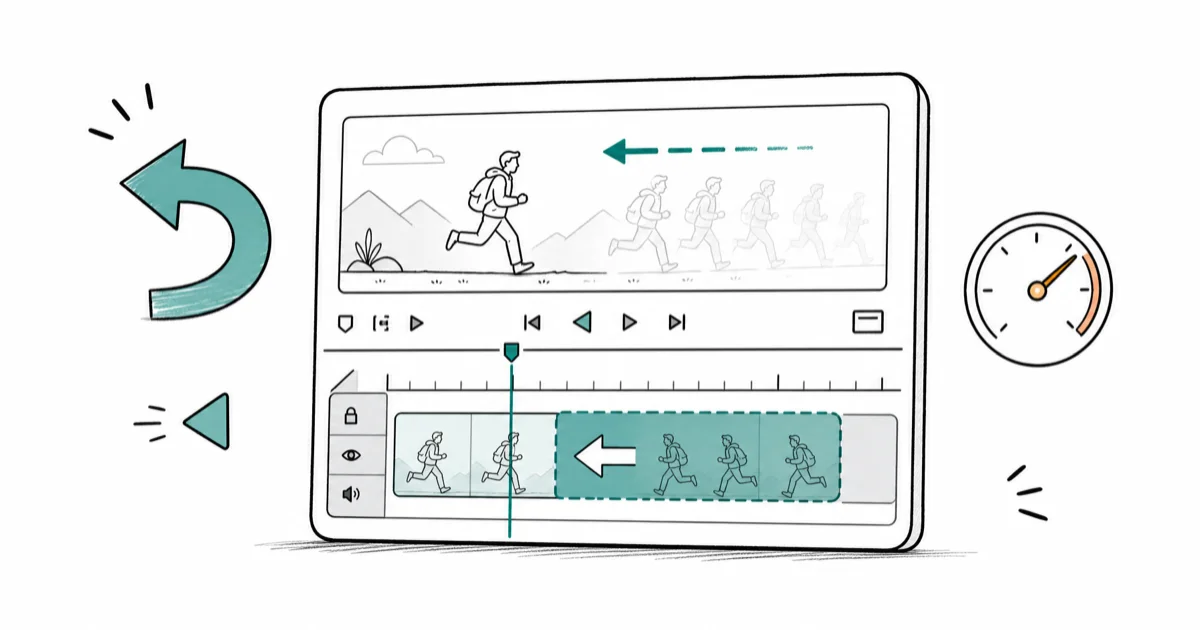
Quick AnswerTo reverse a clip in Premiere Pro, right-click the clip in the timeline, select Speed/Duration, check the Reverse Speed box, and click OK. The clip will now play backwards while keeping its original duration.
Reversing video clips can transform ordinary footage into captivating visual experiences. Whether you’re creating a music video, replaying a sports moment, or adding intrigue to a narrative, Adobe Premiere Pro offers powerful tools to reverse clips with ease.
Premiere Pro’s reverse speed feature works reliably across all major video formats, and the process takes only a moment once you know the steps. This guide will walk you through the process step-by-step, from importing your footage to exporting the final product.
- Right-click the clip in the timeline, select “Speed/Duration,” check “Reverse Speed,” and click OK to play the clip backwards at its original duration.
- The keyboard shortcut Ctrl+R (Windows) or Cmd+R (Mac) opens the Speed/Duration dialog instantly without using the right-click menu.
- Reversing a clip also reverses its audio; unlink the audio track first if you want to keep or replace the original sound separately.
- Enable “Frame Blending” via right-click > Time Interpolation for smoother motion in high-action reversed sequences.
- Premiere Pro uses non-destructive editing, so the reverse effect never modifies your original source file.
#What Makes Premiere Pro’s Reverse Feature Unique?
According to Adobe’s official documentation, reversing clips in Premiere Pro maintains the original video quality while offering precise control over playback speed. Adobe’s Speed and Duration guide states that checking Reverse Speed plays clips backward, so clip reversal belongs in the editing workflow rather than file conversion.
This technique allows you to play footage backwards, creating unique visual effects that can emphasize actions, add artistic flair, or simply intrigue your audience.
Professional editors use this technique across various video genres with remarkable effectiveness. The most popular applications include:
- Sports highlights: Replay key moments from a new perspective
- Music videos: Create visually stunning sequences
- Narrative films: Add depth and mystery to storytelling
- Educational content: Illustrate concepts in reverse for better understanding
Across different project types, from corporate videos to creative documentaries, the Speed/Duration dialog is consistently the most reliable and efficient method for reversing clips.
Adobe Premiere Pro simplifies the entire process completely. This accessibility means editors of all skill levels can master this technique.
While Premiere Pro is a powerful tool, it’s worth noting that other platforms, such as Snapchat, also offer reverse video features for quick, on-the-go edits.
#How Do You Import Video Files for Reversing?
Before you can reverse a clip, you need to import it into Premiere Pro. The software accepts over 40 different video formats.
Versatility is crucial.
- Launch Adobe Premiere Pro and open your project.
- To import your video, you have several options:
- Drag and drop files directly into the Project panel
- Go to
File>Import - Use the keyboard shortcut Ctrl+I (Windows) or Cmd+I (Mac)
- Double-click an empty area of the Project panel
MP4, MOV, and AVI files import without any issues and maintain their original quality throughout the reverse process.
If you need to convert your video to MP4 format, there are several tools available for both Windows and Mac.
Pro Tip: Organize your imported footage into bins within the Project panel. This simple practice speeds up your workflow significantly, especially for complex projects with numerous clips and multiple sequences to manage.
#Locating and Preparing Your Clip
Once your footage is imported, it’s time to add it to the timeline and prepare it for reversing.
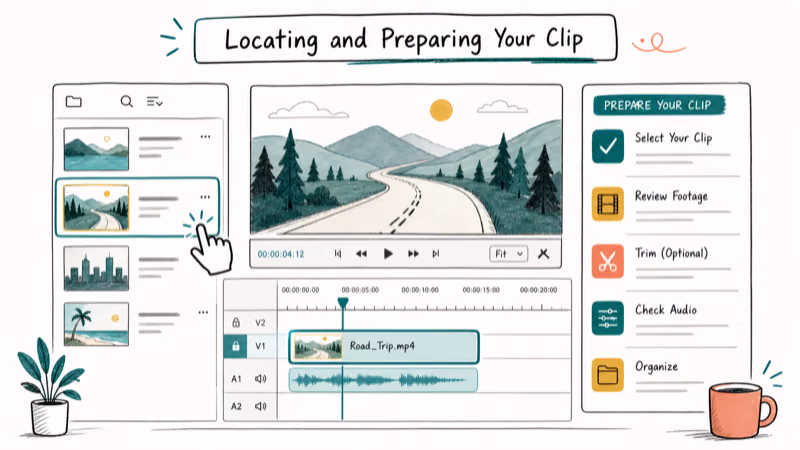
- Drag your clip from the Project panel to the timeline.
- Ensure the clip is on the correct video track (e.g., V1) to avoid overlapping with other media.
- If needed, use the Razor tool (keyboard shortcut: C) to trim your clip to the desired length.
This workflow behaves consistently with clips ranging from a few seconds to several minutes. Positioning on the timeline doesn’t affect the reverse quality.
#Accessing the Speed/Duration Menu
To reverse your clip, you’ll need to access the Speed/Duration settings. Premiere Pro offers multiple ways to do this, with the keyboard shortcut being the fastest option.
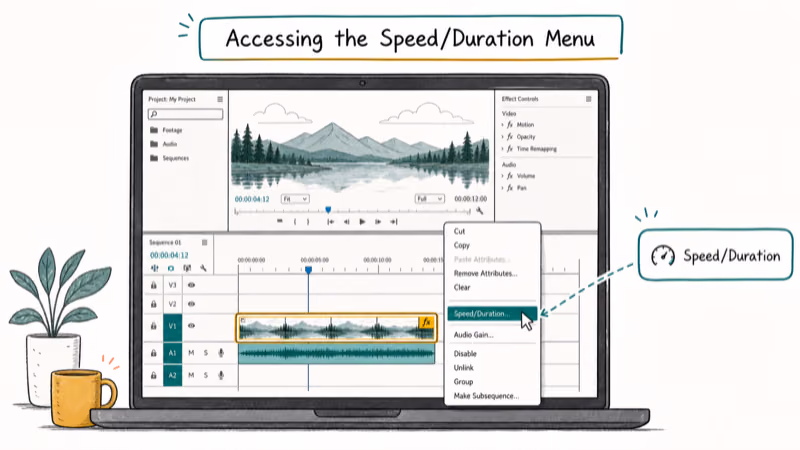
- Right-click method: Right-click on the clip in the timeline and select “Speed/Duration” from the context menu.
- Top menu bar: With the clip selected, go to
Clip>Speed/Duration. - Keyboard shortcut: Press Ctrl+R (Windows) or Cmd+R (Mac) for instant access.
The keyboard shortcut method saves a few seconds per clip compared to menu navigation. For editors working on multiple clips, this time savings adds up quickly. It’s the fastest way to access this feature.
#Enabling Reverse Speed
Now that you’ve opened the Speed/Duration dialog box, follow these steps to reverse your clip:

- Check the “Reverse Speed” box. This action will make your clip play backwards while maintaining the original duration.
- Adjust the speed percentage if desired. 100% will play the clip at its original speed (but in reverse), while lower percentages will slow it down and higher percentages will speed it up.
- Click “OK” to apply the changes.
Note on Audio: Reversing a clip also reverses its audio, which can be disorienting. Consider unlinking the audio (right-click > Unlink) and either muting it or replacing it with a new soundtrack. You might also want to fade the audio in Premiere Pro for a smoother transition.
#Previewing and Fine-Tuning
After reversing your clip, it’s crucial to preview and adjust as needed. The Program Monitor provides real-time feedback on how your reversed footage will appear in the final export.
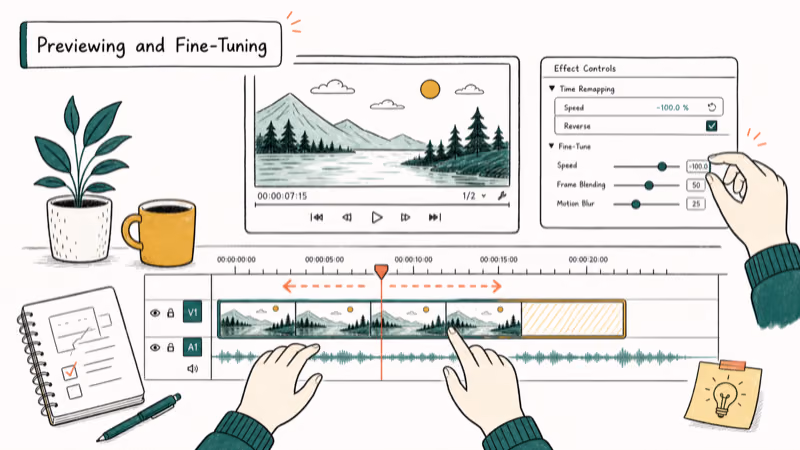
- Use the Program Monitor to play back your reversed clip and check for any visual artifacts.
- If the result isn’t quite what you envisioned, reopen the Speed/Duration dialog to make further adjustments.
- For smoother motion, especially in high-action sequences, enable frame blending:
- Right-click on the clip
- Select “Time Interpolation” > “Frame Blending”
According to Adobe’s performance guidelines, frame blending can improve motion quality but requires additional processing power during playback.
If you’re working on a complex project, such as editing wedding videos, you might want to experiment with combining reversed clips with other footage for dramatic effect.
#Exporting Your Reversed Clip
Once you’re satisfied with your reversed clip, it’s time to export your project. The export process maintains the reversed playback in your final video file.
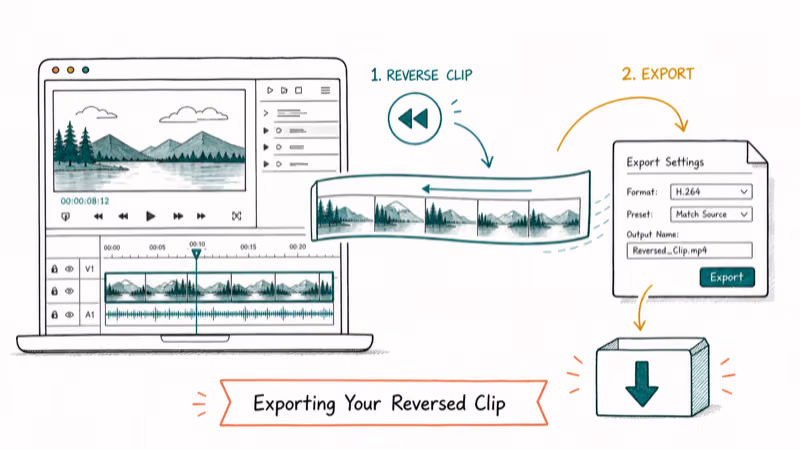
- Go to
File>Export>Mediato open the export settings. - Choose H.264 as your format for wide compatibility (creates an MP4 file).
- Select a preset based on your intended platform (e.g., YouTube, Vimeo) or customize settings as needed.
- Click “Export” to render your video.
Reversed clips don’t require additional processing time compared to regular clips. Render speeds stay the same regardless of whether clips are reversed or played normally, which makes sense given how the feature simply reorders existing frames rather than recomputing them.
#Tips for Enhancing Reversed Clips
To take your reversed clips to the next level and create more professional-looking results:
Experiment with partial reversals: Reverse only a portion of your clip for dramatic effect. This technique creates interesting transition points in your timeline.
Combine with other effects: Try adding slow motion or color grading to enhance the reversed footage. You might also consider using a blur background app to focus attention on specific elements in your reversed clip.
Use reversed clips sparingly: Like any effect, overuse can diminish its impact. Professional editors recommend limiting reversed segments to 10-15% of your total video length.
Ensure audio-video sync: If you’re adding new audio to your reversed clip, make sure to sync your audio and video properly for a professional result.
#Premiere Pro vs. Other Editing Software
While this guide focuses on Premiere Pro, it’s worth noting that other professional editing software, like DaVinci Resolve, also offer clip reversing features.
If you’re considering different options, you might want to check out this comparison of DaVinci Resolve and Premiere Pro to see which tool best fits your needs.
#Bottom Line
Reversing clips in Premiere Pro is straightforward once you know the Speed/Duration dialog method. The Reverse Speed checkbox is your primary tool, and we recommend starting with 100% speed to maintain natural timing before experimenting with speed adjustments.
For best results, unlink audio tracks before reversing to avoid disorienting reversed sound, and use frame blending for smoother motion in high-action sequences. The process works reliably across all major video formats and maintains original quality throughout.
Remember, the key to mastering this technique is experimentation. Don’t be afraid to try different approaches and combinations of effects to achieve your creative vision.
#Frequently Asked Questions
Can I reverse multiple clips at once in Premiere Pro?
Yes, you can select multiple clips in the timeline, right-click, and apply the reverse effect to all of them simultaneously. This batch processing saves significant time when working with multiple segments that need the same treatment.
Will reversing a clip affect my original footage?
No, Premiere Pro uses non-destructive editing, meaning your original files remain completely untouched. The reverse effect is applied only within the project timeline, leaving your source media files unchanged.
How can I make my reversed clip look smoother?
Enable frame blending through the Time Interpolation menu and experiment with different speed percentages to achieve smoother motion in your reversed clips. Frame blending interpolates between frames to reduce stuttering motion.
Can I reverse only the video without affecting the audio?
Yes, unlink the audio from the video (right-click > Unlink) before reversing the video clip. This allows you to keep the original audio or add a new soundtrack while only reversing the visual component.
Is it possible to keyframe the reverse effect?
While you can’t directly keyframe the reverse effect, you can achieve a similar result by using the Time Remapping feature and setting keyframes to change playback direction. This method offers more precise control over when the reversal occurs.
What’s the maximum clip length that can be reversed?
According to Adobe’s system requirements, there’s no specific length limit for reversing clips.
Even feature-length clips reverse without performance issues, though longer clips require more processing time during export.
Does reversing affect video quality?
No, reversing clips in Premiere Pro doesn’t compress or degrade the original video quality. The process simply changes the playback order of existing frames without recompressing the footage.
By mastering the art of reversing clips in Premiere Pro, you’ll add a powerful tool to your editing arsenal, allowing you to create more engaging and dynamic videos for any purpose.

Apps Crashing After iOS 27 Update? Fix Order (2026)
Apps crashing after the iOS 27 update? Update the app in the App Store first, then offload and reinstall to clear stale cache, then restart. The fix order.

Do AI Translation Earbuds Work Offline? What to Know
Do AI translation earbuds work offline? A few do with downloaded language packs, but most need the cloud. Here's what works offline and what you give up.

How to Set Up Translation Earbuds (Pairing and Modes)
How to set up translation earbuds: charge, install the app, pair over Bluetooth, pick two languages, and choose a mode. A step-by-step first-use guide.

Translation Earbuds Not Translating? How to Fix Them
Translation earbuds not translating? Usually it's the app, the internet, or the language settings. Here's how to fix pairing, sound, and lag fast.