How to Add an Old Film Effect on Video: 5 Easy Methods
Add an old film effect to any video in minutes. Compare Filmora, DaVinci Resolve, iMovie, and CapCut to find the fastest path on every device.
Quick AnswerDrop your clip into Filmora or DaVinci Resolve, apply a built-in Old Film preset, then layer film grain, a few scratches, and a sepia color tint. Most short clips finish in under 5 minutes.
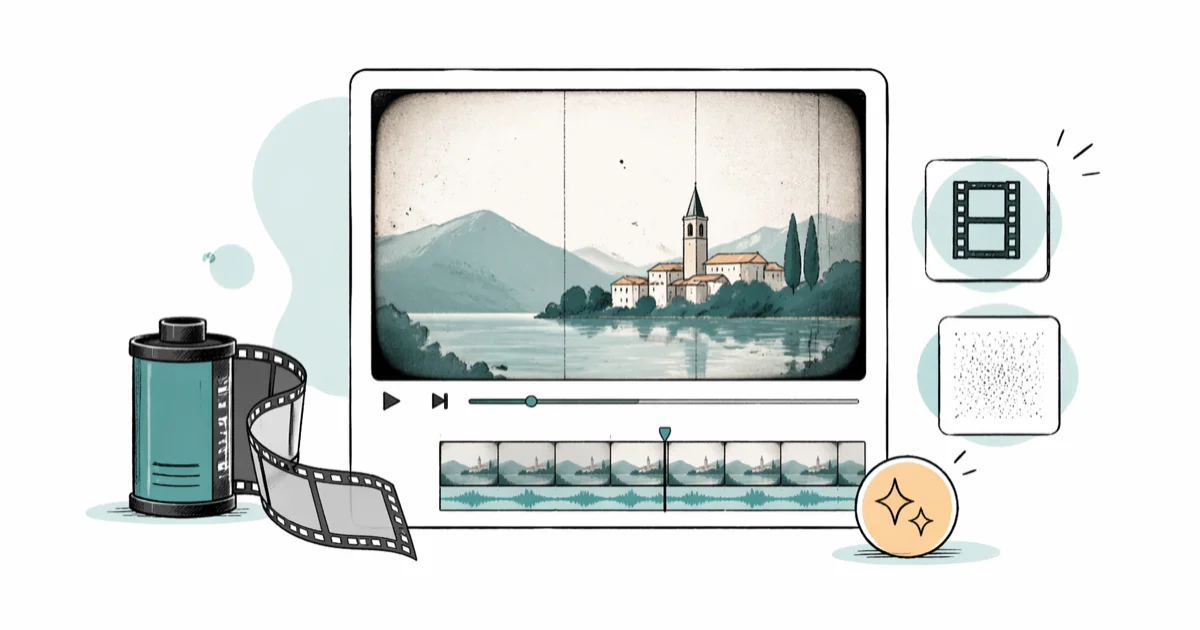
The old film effect turns sharp digital footage into a vintage 8mm or 16mm look. This guide compares desktop and mobile editors so you can pick the one that matches your budget, device, and patience.
- Filmora is the fastest paid path: drag the Old Film preset onto your timeline, drop opacity to about 70%, and export.
- DaVinci Resolve gives you the same look for free, though the learning curve costs you about an hour up front.
- On iPhone or Android, CapCut’s Retro filter set adds grain, scratches, and chromatic aberration in two taps.
- Stack film grain, light leaks, scratches, and a sepia or cyan tint together because one effect alone reads as fake.
- Export at the same frame rate as your source clip so the grain texture doesn’t shimmer or lag behind motion.
#What does the old-film effect actually do?
An old-film effect simulates the artifacts of analog film stock: chemical grain, gate-weave, light leaks, color shifts, and physical scratches that build up after a print runs through a projector hundreds of times.
According to Wikipedia’s film grain article, the texture comes from clusters of tiny silver halide crystals scattered across the emulsion, and the grain pattern itself is random rather than uniform. That randomness is what makes a generic digital noise filter look fake by comparison: machine-generated noise is too even, too geometric, and too consistent across frames to fool the eye.
Layer a Super-8 grain overlay at around 25% opacity and the footage stops reading as “phone video.” It starts reading as something shot on a 1980s home camera, and the single biggest tell isn’t the grain itself. It’s the slight cyan or amber color cast plus the soft vignette around the frame.
The effect works best on:
- Short narrative or music videos
- Wedding or family memory edits
- Travel montages with slow pans
- Brand intros or social ads that lean nostalgic
It works poorly on quick-cut sports footage or screen recordings, where the grain gets lost and the scratches just look like compression artifacts.
#How do you add the effect on a desktop editor?
You have three solid desktop options. The trade-offs below focus on setup effort, control, and cost.
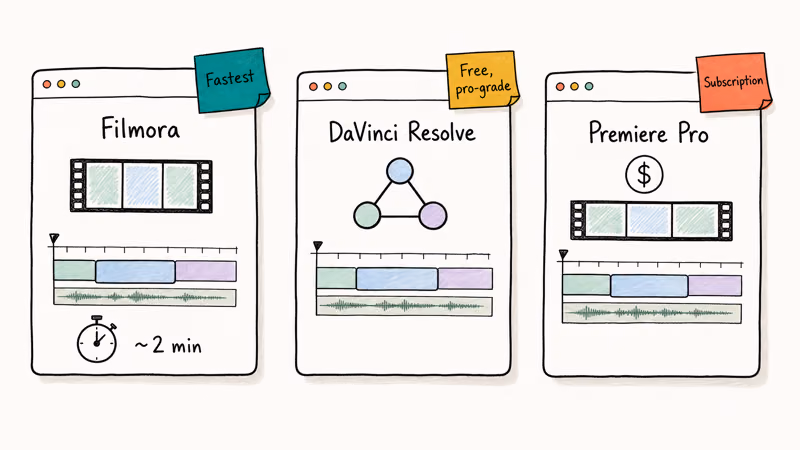
#Filmora: fastest path if you’re new to editing
Filmora ships with a dedicated Old Film preset under the Effects > Filters > Vintage menu. Drag the preset onto your video track, double-click to open the parameter panel, and lower the Intensity slider to about 65 if the default looks too aggressive. Wondershare states that the bundled Filmstock library has additional film burn and dust scratch overlays you can stack on top, which is how you get a layered, believable look instead of one flat filter.
Some links on this page are affiliate links, which means fone.tips may earn a commission at no extra cost to you.
Filmora’s interface is friendly enough that you’ll spend more time picking which scratch overlay you like than fighting the software itself.
#DaVinci Resolve: the best free option
DaVinci Resolve from Blackmagic Design is free, professional-grade, and includes most of what you need out of the box. According to Blackmagic, DaVinci Resolve 19 ships with built-in Film Grain and Light Rays effects on the Color page, plus a Film Damage effect under the Edit page’s OpenFX library. The DaVinci Resolve speed-up tutorial covers clip ramping if you also want a stop-motion-ish feel.
A basic setup:
- Drop the clip on the timeline, switch to the Color page.
- Add a serial node, drop Film Grain on it, set the grain size to 35mm and the strength to about 0.6.
- Add a second node and dial in a sepia push: lift the gain wheel toward yellow, drop the gamma toward red.
- Switch to the Edit page, drag Film Damage from OpenFX onto the clip, reduce the dust amount to about 30%.
DaVinci has a steeper learning curve than Filmora, but once you’ve built one preset you can save it as a Power Grade and reuse it on every clip after that.
#Adobe Premiere Pro for Creative Cloud subscribers
Premiere Pro doesn’t include a one-click Old Film preset, but the Lumetri Color panel handles 90% of the look. Add a Lumetri layer, push the Creative > Look dropdown to Vintage Color, drop saturation to about 75%, then add an adjustment layer with the Noise effect set to roughly 12%. Drop in a vignette and you’re done.
If you don’t already have a Creative Cloud subscription, Premiere isn’t worth $22.99 a month for this single workflow. Look at the After Effects alternatives roundup for free options that still cover overlays and color grading.
#The mobile workflow on iPhone and Android
Mobile workflows are faster and cheaper, but you trade away the granular control desktop apps give you.
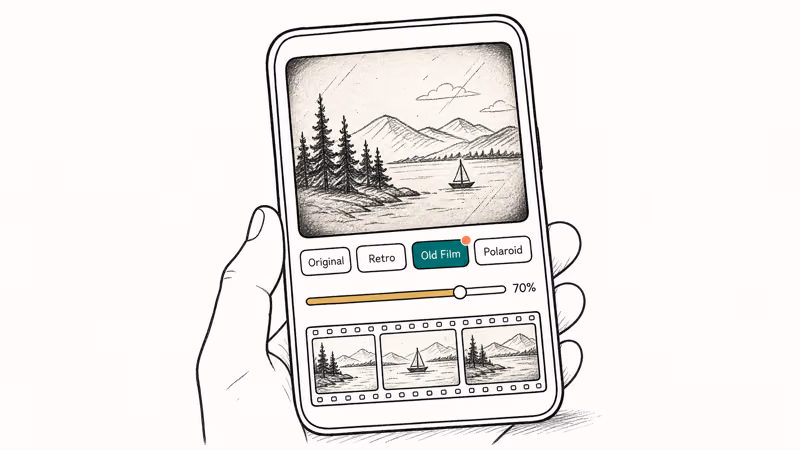
CapCut is the easiest. A simple CapCut flow:
- Open the clip, tap Filters, scroll to Retro.
- Pick the Old Film filter, set strength to about 70.
- Tap
Effects>Video>Vintageand add Film Damage. - Export at the same resolution and frame rate as your source.
The flow is short, and CapCut renders short clips quickly on modern phones.
InShot is the runner-up if you want a smaller download. The Filter > Film tab includes Super-8 and Polaroid presets in the free version. The catch: the free tier adds an InShot watermark to your export. If you need to strip it later, the guide on how to remove a watermark from a video covers that workflow.
iMovie on iPhone and iPad ships with a small set of built-in filters: Black & White, Sepia, Western, and Silent Era. According to Apple’s iMovie support page, you can apply a filter to one clip, an entire project, or both. According to Apple, iMovie launched on iPhone in 2010 and the Silent Era filter remains the closest match to a true old-film look. The catch is that you can’t stack additional grain on top, which is iMovie’s main limit.
If you’re editing on Android specifically, CapCut for Android works the same as the iPhone version. If your starting clip is too dark, fix exposure first using the guide on how to brighten a video on Android, then apply the old-film filter on top.
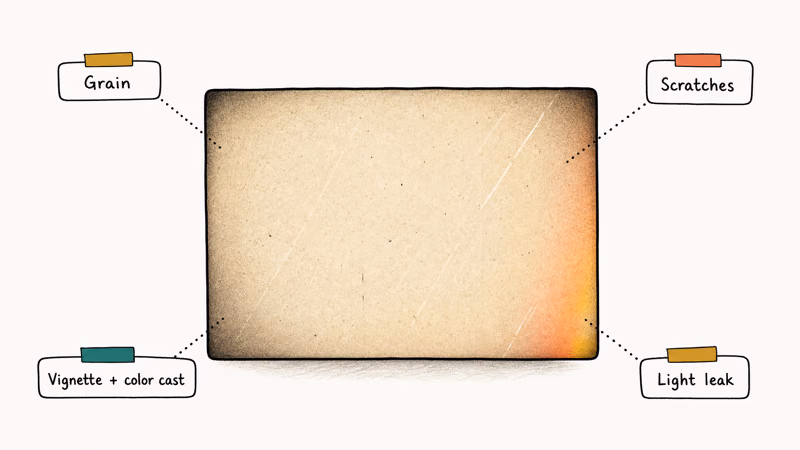
#Five elements that sell the vintage look
A single grain overlay isn’t enough to convince anyone. Here’s what to stack:
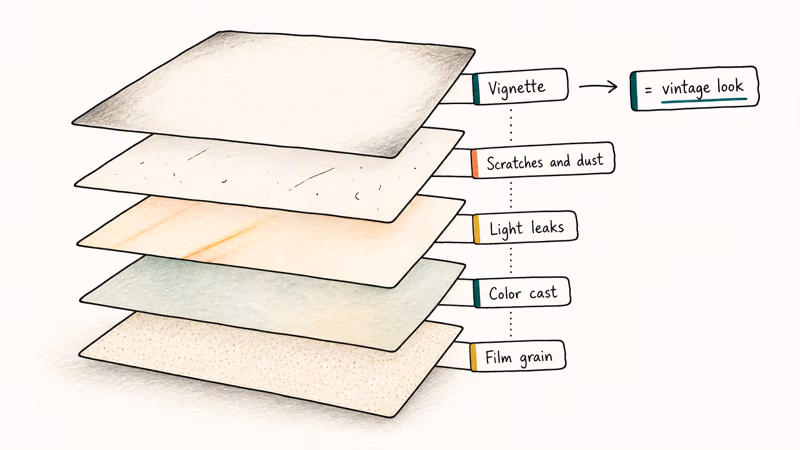
- Film grain. The random texture from silver halide. Set opacity around 25-35%; higher reads as noise, not grain.
- Color cast. Push gain toward yellow or cyan, drop saturation to roughly 70-80% of normal. Pure desaturation reads as black-and-white, not vintage.
- Light leaks. Orange or red flares at clip edges. Use sparingly; one or two per minute is plenty.
- Scratches and dust. Vertical scratches drift slowly down the frame. Dust spots flicker frame to frame. Both should sit at low opacity (15-25%).
- Vignette and frame edge. Soft dark corners pull the viewer’s eye to the center, just like a real projector gate.
Creators also add subtle gate weave (a slight horizontal jitter on the entire frame) using a Position keyframe with random values. That trick is what pushes the effect from “filtered” to “actually shot on film.”
If you’re stitching multiple clips together first, the VLC merge videos guide walks you through combining clips before you start the color work.
#Where to find free film-grain and light-leak overlays
You don’t have to pay for a Filmstock subscription to layer authentic-looking grain on top of your video. Useful free overlay sources include:
- Mixkit offers high-resolution film grain, dust, and burn loops, all royalty-free for personal and commercial use.
- Mazwai has short cinematic clips and a small overlay library, royalty-free with attribution optional.
- Pixabay Video is searchable for “film grain,” “light leak,” or “scratches”; mixed quality but the top results are usable.
- Storyblocks free section rotates a small selection of grain and overlay clips every month.
Drop the overlay file onto a track above your main clip in any editor, set the blend mode to Screen or Overlay, and lower opacity to about 40%. Always render a short preview before committing to the full export; some packs include hard-coded watermarks in their low-quality preview versions.
#Common old-film mistakes to avoid
The same five mistakes keep showing up in weak old-film edits.
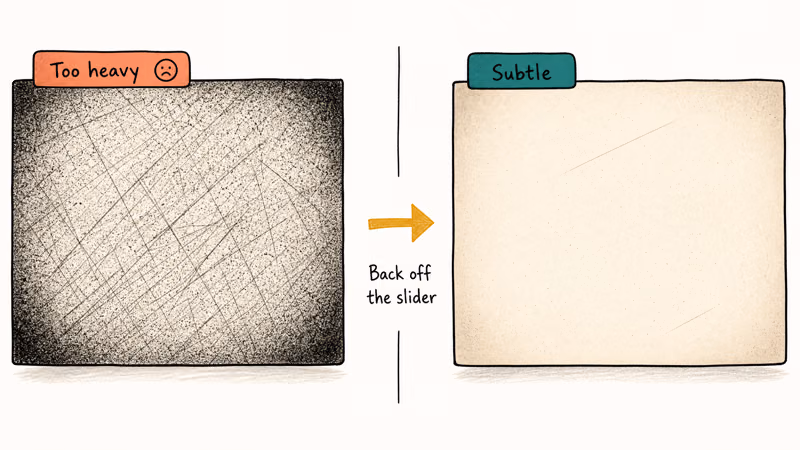
- Grain that’s too coarse. Anything above 50% opacity stops looking like film and starts looking like noise. Tom’s Guide’s best video editing software roundup covers most of the editors named here in more depth, and the consensus across reviewers is to back the slider off whenever a vintage preset feels heavy.
- Forgetting to lower the frame rate look. A 60fps source still moves like 60fps even with grain on top. Either drop your project frame rate to 24fps, or apply a slight motion blur to soften the playback.
- Pure black-and-white instead of color cast. Old film stock had color shifts; pure grayscale reads as a B&W filter, not vintage.
- Modern audio under vintage video. A clean 48kHz stereo track immediately breaks the illusion. Drop a low-pass filter on the audio at around 8kHz and add a touch of vinyl crackle.
- Same effect on every clip. Real film prints aged unevenly. Vary intensity scene by scene so back-to-back shots don’t look identical.
#Bottom Line
If you have $80 a year to spend, install Filmora and use the built-in Vintage filter. The workflow is quick enough for social or wedding edits. If you want pro-grade control and don’t mind the steeper interface, install DaVinci Resolve for free and build a Power Grade you can reuse on every project. On phones, CapCut’s Retro filter set wins by default; iMovie is the fallback if you want something built into iOS.
#Frequently Asked Questions
Can I add an old film effect using free software?
Yes. DaVinci Resolve is the strongest free option on desktop and includes built-in film grain and film damage effects. CapCut is the strongest free option on mobile, with a Retro filter set that adds grain and scratches in two taps.
Does the effect work on any video resolution?
Best on 1080p or 4K source. A 480p clip’s compression artifacts compete with the grain layer, so the result looks muddy.
Can I apply the effect to part of a video instead of the whole clip?
Yes. In Filmora, drag the effect onto a specific clip on the timeline. In DaVinci Resolve, use a Power Window to mask the area. In CapCut, tap the clip first, then apply the filter so it only attaches to that segment.
Are there copyright issues with film grain or light leak overlays?
Most stock overlay packs are royalty-free, but always read the license file before commercial use. Free packs from sites like Mixkit, Mazwai, and Pixabay are generally safe for personal and commercial work, including paid client projects. Avoid overlays sourced from full movies or TV shows because they carry the original film’s copyright even when extracted as just the grain layer.
What’s the best old-film effect for a wedding video?
Use a soft Super-8 grain at 20 to 30 percent opacity, a warm color cast (push gain toward yellow), and avoid scratches or burns. Wedding footage looks better with a lightly aged home-movie feel than a damaged-print look.
How do I keep the effect consistent across clips?
Save it once: Filmora calls it a Custom Preset, DaVinci a Power Grade, CapCut a copied filter.
Will the file size grow when I add an old film effect?
Slightly, because the added grain reduces compression efficiency. The change is usually small but worth knowing if you’re bumping up against platform upload limits like Discord’s 25MB free-tier cap or older email attachment ceilings. On YouTube or Vimeo, the difference essentially disappears once the server re-encodes the upload.
Can I undo an old film effect after exporting?
No. Once exported, the effect is baked in. Always keep the original source file plus your editor project file so you can re-export with different settings. The video overlay guide covers swapping or layering overlays inside an open project.

Apps Crashing After iOS 27 Update? Fix Order (2026)
Apps crashing after the iOS 27 update? Update the app in the App Store first, then offload and reinstall to clear stale cache, then restart. The fix order.

Do AI Translation Earbuds Work Offline? What to Know
Do AI translation earbuds work offline? A few do with downloaded language packs, but most need the cloud. Here's what works offline and what you give up.

How to Set Up Translation Earbuds (Pairing and Modes)
How to set up translation earbuds: charge, install the app, pair over Bluetooth, pick two languages, and choose a mode. A step-by-step first-use guide.

Translation Earbuds Not Translating? How to Fix Them
Translation earbuds not translating? Usually it's the app, the internet, or the language settings. Here's how to fix pairing, sound, and lag fast.