How to Remove Background Noise in iMovie on Mac and iPhone
Remove background noise in iMovie on Mac, iPhone, and iPad using the built-in noise reduction tool, equalizer presets, and third-party audio apps.
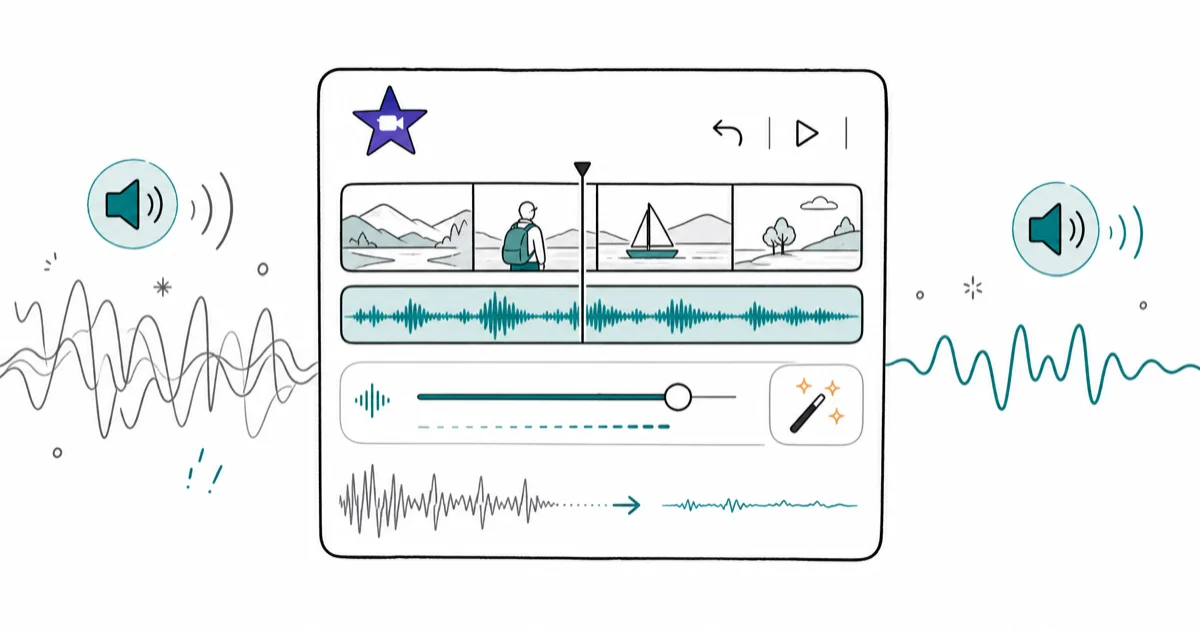
Quick AnswerSelect your clip in iMovie, click the Audio tab, then check Reduce Background Noise and adjust the slider to control strength. On iPhone, tap the wand icon and use the Auto level option.
iMovie’s built-in noise reduction cuts ambient hum, wind, and room reverb from your clips without any third-party software. The Mac version gives you a dedicated slider; iPhone and iPad users get an Auto level option that handles basic cleanup. Start with a light setting and increase only as much as needed while listening for muffled speech.
- On Mac, select a clip, click the Audio tab, and check “Reduce background noise” to adjust the slider up to 100 percent.
- The Equalizer “Voice Enhance” preset in iMovie further improves dialogue clarity after applying noise reduction.
- The iOS version of iMovie has limited noise reduction tools; third-party apps like Krisp or AudioFix work better for mobile editing.
- Excessive noise reduction makes audio sound muffled, so start at 30 percent and increase gradually while listening.
- Capturing clean audio at the source with a lavalier or shotgun mic reduces how much post-production removal you need.
For steady hum and room tone, iMovie’s Reduce Background Noise slider is most useful when adjusted gradually while monitoring speech clarity. Stop before the voice starts sounding dull or robotic.
#How to Remove Background Noise in iMovie on Mac?
The Mac version of iMovie offers the most complete noise reduction tools. Here’s how to use them. According to Apple’s iMovie audio guide, iMovie keeps audio cleanup inside clip-level controls. Apple states that clip audio can be adjusted inside iMovie, which confirms that noise reduction should be tried before exporting to another editor.
- Open your project in iMovie and select the clip you want to edit in the timeline.
- Click the Audio tab in the top-right corner of the interface.
- Look for the Noise Reduction and Equalizer button above the Viewer pane.
- Click it to open the audio adjustment panel.
- Check the box next to Reduce background noise to activate the feature.
- Drag the slider to adjust intensity. Start at 30 percent and increase while monitoring the audio.
- Play back the clip to hear the changes in real-time.
Keep in mind that excessive noise reduction creates a muffled or robotic sound. A setting between 40 and 70 percent works for most recordings. Apple’s iMovie audio support page states that the Reduce Background Noise slider runs from 0 to 100 percent and works on selected clips without destructively altering the original media file.
#Using the Equalizer for Better Clarity
After applying noise reduction, the Equalizer can further improve dialogue:
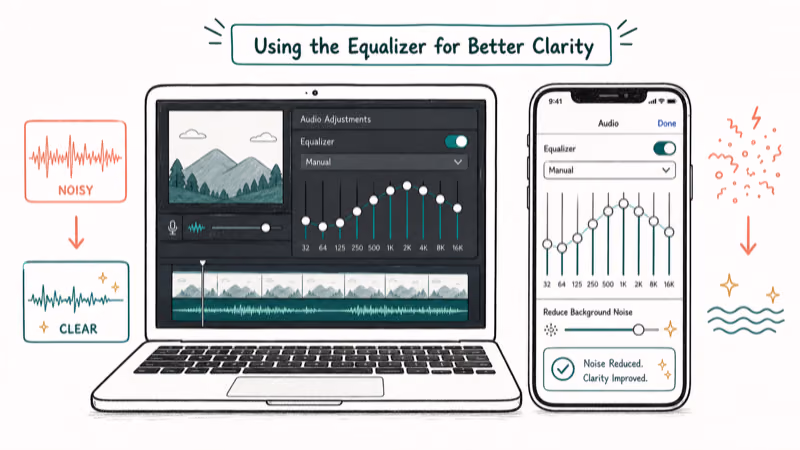
- In the same audio panel, click the Equalizer dropdown menu.
- Choose Voice Enhance for spoken dialogue or Music Enhance for background tracks.
- Experiment with different presets to find the best match for your content.
#How to Reduce Noise in iMovie on iPhone and iPad?
The mobile version of iMovie has limited noise reduction tools compared to the Mac version.
- In your iMovie project on iOS, tap your video clip in the timeline.
- Tap the wand icon at the top of the screen to open video effects.
- Tap Audio in the pop-up.
- Use the Auto option to let iMovie automatically balance and reduce background noise.
This Auto mode works well for mild noise but won’t handle heavy hum or wind noise.
#Third-Party Apps for iPhone Noise Reduction
Try these before importing audio into iMovie:
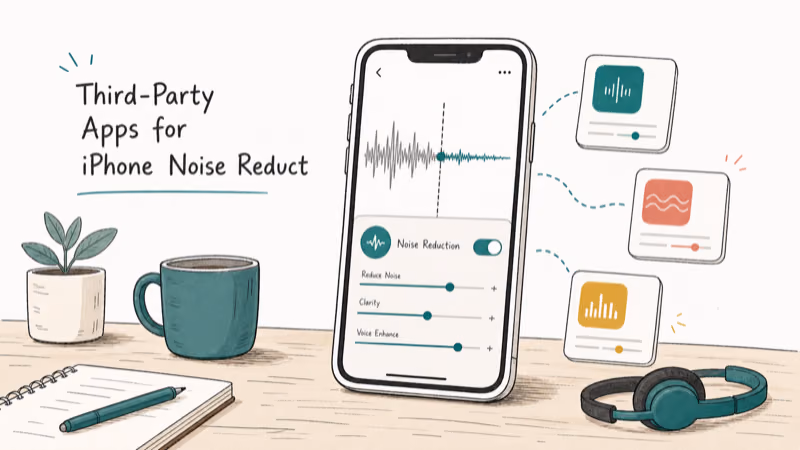
- Krisp uses AI to remove background noise in real-time from any recording app.
- AudioFix offers noise reduction and volume normalization for clips already on your Camera Roll.
- Denoise specializes in removing wind and ambient hum from phone recordings.
Record your audio in a separate app with noise reduction enabled, then import the cleaned file into iMovie. For tips on importing audio, see our guide on how to import MP4 into iMovie. If your video has rendering issues after the edit, check our iMovie rendering error troubleshooting guide.
#Advanced Audio Editing Techniques in iMovie
For more control over your audio, detach and edit it separately from the video.
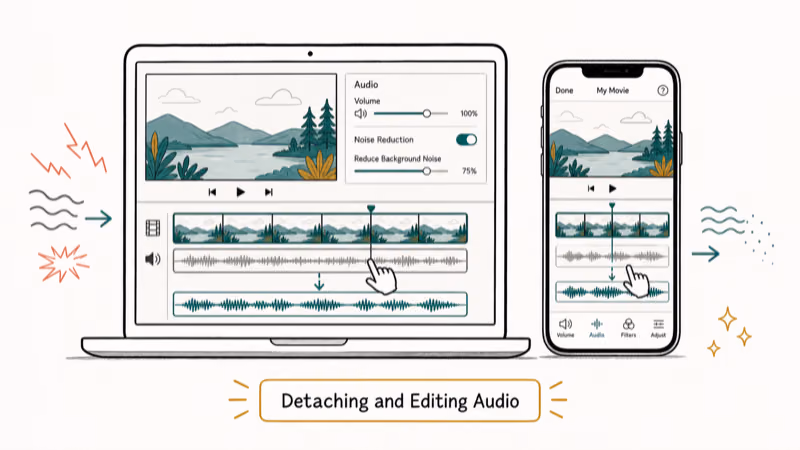
#Detaching and Editing Audio
- Right-click your video clip in the timeline.
- Select Detach Audio to separate the audio track.
- Edit the audio independently without affecting the video.
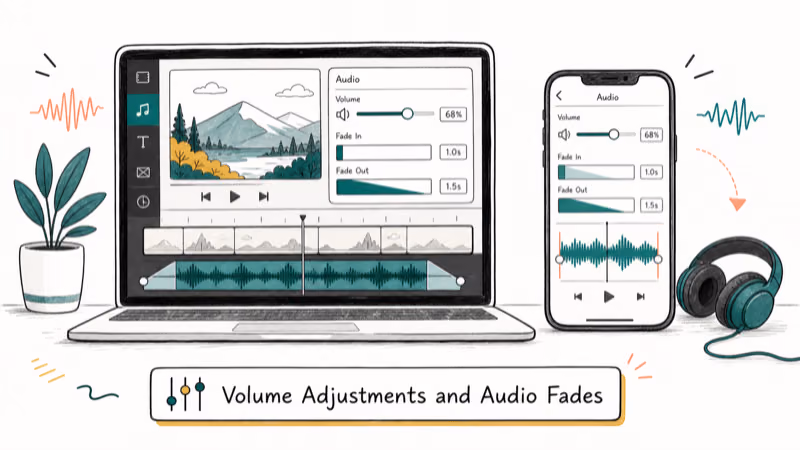
#Volume Adjustments and Audio Fades
Use the volume control line in the audio waveform to adjust levels at specific points. To add fades, hover over the start or end of an audio clip and drag the fade handle to create a gradual volume change. This hides noise at the beginning and end of clips effectively.
#Displaying Audio Waveforms
Enable waveforms to visually spot noise-heavy sections:
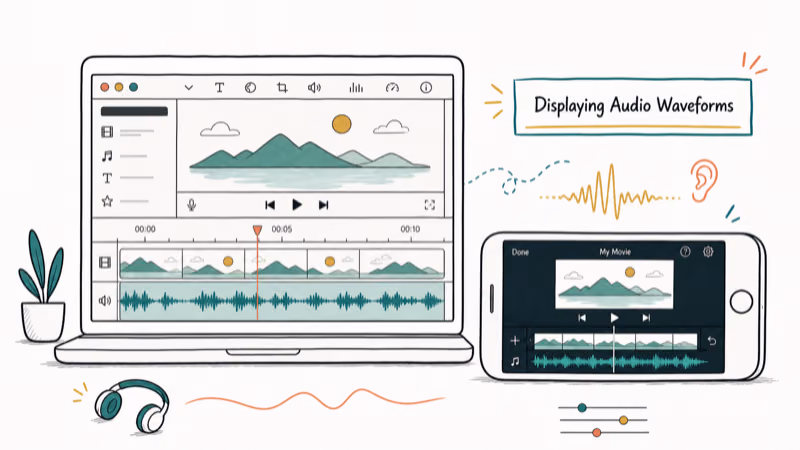
- Go to i
Movie Preferences>Editing. - Check Show audio waveforms to display them in the timeline.
The waveform view shows noise spikes clearly. You can split the clip at those points and remove just the noisy sections.
#Best Practices for Cleaner Audio Before Editing
Preventing noise at the recording stage is always more effective than removing it in post.
Choose the right microphone. Lavalier mics capture dialogue 10 to 15 dB louder than the room when clipped close to the speaker. This drastically reduces the noise floor before any processing is applied.
Record in a controlled environment. Turn off appliances, close windows, and choose rooms with carpets or curtains.
Position mics close to the sound source. Six to eight inches is ideal for voice. At that distance, the voice signal is 15 to 20 dB stronger than ambient room noise.
For Windows-based recording projects, see our guide on how to reduce background noise on mic in Windows 10.
#Alternatives When iMovie Isn’t Enough
When iMovie’s noise reduction doesn’t solve the problem, these tools offer more control.
Audacity is free and open-source with powerful noise removal. The Noise Reduction effect lets you profile a noise sample and subtract it across the entire recording.
Adobe Audition is professional-grade audio software with spectral editing and adaptive noise reduction. It’s part of Creative Cloud and works alongside Premiere Pro.
iZotope RX handles advanced audio repair for hum, clicks, and complex noise.
Related fone.tips guides you may want next:
- How to remove reverb from audio — deeper dive on reverb-specific cleanup once iMovie’s slider isn’t enough.
- Change the aspect ratio in iMovie — useful framing fix after you finish the audio pass.
#Troubleshooting Common iMovie Audio Issues
Noise persists after applying reduction: Try isolating the noise frequency using the Equalizer. A high-pass filter removes low-frequency hum below 100 Hz. If the noise remains, consider re-recording the problematic section.
Audio out of sync after detaching: Detach the audio, then manually align the audio track using visual cues in the video. A clap at the start of the recording makes syncing much easier.
Audio is missing from the timeline: Check that tracks aren’t muted in the clip controls.
#Bottom Line
For Mac users, iMovie’s Reduce Background Noise slider handles many common hum and room-tone problems when used conservatively. On iPhone, record audio separately using an app with noise reduction enabled, then import the clean file into iMovie. For difficult noise, Audacity’s Noise Reduction effect is free and handles problems that iMovie can’t.
#Frequently Asked Questions
Does iMovie have noise reduction on iPhone?
iMovie on iPhone has a basic Auto audio enhancement option, but it doesn’t offer a manual noise reduction slider like the Mac version. For precise control on iPhone, use a dedicated app like AudioFix or Krisp before importing audio into iMovie.
How much noise reduction is too much in iMovie?
Above 70 to 80 percent, iMovie’s noise reduction typically starts creating a hollow, robotic effect on speech. Start at 30 percent and increase in 10 percent increments while listening. Most recordings sound best between 40 and 60 percent.
Can I remove noise from a video already recorded on iPhone?
Yes. Import the video into iMovie, select the clip, open the Audio tab, enable noise reduction, and adjust the slider. Alternatively, export just the audio, process it in Audacity, and replace the audio track in iMovie.
What’s the difference between Noise Reduction and the Equalizer in iMovie?
Noise Reduction reduces the overall level of background noise across all frequencies. The Equalizer adjusts specific frequency ranges. Voice Enhance boosts midrange frequencies where speech clarity lives, while reducing low rumble and high hiss.
Does iMovie on Mac support third-party audio plugins?
No, iMovie doesn’t support third-party plugins or AU audio units. For plugin support, you need GarageBand or a dedicated DAW like Logic Pro.
Will detaching audio affect video quality in iMovie?
No. Detaching audio separates the audio and video tracks in the timeline but doesn’t affect video quality or resolution. Both tracks remain linked to the same clip and export together.

Apps Crashing After iOS 27 Update? Fix Order (2026)
Apps crashing after the iOS 27 update? Update the app in the App Store first, then offload and reinstall to clear stale cache, then restart. The fix order.

Do AI Translation Earbuds Work Offline? What to Know
Do AI translation earbuds work offline? A few do with downloaded language packs, but most need the cloud. Here's what works offline and what you give up.

How to Set Up Translation Earbuds (Pairing and Modes)
How to set up translation earbuds: charge, install the app, pair over Bluetooth, pick two languages, and choose a mode. A step-by-step first-use guide.

Translation Earbuds Not Translating? How to Fix Them
Translation earbuds not translating? Usually it's the app, the internet, or the language settings. Here's how to fix pairing, sound, and lag fast.