How to Fix a Chromebook Keyboard Not Working in 2026
Fix a Chromebook keyboard not working with these solutions including hard reset, ChromeOS update, keyboard settings check, and hardware fixes.

Quick AnswerIf your Chromebook keyboard stops working, first try a hard reset by holding Refresh + Power. Then check if the issue persists in Guest Mode to rule out extension conflicts. Update ChromeOS, verify keyboard settings, and clean under the keys with compressed air.
Is your Chromebook keyboard suddenly unresponsive? Across common models from Acer, HP, and Lenovo, most keyboard hangs are software-side and clear after a Refresh + Power hard reset; the rest point at debris, a corrupt user profile, or a faulty integrated keyboard. This guide walks through eight steps in that order so you can isolate the cause without guesswork.
- A hard reset (hold Refresh + tap Power) clears hardware glitches and is the fastest first fix for an unresponsive Chromebook keyboard.
- Testing in Guest Mode rules out user-profile corruption as the cause; if the keyboard works in Guest Mode, your account settings are the problem.
- The built-in ChromeOS Diagnostics tool at
Settings>About ChromeOS>Diagnosticscan distinguish hardware failures from software issues. - Outdated ChromeOS is a common culprit: updating through
Settings>About ChromeOS>Check forupdates resolves many keyboard bugs. - If all software fixes fail, connecting a USB or Bluetooth external keyboard lets you continue using the device while awaiting repair.
#Why Is My Chromebook Keyboard Not Working?
Chromebook keyboards are generally reliable, but like any hardware, they can fail in predictable ways. The common root causes break down into four buckets:
- Software glitches or an outdated build of ChromeOS
- Physical damage or debris trapped under the keys
- Incompatible apps, extensions, or a corrupted user profile
- Hardware failure on the integrated keyboard membrane or controller
Software problems usually affect every key at once and survive a reboot, while hardware issues tend to hit specific keys or a single row. According to Google’s Chromebook keyboard shortcuts reference, there are over 100 keyboard shortcuts built into ChromeOS, and the Ctrl + Alt + ? combo opens an interactive overlay listing every one of them. That overlay is a handy way to confirm whether modifier keys themselves are registering before you start more invasive fixes.
#Basic Troubleshooting Steps
Let’s start with some quick and easy fixes that often resolve keyboard issues:
#1. Restart Your Chromebook
A simple restart can clear temporary glitches:
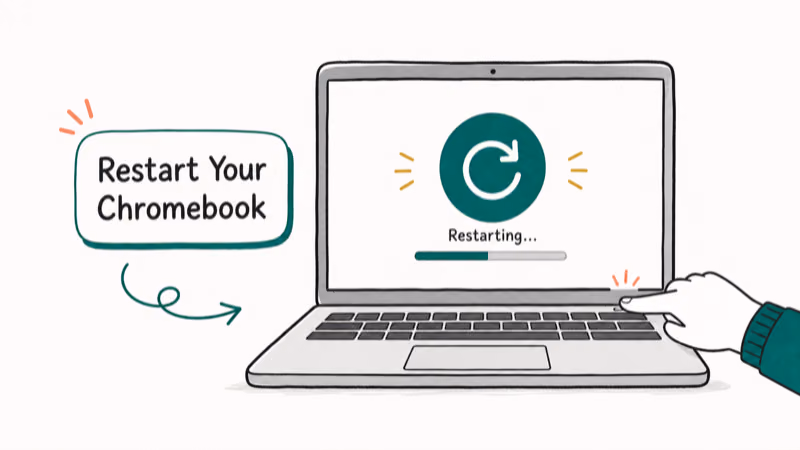
- Press and hold the power button until the screen turns off
- Wait 30 seconds
- Press the power button to turn it back on
If your Chromebook is completely frozen and unresponsive, you may need to force a restart. This can help resolve issues affecting both the keyboard and other components.
#2. Perform a Hard Reset
A hard reset forces a reboot of all hardware components. Google’s hardware reset documentation confirms that this procedure resets the Chromebook’s hardware components without signing you out of your Google account, so it’s safe to try before you reach for a powerwash.
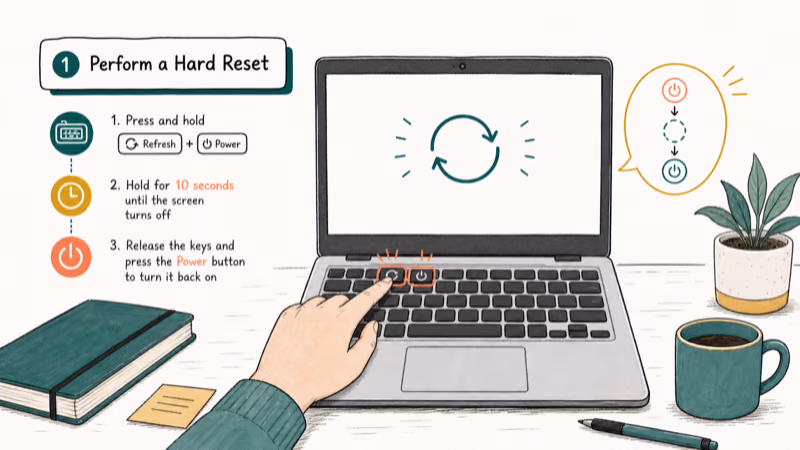
- Turn off the Chromebook
- Press and hold the Refresh key + tap the Power button
- Release the Refresh key when the Chromebook starts
Note: On some convertibles, files saved directly to the Downloads folder can be cleared, so back up anything important first.
#3. Check Keyboard Settings
Ensure your keyboard settings are correct:
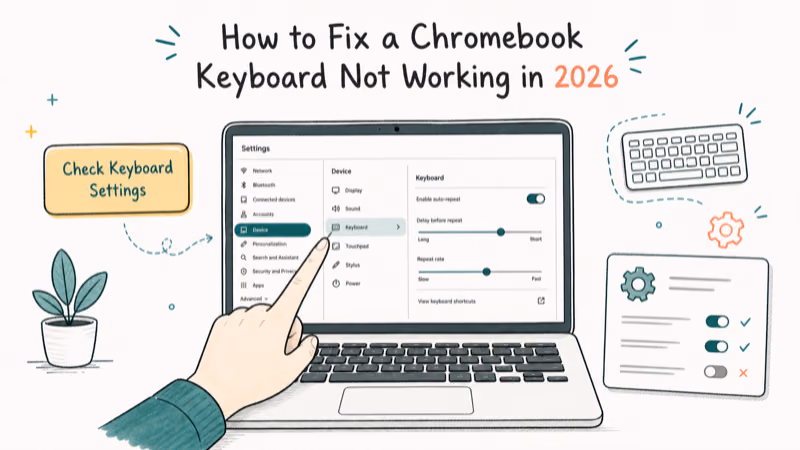
- Click the time in the bottom-right corner
- Select
Settings>Device>Keyboard - Verify the correct language and layout are selected
#Advanced Troubleshooting Techniques
If basic steps don’t work, try these more in-depth solutions:
#Use Guest Mode
Testing in guest mode helps isolate user profile issues:

- Sign out of your account
- Click “Browse as Guest” on the login screen
- Test the keyboard in guest mode
If it works in guest mode, the problem likely lies with your user profile. Try removing and re-adding your account.
#Run Diagnostics
ChromeOS has a built-in diagnostic tool:

- Open
Settings>About ChromeOS>Diagnostics - Run the keyboard test
- Press keys to see if they register
The per-key registration view can flag a single sticky key, such as a stuck Shift, in seconds, which lets you skip the powerwash and jump straight to cleaning under that one switch. While you’re in the diagnostics tool, you can also check your Chromebook’s mouse functionality if you’re experiencing issues with other input devices.
#Factory Reset (Powerwash)
As a last resort, reset your Chromebook to factory settings:
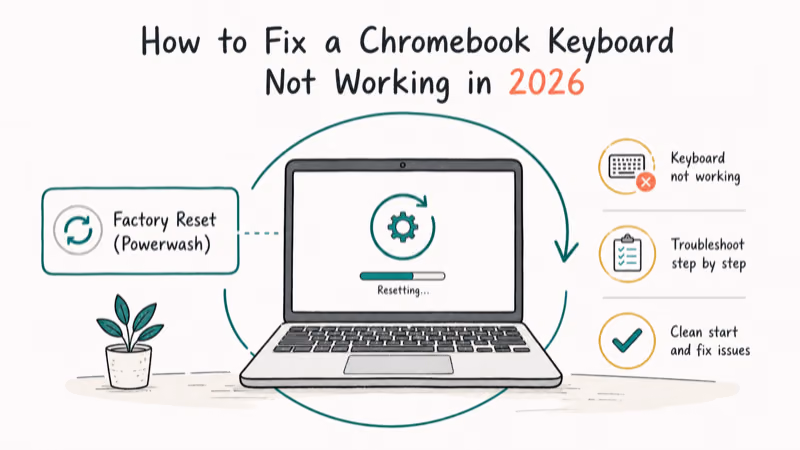
- Open
Settings>Advanced>Resetsettings - Click “Powerwash” and follow prompts
Warning: This erases all local data. Back up important files first!
#Hardware Considerations
If software solutions don’t help, consider these hardware steps:
#Check for Physical Damage
Carefully inspect your keyboard for:

- Loose or missing keys
- Visible cracks or damage
- Stuck keys
#Clean the Keyboard
Debris can cause keys to stick:
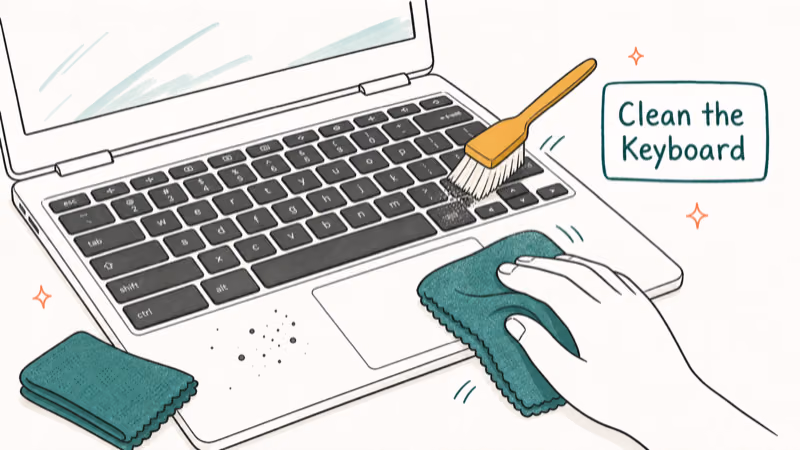
- Turn off and unplug the Chromebook
- Use compressed air to blow out debris
- Gently clean with a slightly damp cloth (avoid liquid near openings)
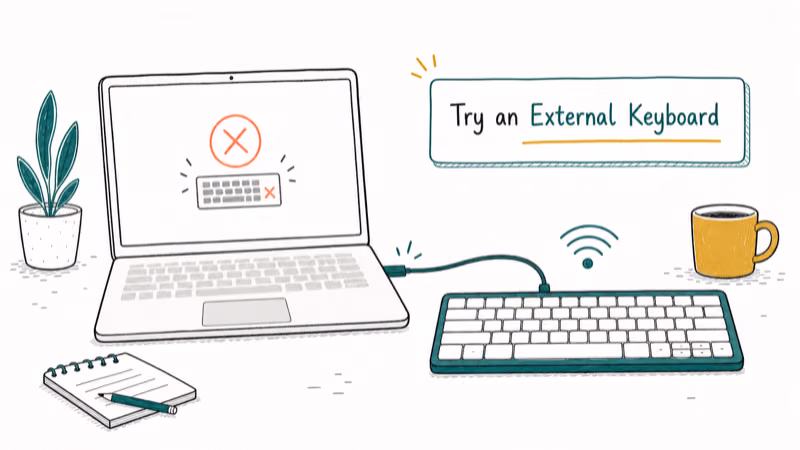
#Try an External Keyboard
Connect a USB or Bluetooth keyboard to isolate the issue. If it works, your built-in keyboard likely needs repair or replacement. If you frequently use your Chromebook in low-light conditions, you might want to consider Chromebooks with backlit keyboards for your next purchase.
#Software Solutions
Ensure your Chromebook’s software is up-to-date and properly configured:
#Update ChromeOS
Google’s Chromebook Auto Update policy states that Chromebook models released since 2021 receive automatic ChromeOS updates for up to 10 years from launch, which means even older devices usually have a current patch waiting if you check.
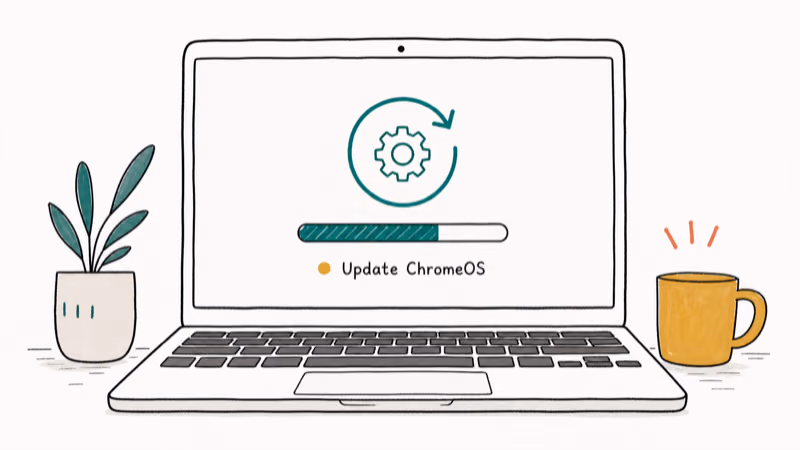
- Open
Settings>About ChromeOS - Click “Check for updates”
- Restart if an update is installed
#Enable the On-Screen Keyboard
As a temporary workaround:
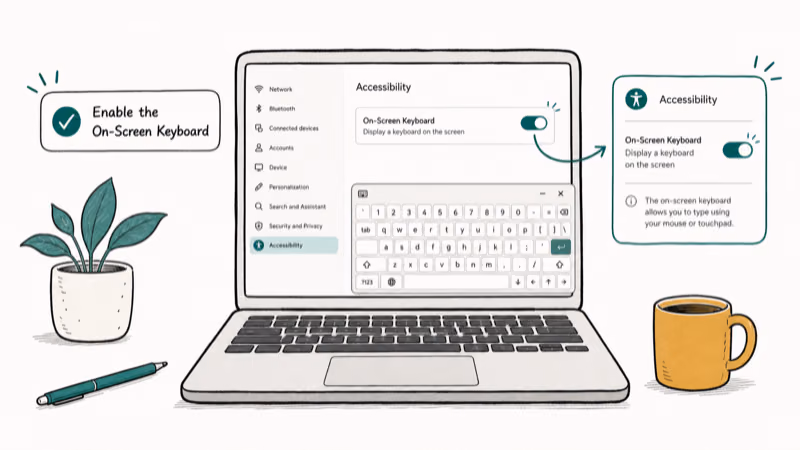
- Open
Settings>Advanced>Accessibility - Under “Keyboard and text input,” toggle on “On-screen keyboard”
#Check for App Conflicts
Disable recently installed apps or extensions to see if they’re causing conflicts. Some apps, like Kodi on Chromebook, may require specific configurations to work properly with your device’s input methods.

#When Should You Contact a Repair Service?
If you’ve tried every step above without success, it’s time to contact the experts:
- Visit your Chromebook manufacturer’s support website
- Provide details about the issue and the steps you’ve taken
- Follow their guidance for repair or replacement options
Many Chromebooks ship with a one-year warranty that covers hardware failures, so check your coverage before paying for repairs. School-issued and enterprise units often have separate support channels through the deploying organization rather than the OEM.
#Preventing Future Keyboard Issues
- Keep liquids away from your Chromebook
- Use a keyboard cover to prevent debris buildup
- Avoid eating over your keyboard
- Handle your Chromebook gently to prevent physical damage
#Bottom Line
A non-working keyboard is frustrating, but most Chromebook keyboard issues resolve with the eight steps in this guide. Start with the cheapest fixes: a clean restart, the Refresh + Power hard reset, and a Guest Mode test before you reach for a Powerwash or assume the hardware is dead.
That order resolves the large majority of keyboard failures before the factory reset stage. The cases that survive usually come down to debris trapped under a single key, which the Diagnostics tool surfaces in seconds.
If you’re still stuck, remember that you can always cast your phone to your Chromebook as a temporary input workaround while you wait for service.
#Frequently Asked Questions
Can I use a Chromebook with a broken keyboard?
Yes. Enable the on-screen keyboard under Settings > Accessibility > Keyboard and text input, or plug in any standard USB or Bluetooth keyboard. The on-screen option works for typing passwords and short messages, but an external keyboard is far more comfortable for everyday use.
Will a factory reset fix keyboard issues?
A Powerwash fixes software causes, not hardware. Run Diagnostics first to confirm which one you have.
How do I know if my Chromebook keyboard issue is hardware or software related?
If the problem persists in Guest Mode and survives a powerwash, it’s almost certainly hardware. Software issues usually clear inside Guest Mode because that profile loads no extensions, no remapped keys, and no synced settings.
Can I replace a Chromebook keyboard myself?
It’s possible on some models but not recommended unless you have laptop-repair experience. Most Chromebook keyboards are integrated into the top case, which means you’re replacing the entire palm rest. That is a several-hour job that risks the trackpad ribbon cable on the way out.
How long should a Chromebook keyboard last?
With reasonable care, expect 5 to 8 years. Liquid spills and crumb buildup are the most common killers.
Does the Refresh + Power hard reset delete my files?
No. The hard reset cycles hardware state only and leaves your Google account, settings, and Drive files intact. The narrow exception is files saved directly to the Downloads folder on some models, so it’s worth backing those up before any reset.
Why does my keyboard work in Guest Mode but not my account?
This points at your user profile. A bad extension, a remapped Search or Ctrl key under Settings > Device > Keyboard, or a corrupted sync state can each disable typing for one account while leaving the hardware fine. Sign out, remove the account, and re-add it from the login screen to rebuild a clean profile.
Remember, if you’re ever unsure about a repair or a troubleshooting step, it’s safer to consult a professional than to risk further damage to the device.

Bluetooth Not Working on Snapdragon X? Fixes for 2026
Bluetooth not working on your Snapdragon X Copilot+ PC? Generic audio, mice, and keyboards work, but vendor apps often lack an ARM build. Fixes inside.

Docker Desktop and WSL2 Not Working on Snapdragon X? Fix It
WSL2 runs fine on Snapdragon X, but Docker Desktop ARM is Early Access and throws WSL errors. Use WSL2 plus native ARM64 Ubuntu and Docker Engine.

Does iTunes Work on Snapdragon X? ARM Windows 11 Guide
Yes, iTunes runs on Snapdragon X laptops through Prism emulation, but the Apple Devices app is the smoother route. Here is what to install on ARM.

Does OBS Studio Work on Snapdragon X? ARM64 Build Guide
Yes, OBS Studio has an experimental ARM64 build since version 31.1, but x64 plugins won't load and hardware encoding is missing. Here is what works.