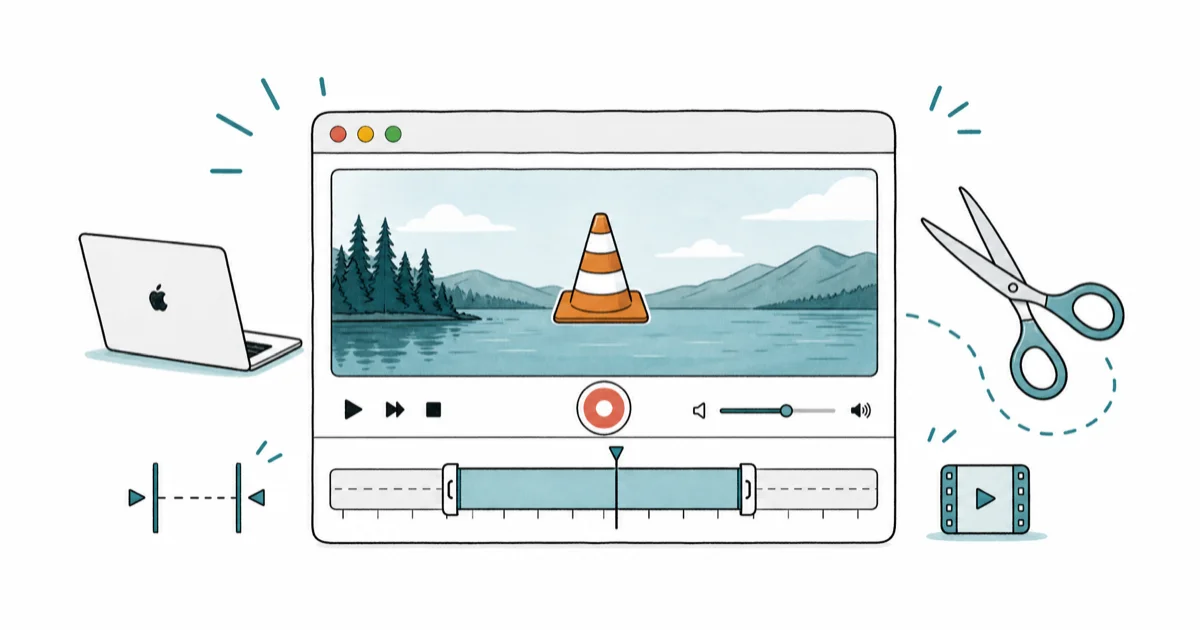
How to Trim Videos in VLC on macOS: A Comprehensive Guide
Learn how to trim videos using VLC Media Player on macOS with Advanced Controls and the record feature for free, no extra software needed on Mac computers.
Quick AnswerOpen VLC on Mac, enable Advanced Controls from View menu, play your video to the start point, click the red Record button, then click Record again at the end point to save your trimmed segment.
VLC Media Player isn’t just for playing videos. It’s your secret weapon for professional video trimming on macOS. This comprehensive guide walks you through VLC’s powerful built-in record feature, showing you step-by-step techniques for creating clean, high-quality video segments without spending money on expensive editing software or compromising your original video quality through re-encoding processes.
- VLC trims video using the record button in Advanced Controls mode, which saves segments between button presses without re-encoding for perfect quality preservation
- Enable Advanced Controls by clicking
View>Advanced Controlsin VLC’s menu bar (the red record button won’t appear in the default interface) - Set your output folder in
VLC Preferences>Input/Codecs>Recorddirectory before trimming to control where trimmed files are saved - Trimmed files are automatically saved with “vlc-record” prefix plus timestamp, so rename them immediately for better organization
- Use E key (next frame) and D key (previous frame) for frame-accurate positioning before hitting record for precise cuts
#VLC Video Trimming Benefits on Mac
VLC Media Player offers a completely free solution for trimming videos on macOS without installing additional software. According to VideoLAN’s official documentation, VLC supports a wide range of video formats, making it more versatile than QuickTime Player’s limited format support.
Unlike screen mirroring apps, which display content, VLC trimming works with existing video files. This makes it perfect for editing downloaded videos or clips you’ve received from others.
VLC’s trimming feature can complete simple cuts quickly on macOS. The no re-encoding approach means your original video quality stays intact, which sets VLC apart from many other free video editors.
#How to Enable VLC’s Video Trimming Feature
VLC’s trimming functionality requires enabling Advanced Controls first. Here’s the exact process:
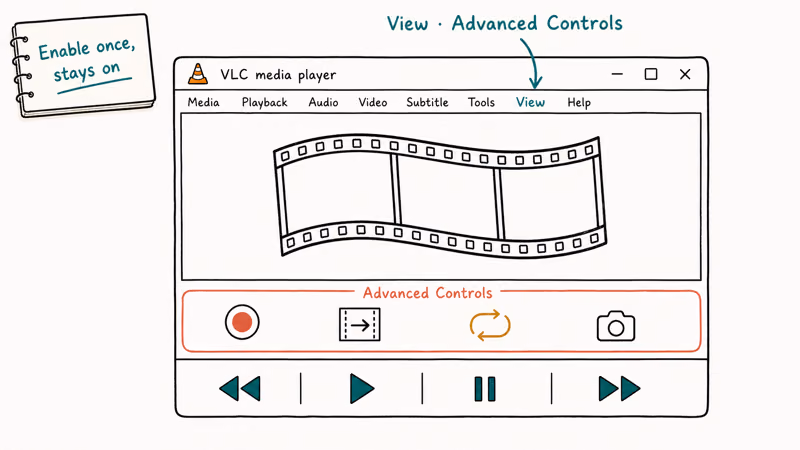
- Open VLC Media Player on your Mac
- Click View in the menu bar
- Select Advanced Controls from the dropdown menu
- Look for the red record button that appears in the control bar
This one-time setup enables VLC’s hidden recording capabilities, transforming the basic media player into a powerful video editing tool that rivals expensive professional software for basic trimming tasks.
In VLC 3.x, Advanced Controls appear below the standard playback controls. The record button sits between the loop and snapshot buttons. It’s the circular red icon you’ll use for trimming.
#Setting Up Your Save Location
Before trimming any videos, configure where VLC saves your trimmed files:
- Go to
VLC>Preferences(or press Cmd + ,) - Click the Input/Codecs tab
- Find “Record directory or filename”
- Click Browse and select your preferred save folder
Choose a dedicated folder such as “VLC Trims” for easy access. VLC remembers this location for all future trimming sessions, which saves time when you’re working on multiple video projects throughout the day.
#Step-by-Step Video Trimming Process
#Opening Your Video File
- Launch VLC Media Player
- Go to
File>Open File(or press Cmd + O) - Select your video file and click Open
VLC handles virtually any video format you’ll encounter, from common MP4 and MOV files to specialized formats like MKV, AVI, WMV, FLV, and dozens of others. This broad format support makes VLC more versatile than platform-specific editors that often require format conversion before editing, which wastes time and potentially degrades quality through unnecessary re-encoding processes.
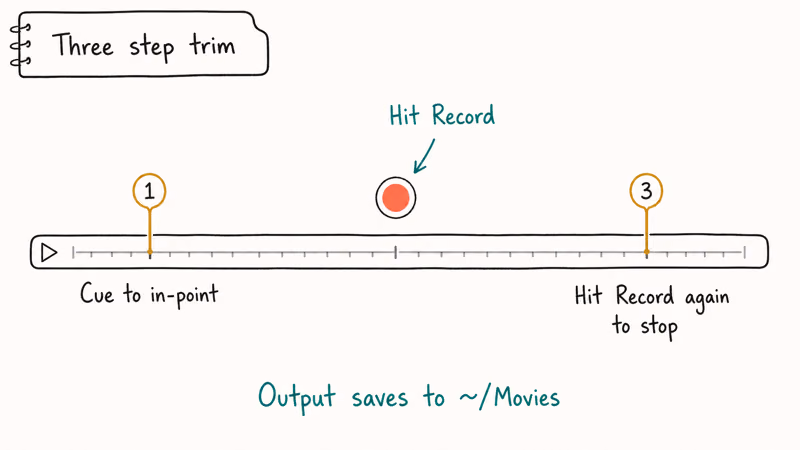
#Positioning and Recording Your Trim
- Play your video and go to the starting point of your desired clip
- Pause the video at the exact start frame
- Click the red record button (you’ll see it become highlighted)
- Resume playback and let the video play through your desired segment
- Click the record button again to stop recording at your end point
The trimmed segment is automatically saved to your specified directory with a filename like “vlc-record-2026-05-17-14h30m25s-video-name.mp4”. This automatic timestamp naming prevents accidental overwriting of existing files, but you’ll want to rename your clips immediately after trimming for better organization and easier identification in your project folders.
#Advanced Precision Cutting Techniques
For frame-accurate trimming, use VLC’s keyboard shortcuts:
- E key: Advance one frame forward
- D key: Go back one frame
- Space: Play/pause
- J/L keys: Rewind/fast forward
- Shift + Left/Right arrows: Jump 3 seconds
Each E or D key press moves one frame at a time. This precision is perfect for cutting out specific moments or removing unwanted sections.
#Slow Motion for Better Accuracy
You can also slow down playback speed for easier positioning, which is particularly helpful when working with fast-paced action sequences or trying to identify the exact moment when dialogue begins or ends:
- While video is playing, press - (minus) to slow down
- Press + (plus) to speed up
- Press = to return to normal speed
Try 0.5x speed when you need extra control. Slower playback helps identify exact cut points in dialogue or action sequences, especially when editing voice recordings or removing audio segments.
#Can VLC Trim Multiple Segments from One Video?
VLC’s record feature trims one segment at a time. For multiple segments from the same video:
- Trim your first segment using the record method
- Reposition to your next desired start point
- Record your second segment
- Repeat as needed
Each recording creates a separate file, so repeat the record process for every segment you want to keep.
For complex multi-segment editing, consider Filmora which offers timeline-based editing with more advanced features. If you need to convert video formats, VLC also includes conversion tools beyond trimming.
Some links on this page are affiliate links, which means fone.tips may earn a commission at no extra cost to you.
#Why Isn’t My Trimmed Video Saving?
If your trimmed video isn’t appearing in the save folder:
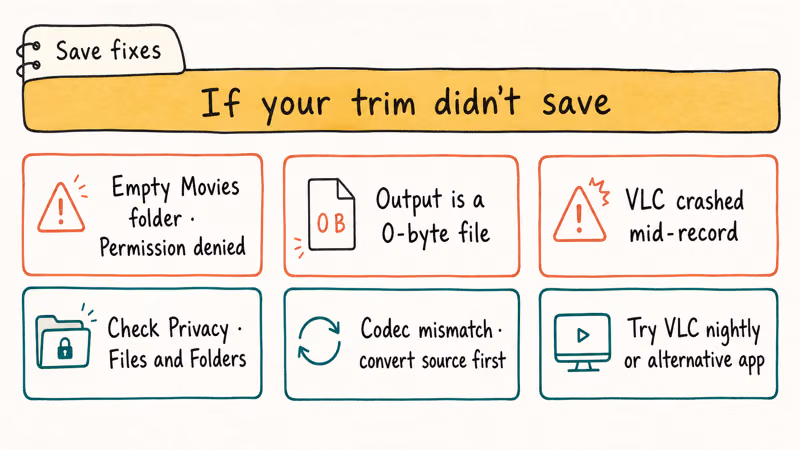
#Check Your Save Directory
- Open
VLC Preferences>Input/Codecs - Verify the “Record directory” path is correct
- Ensure you have write permissions for that folder
#Verify Recording Started
When you click the record button, it should:
- Turn bright red or become highlighted
- Sometimes show a small recording indicator in VLC’s interface
On some Mac systems, the record button’s visual feedback is subtle. If you’re unsure whether recording started, check your save folder immediately after clicking record.
#File Permission Issues
If VLC can’t write to your chosen directory:
- Right-click your save folder in Finder
- Select Get Info
- Check that your user account has Read & Write permissions under “Sharing & Permissions”
#Best VLC Alternatives for Mac Video Trimming
While VLC excels at basic trimming, here are other options:
QuickTime Player (Free, built into macOS):
- Simple trimming with drag-to-select interface
- Limited format support (primarily MOV and MP4)
- No advanced controls for frame-accurate editing
iMovie (Free from Apple):
- Timeline-based editing for complex projects
- Built-in effects and transitions
- Excellent for beginners but steeper learning curve than VLC
For audio extraction from videos, you might also want to check our guide on converting MP4 to WAV for lossless extraction.
According to Apple’s iMovie import guide, iMovie imports video, photos, and audio from your Mac, though it accepts fewer input formats than VLC while offering more post-production features.
According to Adobe’s video editing guidelines, dedicated software is the better choice when working with multiple formats or complex projects.
For professional work, Filmora provides advanced features like multi-track editing, color correction, and audio mixing — though it’s paid software starting at $69.99 annually.
#Bottom Line
VLC Media Player is the best free option for basic video trimming on macOS. The record-button method creates clean cuts without quality loss, frame-by-frame navigation gives you professional-level precision, and the wide format support beats QuickTime Player hands down.
Choose VLC when you need quick, quality-preserving trims from various video formats. Consider iMovie or Filmora when you need timeline editing, effects, or multiple segments in one project. For simple one-off trims, VLC’s free solution can’t be beat.
Mac Tips & Tricks
#Frequently Asked Questions
Can I undo a trim in VLC after it’s saved?
VLC doesn’t have an undo feature for completed trims. The original file remains unchanged, but you can’t reverse a saved trim. Always work with copies of important videos to avoid accidentally overwriting your originals.
Does trimming in VLC reduce video quality?
No, VLC’s record method creates copies of the original video segments without re-encoding. The trimmed segments maintain the same bitrate, resolution, and codec as the source.
What’s the maximum video length VLC can trim?
VLC can handle videos of virtually any length, but larger files may require more RAM. Performance depends on your Mac’s specifications rather than VLC itself.
Can I trim videos while they’re playing from a DVD or streaming source?
VLC can record from any source it can play, including DVDs and some streaming content. However, many streaming services have copy protection that prevents recording. Physical DVDs usually work fine for personal backup purposes.
Why does my trimmed video have a different filename format?
VLC automatically generates filenames with the format “vlc-record-YYYY-MM-DD-HHhMMmSSs-original-name.extension”. This timestamp system prevents overwriting existing files. You can rename the files immediately after trimming for better organization.
Can VLC merge multiple trimmed segments into one video?
VLC’s basic trimming feature creates separate files for each segment. To combine multiple clips, you’ll need to use VLC’s conversion feature or switch to dedicated video editing software like iMovie or Filmora for timeline-based editing.
What video formats work best with VLC trimming on Mac?
VLC handles virtually all video formats. Common formats such as MP4, MOV, and AVI are usually straightforward, while more complex codecs like HEVC or VP9 may take slightly longer to process. The trimming speed depends more on your Mac’s processor than the video format.
Does VLC preserve audio quality when trimming videos?
Yes, VLC maintains original audio quality and sync during trimming. Both video and audio streams are copied without re-encoding or compression.
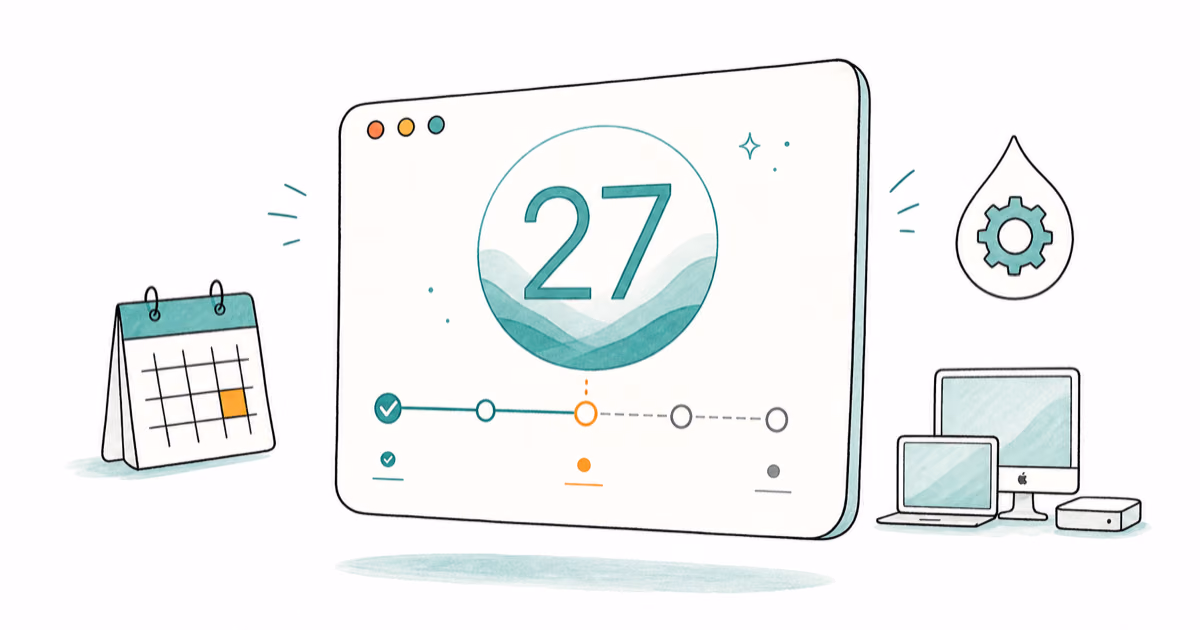
macOS 27 Golden Gate: Release Date and Compatible Macs
macOS 27 Golden Gate was announced at WWDC 2026. Here is the release date, the Apple Silicon-only compatible Mac list, and every confirmed new feature.
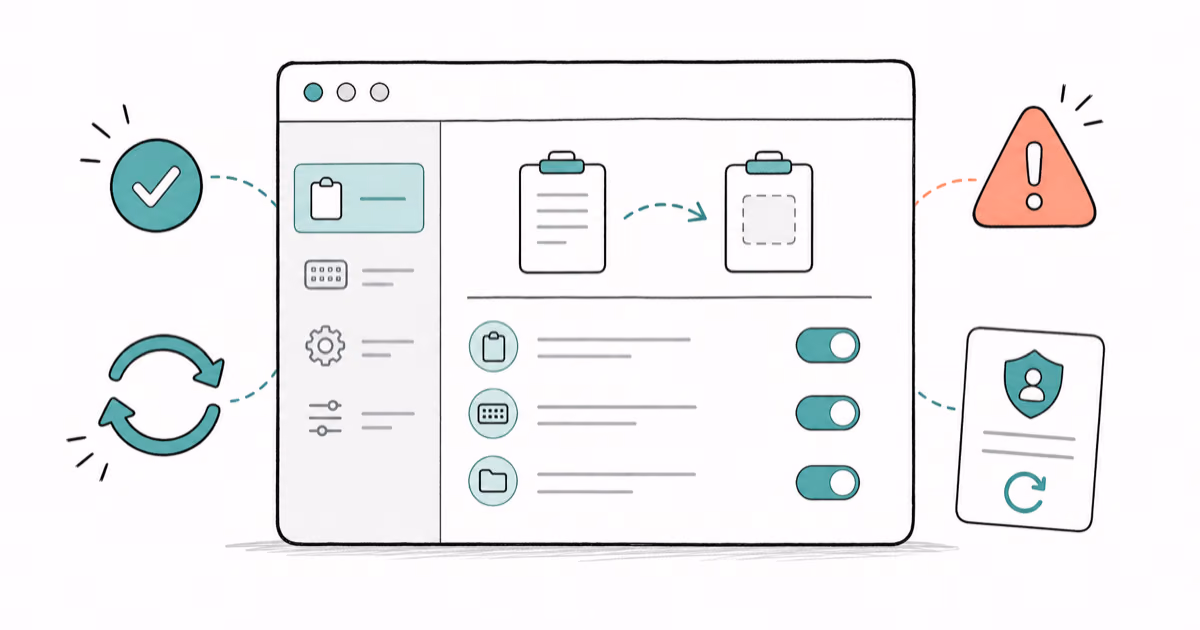
How to Copy and Paste on a Mac: Shortcuts and Fixes
Copy and paste on a Mac with Command-C and Command-V. Learn the cut shortcut, paste without formatting, Universal Clipboard, and fixes when it breaks.
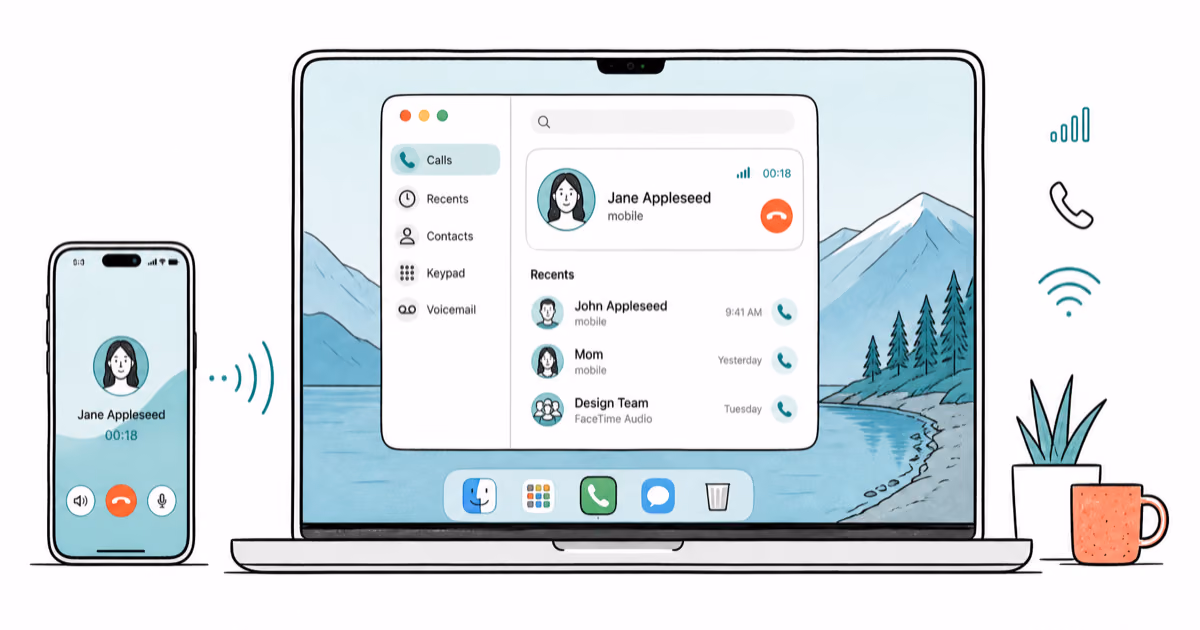
How to Use the Phone App on Mac: macOS Tahoe Setup Guide
Set up the Phone app on macOS Tahoe to relay iPhone cellular calls. Covers requirements, FaceTime setup, Call Screening, and common firewall fixes.

How to Use iPhone Mirroring on Mac: Full 2026 Setup Guide
Set up iPhone Mirroring on macOS Sequoia with iOS 18. Covers hardware requirements, the six common error messages, EU limits, and a shared-Mac privacy fix.