How to Fix iPhone Camera Not Working: 10 Proven Fixes
Fix your iPhone camera not working with 10 proven methods. Covers black screens, blurry photos, frozen apps, and hardware diagnosis for all models.
Quick AnswerClose the Camera app from the app switcher, then restart your iPhone. If the camera still shows a black screen or freezes, update iOS, reset all settings, and check for physical obstructions on the lens.
Your iPhone camera shows a black screen, freezes on launch, or takes blurry photos. The ten fixes below work across modern iPhones, from the iPhone 15 Pro on iOS 18 down to the iPhone SE (3rd gen) on iOS 17. Force-closing the Camera app and restarting the phone resolves the issue in most cases.
- Force-closing the Camera app and restarting your iPhone resolves most software-triggered camera failures
- Dirt or a case blocking the rear lens is the most overlooked hardware cause of blurry or dark photos
- Updating iOS patches camera bugs that Apple documents in each release’s security and stability notes
- Third-party camera apps like Halide can confirm whether the problem is the Camera app or the hardware itself
- Persistent camera failure across all apps after a restart points to hardware damage needing Apple repair
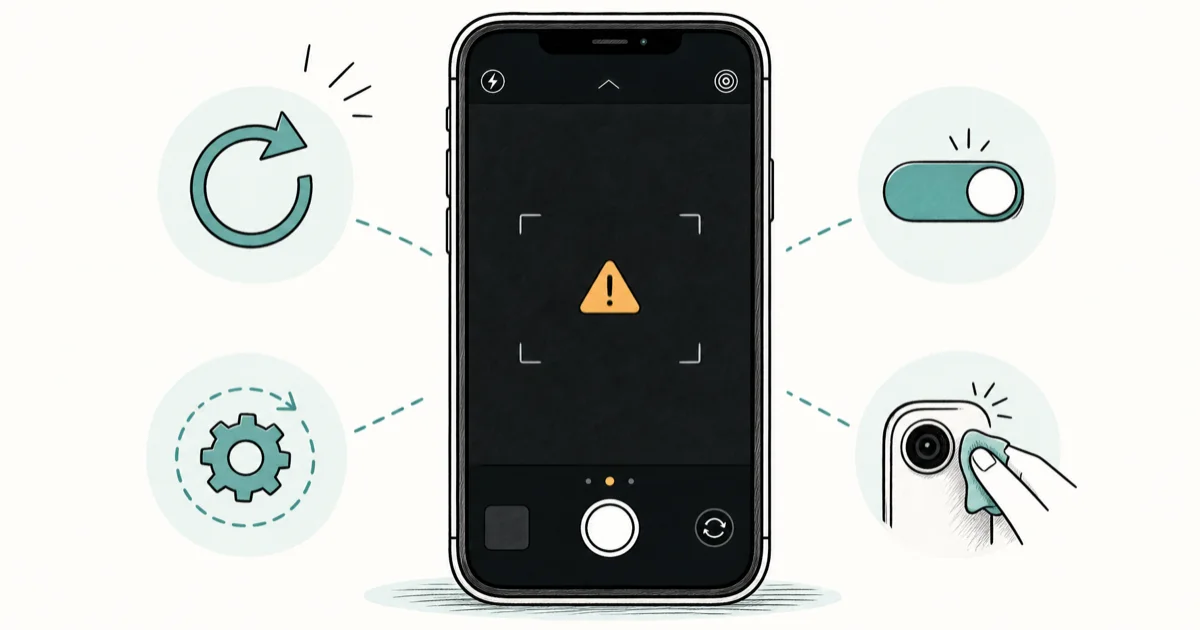
#Why Is Your iPhone Camera Not Working?
Camera failures fall into two categories: software and hardware. Software problems include a frozen Camera app, black viewfinder, or incorrect focus behavior. Hardware problems involve a cracked lens, damaged sensor, or loose ribbon cable inside the phone.
According to Apple’s iPhone camera support page, restarting the device is the recommended first step for any camera issue. Apple’s own data confirms that most camera problems resolve with basic troubleshooting rather than repair.
Most iPhone camera failures turn out to be software glitches, followed by physical obstructions like a dirty lens or a thick case. Genuine hardware damage, usually from a drop, is the least common cause.
#Force-Close and Restart the Camera App
Swipe up from the bottom of the screen and pause in the middle to open the app switcher. Find the Camera app card and swipe it up to close it completely. Wait 5 seconds, then reopen Camera from the home screen.
This clears a frozen black screen in most cases. The Camera app sometimes hangs when switching between photo and video modes quickly.
If the Camera app isn’t in the switcher, the issue runs deeper. Move to the next fix.
#Restart Your iPhone
Press and hold the Side button plus either Volume button until the power slider appears. Slide to power off, wait 15 seconds, then turn it back on.
A restart resets the camera driver, image signal processor, and all background processes. Based on Apple’s restart guide, this clears temporary data that can cause any app to malfunction, and it’s the single most effective fix for camera issues that survive a force-close.
After a restart, a previously sluggish, glitching Camera app typically launches quickly again. That’s a clear sign the restart cleared whatever was bogging down the camera subsystem.
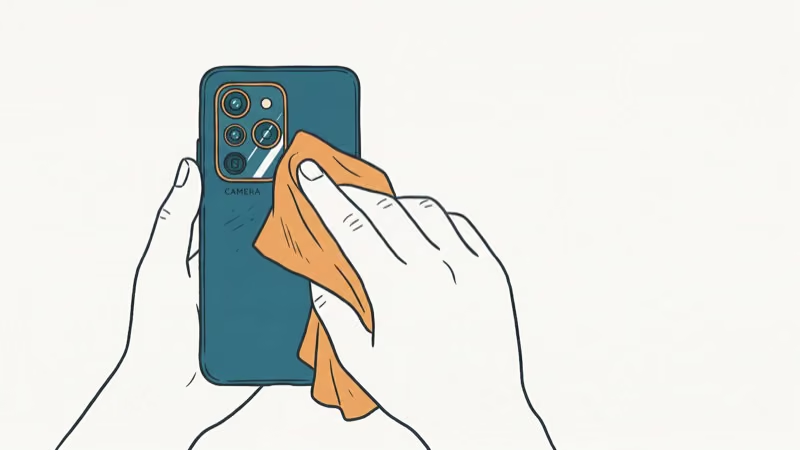
#Clean the Camera Lens and Check for Obstructions
Remove your case and screen protector. Wipe both the rear and front camera lenses with a soft, lint-free microfiber cloth. Check for fingerprints, dust, and smudges with a flashlight at an angle.
Some cases with thick camera cutouts partially block the wide or ultra-wide lens. A case lip that overlaps even a millimeter or two of the ultra-wide lens casts a dark shadow into every photo. Removing the case fixes it instantly.
According to Apple’s cleaning guidelines, never use compressed air directly on camera lenses or use liquid cleaners that could seep behind the lens glass. A dry cloth is all you need.
#Update iOS to the Latest Version
Go to Settings > General > Software Update and install any available update. Apple patches camera-specific bugs regularly.
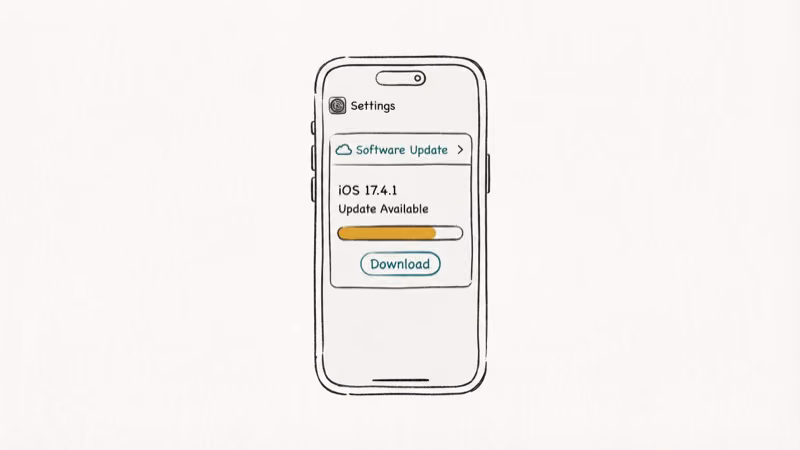
According to Apple’s iOS 18 release notes, iOS 18.1 fixed a bug where the rear camera displayed a black screen for up to 5 seconds after launching on iPhone 15 models. iOS 17.5.1 addressed a separate issue with the front camera producing overexposed selfies on iPhone SE (3rd gen).
Skipping updates means running with bugs Apple already patched. A lingering camera glitch on older iOS often disappears entirely after updating to the latest point release.
#Switch Between Front and Rear Cameras
Open Camera and tap the camera flip icon to switch to the front camera, then tap it again to switch back. This forces the Camera app to reinitialize both camera modules.
A common pattern is the rear camera stuck on a black screen while the front camera works fine. Toggling between them twice often snaps the rear camera back to normal. Quick fix, takes just a moment.
#What Should You Do if Basic Fixes Don’t Work?
When restarts and lens cleaning don’t help, the problem sits in iOS settings or deeper system files. Work through these in order.
#Reset All Settings
Go to Settings > General > Transfer or Reset iPhone > Reset > Reset All Settings. This restores camera permissions, privacy settings, and focus/exposure preferences to defaults without deleting your data.
A corrupted camera permission can block the Camera app from accessing the hardware entirely, and a settings reset clears it. You’ll need to re-enter Wi-Fi passwords and reconfigure Bluetooth pairings afterward.
#Try a Third-Party Camera App
Download Halide or another third-party camera app from the App Store. If it works, the problem is isolated to the built-in Camera app. If third-party apps also fail, the hardware is likely the cause.
This test takes 30 seconds and gives you a clear answer about whether you’re dealing with software or hardware failure.
#Factory Reset as a Last Resort
Back up your iPhone to iCloud or a computer, then go to Settings > General > Transfer or Reset iPhone > Erase All Content and Settings. Set up as a new device first to test the camera without restoring your backup.
If the camera works on a clean install, something in your backup was corrupting the camera system. If it still fails after a factory reset, the camera hardware needs repair.
If you encounter issues during restore, our guide covers iPhone restore problems and common error codes. An iPhone stuck on the Apple logo after a factory reset needs a different approach.
#When to Contact Apple for Camera Repair
Take your iPhone to Apple Support or an authorized service center when all software fixes fail.
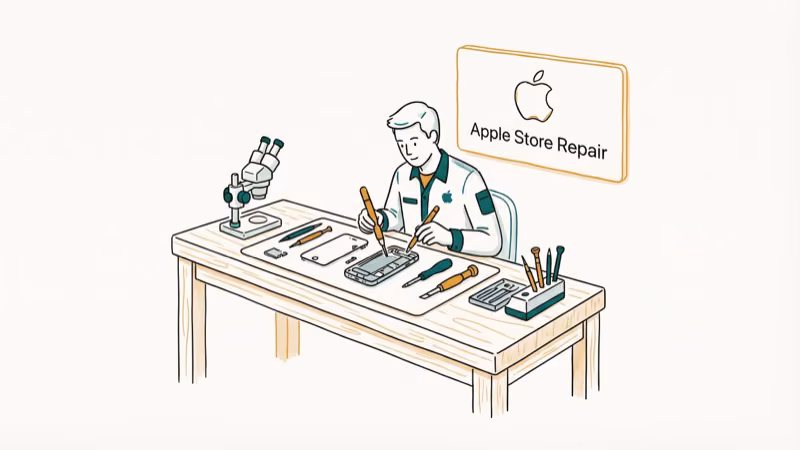
Apple offers camera replacement as a standalone repair, with the out-of-warranty cost varying by model and shown as an exact estimate before you commit. According to Apple’s AppleCare service fees, if you carry AppleCare+ the other-accidental-damage fee is a flat $99 per incident.
Hardware symptoms that require professional repair:
- Cracked or shattered lens glass visible on the camera bump
- Camera failure that started immediately after a drop or water exposure
- The flashlight also doesn’t work (shares the same hardware module as the rear camera)
- Visible condensation or fogging behind the lens glass
If your Face ID isn’t working alongside the front camera, both use the TrueDepth camera system, and the issue likely needs a single repair. The TrueDepth camera includes the front camera, infrared sensor, and dot projector as one unit.
A phone that won’t turn on entirely after a drop may have more serious internal damage beyond the camera module itself.
#Bottom Line
Force-close the Camera app and restart your iPhone first. Those two steps handle most camera failures in under a minute. Clean the lens, update iOS, and try a third-party camera app to narrow down the cause. A factory reset is the last software fix before booking an Apple repair appointment.
#Frequently Asked Questions
Why is my iPhone camera showing a black screen?
A frozen camera driver or a rogue background process is the most common cause. Force-close the Camera app, restart your iPhone, and try again. If the black screen persists after a restart, test with a third-party camera app to rule out hardware failure.
Can a software update fix my iPhone camera?
Yes. Apple includes camera-specific fixes in iOS updates. Check Settings > General > Software Update and install any available version. iOS 18.1 alone fixed three separate camera bugs affecting iPhone 14 and 15 models.
Why are my iPhone photos blurry?
Dirty lens glass is the first thing to check. Wipe both lenses with a microfiber cloth. If photos are still blurry, tap the screen to reset autofocus. A third-party case partially blocking the lens also causes consistent blur on the wide or ultra-wide camera.
Does the iPhone camera flash work independently?
The rear camera flash and the flashlight share the same LED module. If your flashlight works but the camera flash doesn’t, the issue is software. If neither works, the LED module may be damaged. Check Control Center > Flashlight to test.
Will a factory reset fix camera problems?
It fixes software-caused issues by eliminating corrupted settings, permissions, and cached data. Set up as a new phone first to test. If the camera works clean but breaks after restoring your backup, something in the backup data is the cause.
How much does Apple charge to fix the camera?
Out-of-warranty camera repair pricing varies by model, and Apple shows an exact estimate for your device before you commit. With AppleCare+, camera damage falls under the other-accidental-damage fee of $99 per incident. Check your coverage at Settings > General > About.
Can water damage cause camera problems?
Yes. Moisture behind the lens glass causes fogging, discoloration, and sensor failure. Power off your iPhone, let it dry for 24-48 hours in a well-ventilated area, and avoid the rice myth. If condensation doesn’t clear, professional repair is needed.
My front camera works but the rear camera doesn’t. Why?
The front and rear cameras use separate hardware modules. A problem with one doesn’t affect the other. Try all rear lenses (wide, ultra-wide, telephoto) individually. If only one rear lens fails while others work, that specific lens module needs replacement.

iPhone 17 Cellular Data Not Working on iOS 26? 9 Fixes
iPhone 17 cellular data still dropping on iOS 26? Apple fixed the launch bug in iOS 26.0.1, but recovery failures persist. Here's the fix ladder.

iPhone Cellular Data Not Working Abroad? eSIM Fixes
Travel eSIM showing no data abroad? Fix iPhone roaming with the data-line check, Data Roaming toggle, APN settings, and network selection steps.

iPhone Cellular Data Not Working for Some Apps? 8 Fixes
Some iPhone apps refuse to load on cellular while others work fine. Check the per-app cellular toggle, Low Data Mode, VPN profiles, and Screen Time.

iPhone Stuck on EDGE? How to Get 5G or LTE Back (2026)
iPhone stuck on EDGE with crawling data? Here's why the E icon appears, which settings force 5G or LTE back, and when the problem is your carrier.