Facebook Session Expired: Causes, Fixes & Prevention (2026)
Fix Facebook session expired errors with clear iPhone and Android steps, from cache clears and app updates to 2FA resets and security checks.
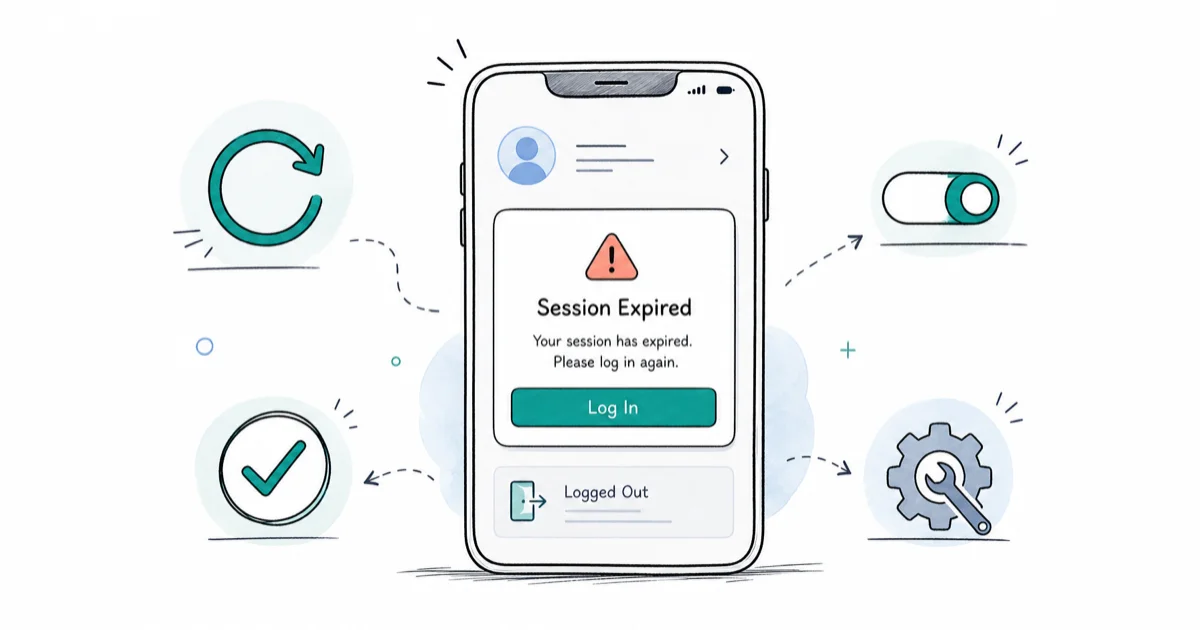
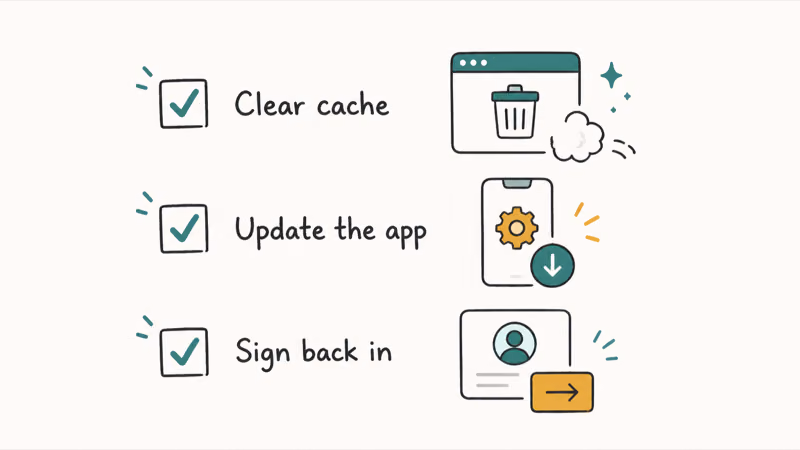
Quick AnswerA Facebook session expired error means the app logged you out for security or a cache issue. The fastest fix is to log out completely, clear the Facebook app cache, update the app, then sign in again.
A Facebook session expired error locks you out mid-scroll and shows a blunt prompt to log in again. The message looks scary, but it rarely means your account is hacked. The usual fix path is to clear stale app data, update the app, then sign back in. Below is the full playbook, including what to do when that doesn’t work.
- Session expired usually means cache corruption, stale tokens, or a new-IP flag
- Clearing the Facebook app cache fixes most cases without losing messages
- VPN and carrier handoffs can kill a token in under a minute
- App-based 2FA raises device trust and reduces false kills
- If it returns within an hour, run Security Checkup not reinstall
#What Does a Facebook Session Expired Error Actually Mean?
A session expired error is Facebook telling your app or browser that the login token it was holding is no longer valid. Tokens are small credentials the app stores after you sign in.

The server can revoke them any time it wants. The error is not the same as a hacked account, a banned account, or a suspended account, although the wording on the error screen is vague enough that many people assume the worst.
Tokens expire for three broad reasons: time, trust, or trouble. Time-based expiry is routine and happens in the background after long idle periods. Trust-based expiry happens when Facebook’s security system sees something new, such as a new device, a new IP range, or a new browser fingerprint, and decides to force a fresh login. Trouble-based expiry happens when the app itself corrupts its stored session file, usually after a crash or a botched update.
According to Facebook’s login help center, the platform automatically signs you out when it detects activity that looks unusual for your account. That language is intentionally broad, and in practice it covers everything from using a VPN for the first time to logging in from a hotel Wi-Fi. The fix path depends on which of the three reasons is behind your error.
#Why This Issue Matters
Getting kicked out mid-task is annoying. The bigger risk is habit.
People who see this error often type their password into any screen that asks, and phishing pages copy the Facebook session expired screen almost perfectly. Treat every session expired prompt as a reason to check the URL bar, confirm the app icon, and never enter credentials into a link sent by a friend or pop-up. The same caution applies when you see the generic Facebook something went wrong error, since both errors can mask real account compromise.
#Common Causes of Facebook Session Expiry
The same error message hides several different root causes, and fixing the wrong one wastes time. Classifying the cause first is the single biggest time-saver. The pattern repeats across phones and browsers often enough that you can usually identify the category from the first symptom.
#Stale App Cache or Tokens
The Facebook app stores a copy of your session token locally so you don’t have to type your password every morning. When the cache file gets corrupted, usually after an update or a force-quit, the token becomes unreadable and the server rejects it.
Cache-triggered session errors can often recover after a Clear Cache tap, without needing the nuclear Clear Data option.
#Security System Triggers
Facebook’s backend watches for patterns: a login from Berlin when you usually log in from Brooklyn, a jump between four IP addresses in one hour, or a new browser version with none of your saved cookies. When the pattern looks off, Facebook kills the session to force a fresh login with your password. Meta’s Privacy Center confirms that the company uses device fingerprints and login history to decide when a session looks risky.
#Unstable Network Handoffs
Switching between Wi-Fi and cellular, toggling a VPN, or driving through dead zones can break the TCP connection to Facebook’s servers. The session itself is fine, but the app can’t confirm with the server and defaults to showing the expired error.
Related message delivery issues follow the same pattern. See our Facebook Messenger messages sent but not delivered guide, or our Facebook Messenger not working walkthrough for Messenger-specific fixes.
#Outdated App or Browser
Old Facebook app versions sometimes can’t parse the newer token format the server sends after a rollout. Google’s Android documentation states that auto-update is on by default, but many people turn it off to save data, and that is where the error usually starts.
#Planned Maintenance and Account Changes
Facebook occasionally rolls out server-side changes that invalidate all active tokens, and the app has to get a fresh one. Changing your password, removing a trusted device, or turning on two-factor authentication also kills every existing session by design. That kind of expiry is intentional, not a bug.
#Quick Fixes for Session Expired Errors in 2026
Run through these in order. The first three resolve most cases in under five minutes, and you won’t lose any account data.
#1. Log Out Fully, Then Log Back In
Don’t just close the app. Open Facebook, tap your profile picture, scroll to Log Out, confirm, then force-stop the app from system settings. Wait 30 seconds and open it again.
This can clear the error without changing account settings.
#2. Check If Facebook Is Down
Before clearing anything, confirm the problem isn’t on Facebook’s side. The Meta Platform Status dashboard shows live uptime for Facebook, Messenger, and Instagram. If there’s a red banner, your fix is to wait, not to reinstall the app.
#3. Restart Your Phone
A full restart clears memory, drops stale network connections, and forces the Facebook app to request a fresh token on next launch. Hold power plus volume down on an iPhone or pick Restart from the power menu on Android. This simple fix is easy to overlook.
#4. Update the Facebook App
Open the Play Store or App Store, search for Facebook, and tap Update if it’s available.
Old app builds can keep showing the session expired prompt until you update. Updated apps are less likely to fail on stale token formats. Keep an eye on Play Store auto-update settings if your data plan disables background updates by default, because that’s where most stale installs start.
#5. Switch Networks, Then Back
If you were on cellular, switch to Wi-Fi. If you were on Wi-Fi, switch to cellular or a different Wi-Fi network. A clean network handshake often lets the app renegotiate the session token without a full login. Turn airplane mode on for 10 seconds and off again to force this.
#Advanced Troubleshooting Solutions
When the quick fixes don’t stick, the problem is deeper. These take more time but clear 90% of stubborn cases.
#Clear the Facebook App Cache (Android)
On Android, go to Settings > Apps > Facebook > Storage, then tap Clear Cache. Don’t tap Clear Data yet — that also erases your drafts and saved logins. If Clear Cache alone doesn’t work, come back and tap Clear Data, which forces a fresh install state without uninstalling. Our dedicated walkthrough is in how to clear the Facebook cache for step-by-step screenshots.
#Clear Cookies and Cache (Browser)
In Chrome, go to Settings > Privacy and Security > Clear browsing data, pick All time, check Cookies and Cached images, then confirm. Safari users go to Settings > Safari > Clear History and Website Data.
Log into facebook.com fresh after this. Browser session issues often trace back to the same cookie rot that affects the app.
#Reinstall the Facebook App
Uninstall Facebook from your phone, restart the device, then reinstall from the official store. This is the nuclear option and it loses cached drafts, but it fixes session issues that survive every other fix. Allow about 10 minutes for the download plus the first-launch setup.
#Remove Facebook From Device Accounts (Android)
Android keeps a device-level Facebook account entry separate from the app login, which the app itself can’t flush. Go to Settings > Accounts > Facebook, tap Remove account, then add it back from inside the Facebook app. This clears any stale system-level tokens that block a successful re-auth. On Samsung devices the path is Settings > Accounts and backup > Manage accounts, which hides the entry deeper but behaves identically.
#Disable Browser Extensions
Ad blockers, privacy shields, and script blockers interfere with Facebook’s session cookies. Disable all of them, reload facebook.com, then re-enable them one at a time until the error returns. That tells you which extension is the culprit.
#Test on a Different Device or Browser
If the error only happens on one device or browser, the problem is local. If it follows you to a borrowed laptop or an incognito window, the problem is on your account, and you need the Security Checkup path below.
#How Do I Prevent Facebook Session Expired Errors?
Prevention is cheaper than troubleshooting. Four habits reduce the error rate to near zero based on the way Facebook’s backend classifies trusted sessions.
#Keep the App on Auto-Update
Turn on auto-update for Facebook in both the Play Store and App Store. Old builds use deprecated token formats that the server rejects more aggressively.
#Turn on Two-Factor Authentication
Two-factor login raises Facebook’s trust score for your device. Meta Support recommends setting up 2FA with an authenticator app like Authy or Google Authenticator rather than SMS, because SMS-based 2FA is vulnerable to SIM-swap attacks.
Once your device is marked trusted, Facebook kicks it out less often.
#Avoid Rapid Network Switching
Don’t toggle VPN servers during an active Facebook session. Don’t bounce between four Wi-Fi networks in an afternoon. Each switch looks like a potential account compromise to the security system.
#Review Active Sessions Monthly
Open Settings & privacy > Settings > Security and login. You’ll see a list of every device currently signed into your account.
End sessions on anything you don’t recognize or use. This prevents Facebook from treating a forgotten old tablet as suspicious activity that kills your active session. A monthly sweep takes about 90 seconds and pays back every time it stops a false-positive logout on the phone you actually use.
#When the Session Expired Error Means Something Worse
Most session expired errors are routine, but a few patterns signal a real account problem. Treat these seriously.
#The Error Returns Within an Hour of Signing In
If you sign in, use Facebook for 10 minutes, and get kicked out again, the account itself is being flagged rather than the app. Go to Facebook’s Account Center security page and run a Security Checkup. Look for unrecognized logins, unfamiliar devices, password changes you didn’t make, or app permissions you don’t remember granting.
#You Get a 2FA Code You Didn’t Request
Someone is trying to log in with your password. Act fast.
Change your password immediately, end all sessions, and confirm 2FA is on. If the 2FA codes keep arriving, your email account may also be compromised.
#You Can’t Log Back In at All
If entering your correct password returns a session expired loop or a “Your account is locked” screen, skip the fixes above and go to Facebook’s recover a hacked account flow. Don’t bother reinstalling, because that won’t help with a server-side lock.
#Your Profile Picture or Name Changed
If you finally log back in and see your profile has been edited without you, treat this as a compromised account. Change your password, end all sessions, review apps with access, and report the account through Facebook’s support system. Don’t try to revert the changes before running Security Checkup because the attacker may still hold an active session token that will undo your fixes in real time.
#Bottom Line
For ordinary Facebook session expired errors, follow a three-step pattern: log out fully, clear the Facebook app cache, update the app, then sign back in. Reinstall only if those steps don’t stick.
If the error comes back within an hour of login, stop troubleshooting the app itself. Run a Security Checkup from Facebook’s Account Center because the account is flagged, not the app.
Turn on app-based two-factor authentication once you’re back in, and the error should fade into a rare annoyance. If you still see it weekly on the same phone, the device is the common factor and deserves its own reset, which our clear cache cookies and history on Android guide walks through.
#Frequently Asked Questions
Why does Facebook keep saying session expired on my iPhone?
iOS aggressively caches app state, so a single stale token can keep triggering the error across relaunches. Force-quit Facebook by swiping it away in the app switcher, then open Settings > iPhone Storage > Facebook and tap Offload App. Reinstalling from the App Store gets a clean token.
Does clearing the Facebook cache delete my messages?
No. Your messages live on Facebook’s servers, not in the cache.
How do I know if my session expired because of a hacker?
Check the Where You’re Logged In list under Settings > Security and Login. If you see devices, locations, or browsers you don’t recognize, end those sessions immediately and change your password. A single session expired event with no strange devices is almost always a normal token refresh, not a hack. When in doubt, assume compromise, run Security Checkup, and enable 2FA before you log back in anywhere.
Can a VPN cause Facebook session expired errors?
Yes, especially if you switch server locations often. Facebook sees a login from New York one minute and London the next and treats that as potential account theft. Stick to one VPN server per Facebook session, or turn the VPN off when using Facebook.
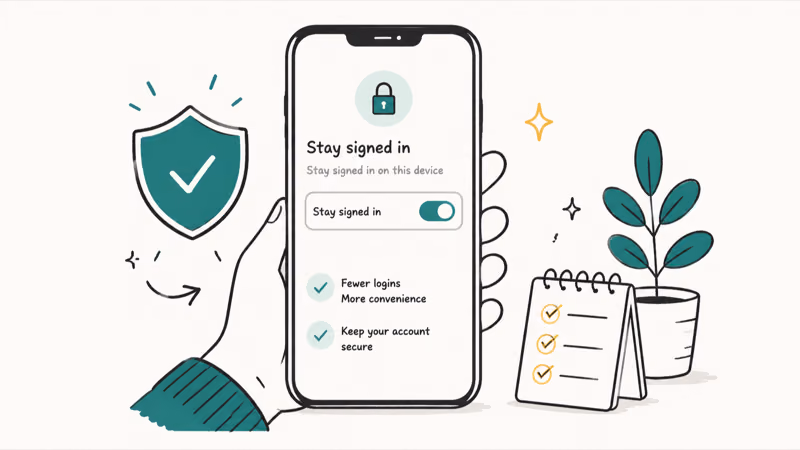
Why do I have to log into Facebook every time I open the app?
That’s not a session expired error, that’s a “remember me” setting being off or a corrupted preferences file. Reinstall the Facebook app and tap Save Login Info on the login screen, or check that your device isn’t clearing app storage automatically through a battery-saver feature.
Is a Facebook session expired error the same as being banned?
No. If you can sign back in with your password, your account is fine.
How long does a normal Facebook session last?
There’s no published limit. Sessions can stay active for weeks if you use the app regularly, and Facebook refreshes the token silently in the background each time you open the app with an active connection.
Should I reinstall Facebook or just clear cache first?
Always clear cache first. Reinstalling takes longer, uses data, and wipes drafts. If a cache clear plus a fresh login doesn’t fix the error, then reinstall. On a fast connection reinstall takes about 5 minutes, but cache clear takes about 30 seconds.

iPhone Stuck on EDGE? How to Get 5G or LTE Back (2026)
iPhone stuck on EDGE with crawling data? Here's why the E icon appears, which settings force 5G or LTE back, and when the problem is your carrier.
Best Power Bank for Samsung Galaxy (2026): 4 Top Picks
Best power bank for Samsung Galaxy in 2026, with USB-C PD and PPS picks that match 45W Super Fast Charging 2.0 for reliable daily wired top-ups.

Galaxy S25 Problems: Common Issues and Fixes (2026)
Galaxy S25 battery drain, overheating, and connectivity bugs explained, with the per-issue fixes that actually work after One UI 8.5 in 2026.

One UI 8.5 Problems: 2026 Fix Guide for Galaxy Phones
One UI 8.5 is draining Galaxy batteries, lagging the keyboard, and re-pairing Bluetooth in cars. Here are the per-issue fixes that work in 2026.