Fix "Disk You Inserted Was Not Readable" Error on Mac
Fix the "disk you inserted was not readable by this computer" error on Mac with 6 methods. Covers First Aid, reformatting, and data recovery steps.
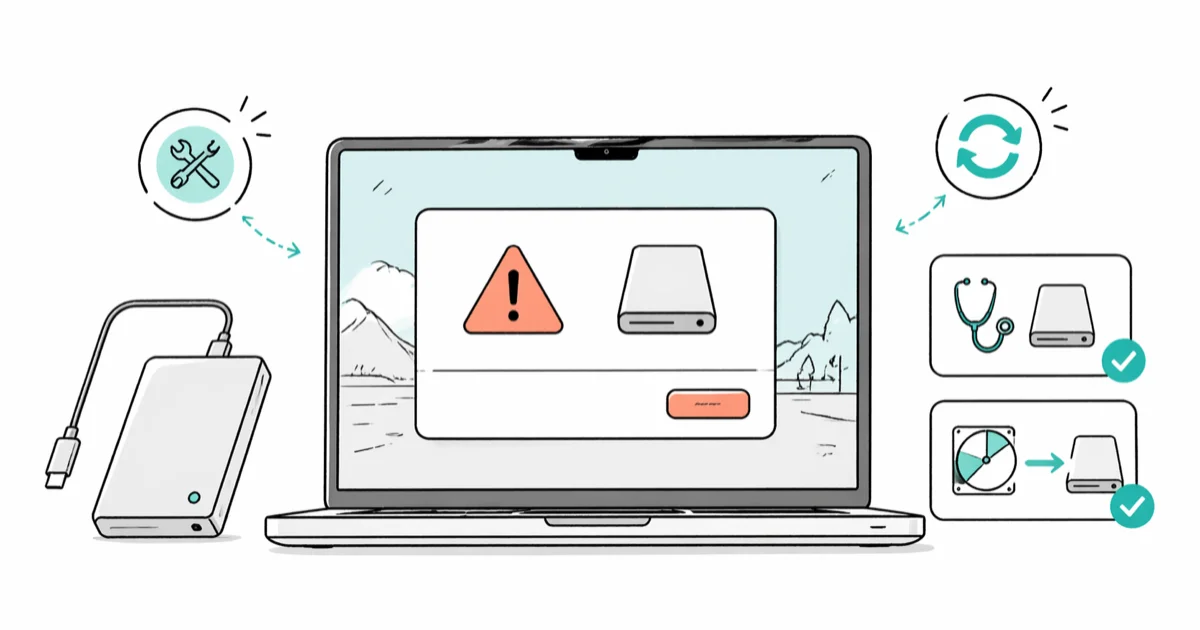
Quick AnswerThis alert means macOS can see a device but can’t mount a usable volume. If the files matter, stop before Erase: check the cable and another computer, then image or recover failing hardware before trying First Aid.
This alert means macOS detected a storage device but couldn’t mount a usable volume. Causes include unsupported or encrypted formats, damaged file-system metadata, connection problems, or failing hardware.
If the drive holds irreplaceable files, don’t click Erase in Disk Utility. Limit repeated scans on hardware that disconnects, makes unusual sounds, or shows other failure signs; create an image or ask a recovery professional before repair attempts that can change file-system metadata.
- A standard NTFS volume normally mounts read-only on macOS; this alert points to corruption, encryption, an unsupported configuration, or another mounting problem
- First Aid checks and repairs file-system metadata, so back up or image irreplaceable data before using it on a failing drive
- Apple lists MS-DOS (FAT) and exFAT as Windows-compatible formats in Disk Utility
- A damaged cable, underpowered hub, or port problem can interrupt a drive connection even when the media is still readable
- Preserve or recover needed files before reformatting; use an image or professional help first when the hardware is unstable
#Why Does Mac Say the Disk Isn’t Readable?
This alert reports a mount failure, not a proven cause.
Unsupported, encrypted, or damaged file system. A standard NTFS volume normally mounts read-only on macOS, so the lack of native NTFS write support doesn’t by itself explain this alert. BitLocker, Windows Storage Spaces, ReFS, Linux formats, third-party encryption, or damaged NTFS metadata can prevent a usable volume from mounting.
Corrupted partition table. A mid-write unplug or power loss can damage the partition map, leaving macOS unable to find the index.
Possible hardware damage. A failing controller, media damage, power problem, or broken connector can interrupt enumeration or reads. According to Apple’s Disk Utility User Guide, a disk that reports it’s about to fail should be backed up and replaced; other symptoms still need diagnosis.
Cable or port problem. A damaged cable, port, or underpowered hub can interrupt the connection. Test a known-good direct path.
#Test the Drive on Another Computer
Before you touch Disk Utility, test the drive on another authorized computer that supports its format. If it mounts there, the original Mac’s port, cable, hub, software, or format support deserves closer inspection; that result does not prove the drive itself is healthy.
Try a different port on the same Mac too. If a drive fails through a hub but mounts when plugged directly into the Mac, the hub or cable is the likely culprit. Bus-powered hubs with several other devices on them may not deliver enough current for portable drives at spin-up.
Repeated failure through known-good direct connections raises concern but doesn’t identify failed hardware. If the data matters, use the recovery precautions instead of repeatedly power-cycling or scanning it.
#Run First Aid in Disk Utility
First Aid checks and may repair file-system metadata. It isn’t an erase command, but repairs can modify directory or allocation structures, and no repair utility can guarantee that damaged data stays unchanged. Back up a readable drive first; image unstable hardware or seek professional advice before running repair tools on irreplaceable data.
Open Applications > Utilities > Disk Utility. Click View > Show All Devices in the toolbar so the physical drive, its containers, and its volumes appear in the sidebar. Start with the last volume under the device, click First Aid, then Run. Repeat upward through each remaining volume and container, and run First Aid on the physical device last.
Apple warns that First Aid can’t repair every disk problem.
If First Aid says the drive can’t be repaired and the hardware remains stable and readable, copy the needed data to separate storage before trying anything destructive. If it disconnects, reports imminent failure, or holds irreplaceable data, stop repeated scans and use an image or professional recovery path instead.
#Check the Drive’s File Format
Click the drive in Disk Utility’s sidebar and read the Format field at the top of the info panel. Here’s what works on a Mac:
- APFS and Mac OS Extended (HFS+) are read-write native
- exFAT is read-write on Mac and Windows
- MS-DOS (FAT) is Apple’s Windows-compatible choice for smaller volumes
- NTFS is read-only without a third-party driver
If a standard NTFS volume mounts read-only, copy its files to safe storage before changing anything. If it doesn’t mount, don’t assume that buying a write driver will repair corruption, encryption, or a damaged partition map. Test it on an authorized Windows computer or use a recovery path that matches the symptom.
According to Apple’s current Disk Utility format guide, MS-DOS (FAT) and exFAT are Windows-compatible choices, while APFS is the Mac default for current systems. Pick the format only after considering every device that must read the drive. For NTFS-specific recovery, see how to recover data from an NTFS hard drive on a Mac.
#Reformat the Drive
Reformatting wipes everything. Recover your files first if you haven’t already.
Open Disk Utility, select the physical drive (not just the volume), and click Erase. Choose exFAT when current Windows and Mac systems both need the disk, or APFS for current Mac-only use. Apple’s format guide documents encryption and case-sensitive variants, so select them only when every intended device and workflow supports them.
Erase time varies with the device, connection, capacity, and condition. If the alert returns after a successful reformat, stop trusting that disk as the only copy of data and test the connection and hardware; the symptom alone doesn’t identify a controller or media failure.
If the erase itself fails (a separate symptom), work through our guide on the erase process has failed on Mac error before you give up on the drive.
#Recovering Data From an Unreadable Drive
Don’t reformat if there are files you need; run recovery software before any erase.
Tools like EaseUS Data Recovery can scan an unreadable SD card or external drive and copy recovered files to a separate Mac drive. Results depend on how much data was being written when the partition or file system failed.
Some links on this page are affiliate links, which means fone.tips may earn a commission at no extra cost to you.
PhotoRec is open source, while Disk Drill is proprietary software with a limited free tier. Recovery tools differ in supported file systems, preview behavior, licensing, and whether they write metadata, so scan a clone or image when the original hardware is unstable.
If the drive doesn’t appear in a recovery tool, first check Disk Utility’s View > Show All Devices, a known-good direct cable, power, and another authorized computer. Continued absence can indicate hardware or enclosure trouble, but it doesn’t prove which part failed. For irreplaceable data, stop repeated scans and ask a recovery provider for a written diagnosis and quote.
For an NTFS volume that is stable and readable on an authorized Windows PC, one option is to copy the files to separate storage before choosing a Mac-compatible format. Don’t reformat until you have verified the copy.
#Prevent the Error Going Forward
Eject before unplugging. Right-click the drive in Finder and pick Eject before pulling the cable.
For a drive that moves between current Mac and Windows systems, use the Windows-compatible choice Apple recommends for the drive’s size and check older-device compatibility before formatting. Keep a separate backup regardless of format; cross-platform support doesn’t protect against corruption or hardware loss.
Use a cable rated for the device and test a known-good replacement before blaming the media. If an external hard drive fails only through an unpowered hub, test it through a direct port or an adequately powered hub before drawing a hardware conclusion.
Keep one Time Machine drive separate from the hardware you’re troubleshooting.
#When Should You Replace the Drive?
Replace or professionally assess a drive when a verified hardware warning says it’s failing, it repeatedly disconnects through a known-good direct connection, it reports uncorrectable media errors, or it can’t hold a verified format. The number of First Aid attempts alone doesn’t prove that a drive is dead.
Unusual clicking or repeated spin-up on a hard drive is a warning to stop stressing the device, but sound alone can’t identify an actuator or platter failure remotely. An SSD or flash drive that disappears can have controller, enclosure, connector, firmware, power, or media trouble; don’t reduce all unreadable-media symptoms to a fixed NAND cycle count.
Once hardware failure is verified, focus recovery effort on the data and replace the unreliable device.
#Bottom Line
Start with a known-good cable, a direct port, and another authorized computer. If the files are replaceable and the hardware is stable, back up first and then run First Aid in Apple’s documented volume-to-device order.
If the data is irreplaceable or the hardware disconnects, sounds abnormal, or reports imminent failure, image it or seek professional recovery before repair attempts. Reformat only after the data is safe, and retire a device that can’t pass a verified format and read-back test.
For your Mac’s built-in storage issues, the symptoms look similar but the recovery path is different. Apple’s First Aid instructions say to start from macOS Recovery when repairing the startup disk.
#Frequently Asked Questions
Can I read an NTFS drive on my Mac without reformatting?
A standard NTFS volume normally mounts read-only in macOS, which can be enough to copy files. If it doesn’t mount, the cause may be encryption, an unsupported Windows configuration, partition damage, or hardware trouble; a paid write driver isn’t a universal repair.
Will First Aid delete my files?
It isn’t intended to erase the volume, but it checks and may modify file-system metadata while repairing errors. No repair tool can promise zero data loss on a damaged disk. Back up readable files first, and image or professionally assess unstable hardware when the data is irreplaceable.
What file format should I use for a drive shared between Mac and Windows?
Apple lists both MS-DOS (FAT) and exFAT as Windows-compatible formats in Disk Utility. Use the option Apple recommends for the drive size and verify compatibility with every older device that must read it; formatting erases the existing contents.
Why does a brand new drive trigger this error?
A new drive may use NTFS, another format, vendor encryption, or a partition layout that isn’t usable in your Mac workflow. Standard NTFS being read-only doesn’t normally cause this alert by itself. Check the format and test the drive before erasing; if you choose a new format, confirm the target devices and understand that Erase removes the existing contents.
Can a bad USB cable cause the “disk not readable” error?
Yes. Swap the cable before blaming the drive.
How long does data recovery take from an unreadable drive?
There is no dependable universal duration. Scan mode, device capacity, connection speed, hardware condition, readable area, and the recovery tool can all change the time. Stop repeated scans and consider imaging or professional recovery if the drive is unstable.
Does clicking Initialize erase my drive immediately?
No. The Initialize button just opens Disk Utility. Nothing gets erased until you manually click Erase and confirm. If you have unrecovered data on the drive, don’t click Erase yet.
Does this error always mean the drive is broken?
No. The alert can come from format, encryption, file-system or partition damage, connection and power problems, or hardware failure. Cross-computer tests and hardware symptoms change the likelihood, but none of them proves the cause by itself.
Mac mini M6 vs M5 Pro: Which Model Should You Buy?
Mac mini M6 vs M5 Pro compared on price, memory, ports, displays, and real workloads. Find the better 2026 Mac mini for your desk and budget.

macOS 27 Compatible Macs: Every Supported Model (2026)
macOS 27 Golden Gate runs only on Apple Silicon Macs. Here is the full list of supported M-series models and the four Intel Macs that lose support.

macOS 27 Golden Gate: Every Major New Feature Confirmed
macOS 27 Golden Gate goes Apple Silicon only, adds a Gemini-powered Siri, refines Liquid Glass, and rebuilds Spotlight. Here is every confirmed change.

macOS 27 Liquid Glass: Every Readability Fix Explained
macOS 27 Golden Gate refines Liquid Glass with an intensity slider, better contrast, cleaner window corners, and edge-to-edge sidebars to fix readability.