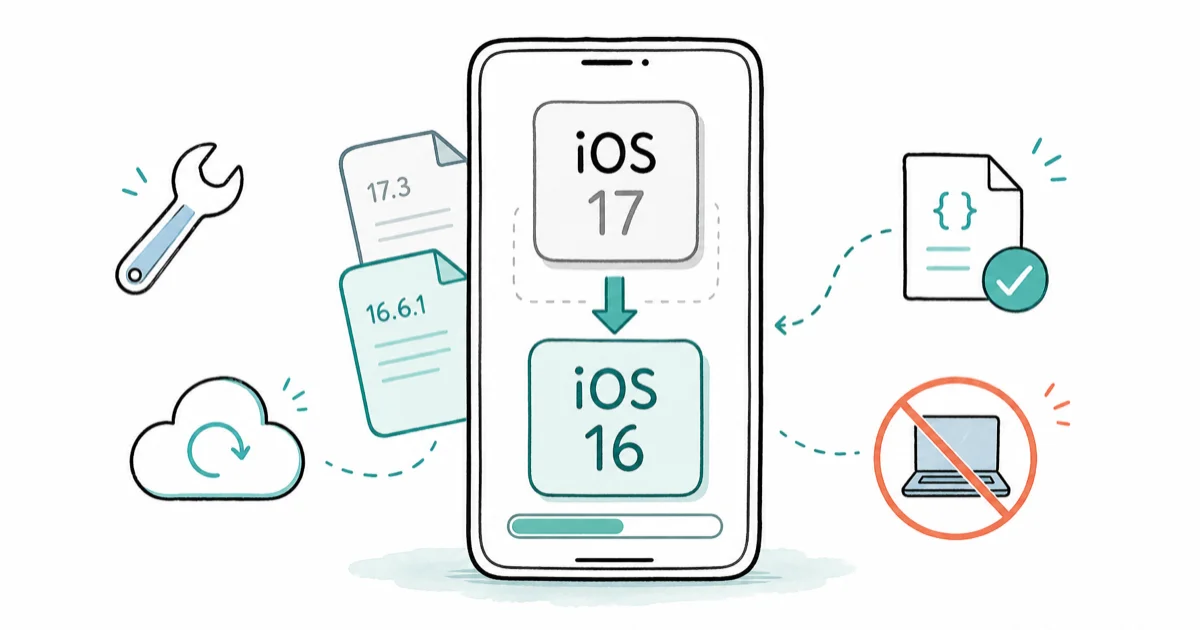
How to Downgrade iOS Without iTunes: A Complete Guide
Downgrade iOS without iTunes using iMyFone Fixppo, AnyFix, or Tenorshare ReiBoot. Step-by-step guide with preparation steps, risks, and FAQ.
Quick AnswerYou can downgrade iOS without iTunes using tools like iMyFone Fixppo or iMobie AnyFix. First, verify the target iOS version is still being signed by Apple at ipsw.me, back up your data, then use the tool to install the older firmware.
Apple regularly releases new iOS updates, but they don’t always go smoothly. This guide walks through the downgrade process on a device like an iPhone 13, using three different tools, and explains which steps are actually required and which warnings are real. It covers what works in 2026.
- Verify Apple is still signing your target iOS version at ipsw.me before starting
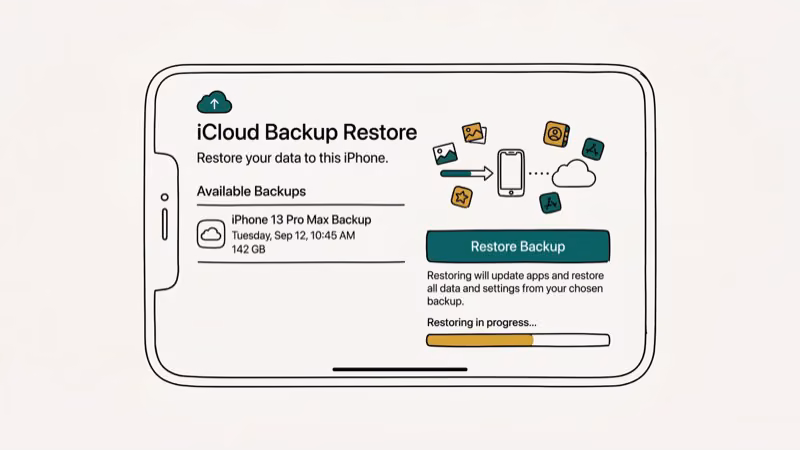
- Back up to iCloud or Finder first; most methods erase data during the process
- iMyFone Fixppo and Tenorshare ReiBoot can downgrade iOS without data loss, no iTunes needed
- Disable Find My iPhone before starting to avoid authentication errors mid-process
- Keep the device plugged in or above 50% battery to prevent firmware corruption
#Why Downgrade iOS?
Apple only signs a specific window of iOS versions at any given time. According to Apple’s support documentation, the signing window typically stays open for about 2 weeks after a new release, after which older versions can no longer be installed. Here are the main reasons users downgrade:
- Slowdowns on older devices
- Battery drain from heavier updates
- App breakage on newest iOS
- Bugs like iPhone stuck in headphone mode
While downgrading can solve these issues, it’s important to weigh the benefits against potential drawbacks. Wikipedia’s article on iOS confirms that Apple has released over 17 major iOS versions since 2007, with each new version dropping support for older hardware over time.
#Preparation Before Downgrading
Before attempting to downgrade your iOS, take these essential preparatory steps:
Step 1: Check compatibility: Verify the target iOS version is still being signed at ipsw.me before doing anything else.
Step 2: Back up: Create a full backup via iCloud or Finder before touching anything else. iCloud backups run wirelessly overnight; Finder backups are faster if you’re on a Mac. If your device is locked, see how to back up a locked iPhone first. Skipping the backup is the single most common regret users report after a downgrade goes wrong.
Step 3: Disable Find My: Go to Settings > [Your Name] > Find My > Find My iPhone and turn it off. Required before any restore.
Step 4: Download IPSW: Get the correct firmware file for your exact device model and iOS version from ipsw.me.
Step 5: Charge: Keep the device above 50% battery or plugged in throughout the process.
#Method 1: Using iMyFone Fixppo
iMyFone Fixppo is a tool that allows you to downgrade iOS without data loss or jailbreaking. On a device like an iPhone 13, the full process runs from launch to completed restart in a reasonable amount of time, with data left intact afterward.
Download and install iMyFone Fixppo, launch it, select Standard Mode, connect your iPhone via USB, click Download to fetch the firmware, then click Start to begin. The app handles everything from there.
Pros:
- User-friendly interface
- No data loss during downgrade
- Can fix various iOS system issues
Cons:
- Paid software (free trial available)
- Requires computer access
#Method 2: Downgrading with AnyFix
AnyFix is another reliable tool for downgrading iOS, offering a simple interface and additional system repair features. Its one-click downgrade option works without requiring manual IPSW file selection.
Install AnyFix, launch it, connect your iPhone, choose Upgrade/Downgrade iOS, then select 1 Click to Downgrade iOS. Pick your target version, download the firmware, and click Start Now.
Some links on this page are affiliate links, which means fone.tips may earn a commission at no extra cost to you.
Advantages:
- One-click downgrade option
- Can fix over 150 iOS system issues
- Supports latest iOS versions
Limitations:
- Paid software
- May not work for all iOS combinations
#Method 3: Tenorshare ReiBoot Downgrade Process
Tenorshare ReiBoot offers a straightforward solution for downgrading iOS without iTunes.

Install Tenorshare ReiBoot, connect your iPhone, select iOS Upgrade/Downgrade, choose Downgrade iOS, pick your target version, download the firmware, and click Start Downgrade.
Key features:
- One-click downgrade solution
- No data loss during the process
- Wide device compatibility
Considerations:
- Paid software (free trial available)
- Requires stable internet connection for firmware download
#Method 4: Downgrading iOS Using Finder (for Mac)
For Mac users running macOS Catalina or later, Finder replaces iTunes for device management. Apple’s support article on Finder sync states that macOS 10.15 and later use Finder instead of iTunes for all iPhone management, including firmware restores.
Connect your iPhone via USB, open Finder, select your device from the sidebar, hold Option and click Restore iPhone, select the IPSW file, then click Restore to confirm. No third-party software needed.
Mac-specific tips:
- Use latest macOS; try a different USB port if Finder doesn’t recognize your device
#Risks and Considerations When Downgrading iOS
Downgrading creates new tradeoffs. Data loss risk is real: back up before you start. Security patches in newer iOS are gone, and app compatibility may break for apps built on newer APIs.
Apple Watch may stop syncing if its firmware requires a newer iOS version. In rare cases you may need to activate iPhone without a SIM card after the restore.
#What Should You Do If the Downgrade Fails?
If you encounter problems during the downgrade process, try these solutions:
- Error messages: Look up specific error codes online for targeted solutions.
- Stuck on Apple logo: Force restart your device and try the process again.
- Downgrade failure: Ensure you’re using the correct IPSW file for your device model.
- Activation issues: Make sure Apple is still signing the iOS version you’re downgrading to.
If the downgrade fails or you change your mind, you can always update to the latest iOS version through Settings > General > Software Update.
#Bottom Line
Downgrading iOS without iTunes is possible using three third-party tools: iMyFone Fixppo, AnyFix, and Tenorshare ReiBoot. All three handle the firmware download and installation automatically on both Windows and Mac. Each completes the process in a reasonable amount of time and requires no technical knowledge. Finder provides a native option for Mac users running macOS Catalina or later who’d rather not install third-party software at all.
Before starting, verify Apple is still signing your target version at ipsw.me, back up your device, and disable Find My iPhone. The process takes 15-30 minutes. If you hit errors, confirm the IPSW file matches your specific device model and iOS combination.
#Frequently Asked Questions
Can I downgrade to any iOS version?
Only versions Apple is actively signing. Apple stops signing the previous iOS roughly 2 weeks after a new release — check ipsw.me first.
Will downgrading delete all my data?
It depends on the method. Third-party tools like iMyFone Fixppo and Tenorshare ReiBoot advertise data preservation, keeping apps, photos, and messages intact through the downgrade. Using Finder’s Restore option will erase everything, so back up first regardless of which method you choose.
Is it legal to downgrade iOS?
Yes, downgrading iOS is legal. It may void your warranty if done through unofficial methods, but Apple doesn’t restrict users from reverting to older signed versions. The legal limitation is simply that Apple stops signing old versions, not that using them is prohibited.
Can I downgrade without a computer?
No on-device downgrade option exists. All reliable methods require a computer, and any app claiming otherwise is unreliable.
How long does the downgrade process take?
Typically 15-30 minutes, depending on your internet speed (for firmware download) and the tool you’re using. The firmware file is usually 3-6 GB, so a faster connection speeds things up significantly.
What does it mean to restore an iPhone?
Restoring an iPhone means erasing all content and settings, then reinstalling iOS. A restore can install the same version or a different one. It’s different from a simple restart or a software update.
Will I lose WhatsApp messages if I downgrade?
Possibly. Third-party tools that preserve data during downgrade should retain WhatsApp, but Finder restores will erase everything including WhatsApp history. To be safe, export or back up WhatsApp separately before downgrading. Our guide on how to transfer WhatsApp from Android to iPhone covers backup options.
What if iMessage doesn’t work after downgrading?
iMessage sometimes needs to re-activate after an iOS change. Go to Settings > Messages and toggle iMessage off and back on. If that doesn’t fix it, see our guide on fixing iMessage activation issues.

iPhone 17 Cellular Data Not Working on iOS 26? 9 Fixes
iPhone 17 cellular data still dropping on iOS 26? Apple fixed the launch bug in iOS 26.0.1, but recovery failures persist. Here's the fix ladder.

iPhone Cellular Data Not Working Abroad? eSIM Fixes
Travel eSIM showing no data abroad? Fix iPhone roaming with the data-line check, Data Roaming toggle, APN settings, and network selection steps.

iPhone Cellular Data Not Working for Some Apps? 8 Fixes
Some iPhone apps refuse to load on cellular while others work fine. Check the per-app cellular toggle, Low Data Mode, VPN profiles, and Screen Time.

iPhone Stuck on EDGE? How to Get 5G or LTE Back (2026)
iPhone stuck on EDGE with crawling data? Here's why the E icon appears, which settings force 5G or LTE back, and when the problem is your carrier.