How to Undisable an iPhone: Apple-Official 2026 Guide
Undisable an iPhone you own using Apple Recovery Mode, Finder, iTunes, or iCloud Erase. Step-by-step fix for the disabled passcode lockout in 2026.
Quick AnswerTo undisable an iPhone you own, plug it into a Mac or Windows PC, force-start Recovery Mode using the model-specific button sequence, then choose Restore in Finder or iTunes. If Find My is on and you remember your Apple ID, erase the device from iCloud.com instead. Both routes wipe the passcode and require your Apple ID at sign-in.
Seeing “iPhone is disabled, connect to iTunes” on your own device is one of the most stressful screens Apple ships. There’s no shortcut around it. You have to erase the phone and restore from a backup, and that’s by design.
The good news: Apple supports the recovery directly through Recovery Mode and Find My, so you don’t need a third-party utility to fix an iPhone you own. The bad news: every working method wipes the lock-screen passcode by wiping the device, which is why iCloud and a recent backup matter so much. This guide walks through the four routes Apple actually supports in 2026, when each applies, and the dead-ends that send most people back to square one.
- The “iPhone is disabled” lockout starts after six wrong passcode attempts and triggers a permanent Security Lockout after ten.
- Every Apple-supported recovery path erases the device; there is no Apple-sanctioned way to keep your passcode and your data.
- iOS 15.2 and later add an in-screen “Erase iPhone” button after repeated failed attempts, so a cable isn’t always required if you remember your Apple ID.
- Recovery Mode through Finder on macOS Catalina or later, or iTunes on Windows, is Apple’s recommended route when the in-screen erase isn’t available.
- Activation Lock still applies after the restore, so you’ll need the original Apple ID password to sign back in.
#Understanding the iPhone Disabled Lockout
iOS treats six consecutive wrong passcode entries as a brute-force attempt and locks the device in escalating time blocks. The escalation runs 1 minute, 5 minutes, 15 minutes, then an hour, after attempts six through nine.
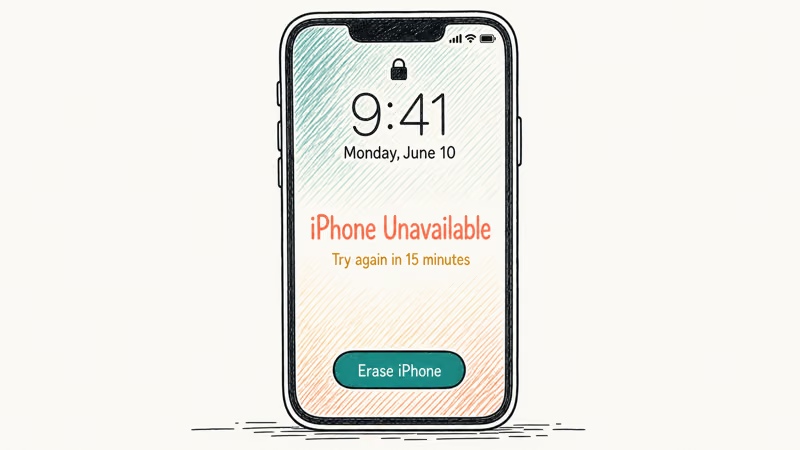
The tenth wrong attempt switches the screen to the permanent “iPhone is disabled, connect to iTunes” or “Security Lockout” message. According to Apple’s iPhone passcode support page, once that final state is reached the only Apple-supported recovery is to erase the iPhone, which removes the passcode along with all data that hasn’t been backed up.
A handful of conditions affect which route works for you:
- Find My on, Apple ID password known: easiest path is to erase the phone remotely from iCloud.com or in-screen on iOS 15.2 and later.
- Find My on, Apple ID password forgotten: device can be erased, but it will re-lock at activation. You must recover the Apple ID before re-using the phone.
- Find My off: you must connect to a computer and use Recovery Mode.
- Phone bought used or received as a gift: you need proof of purchase and the original owner’s Apple ID. This is the single most common reason a “fixed” iPhone fails to activate.
Stop here if you’re not the registered owner and can’t prove purchase. Apple’s Activation Lock policy confirms that only the Apple ID that originally signed the device in, or someone who can show original purchase documents at an Apple Store, can remove Activation Lock. Working around the lock is pointless and likely illegal where you live.
#How to Undisable an iPhone Using Recovery Mode
Recovery Mode is Apple’s recommended fix for any disabled iPhone where the in-screen Erase button isn’t available.
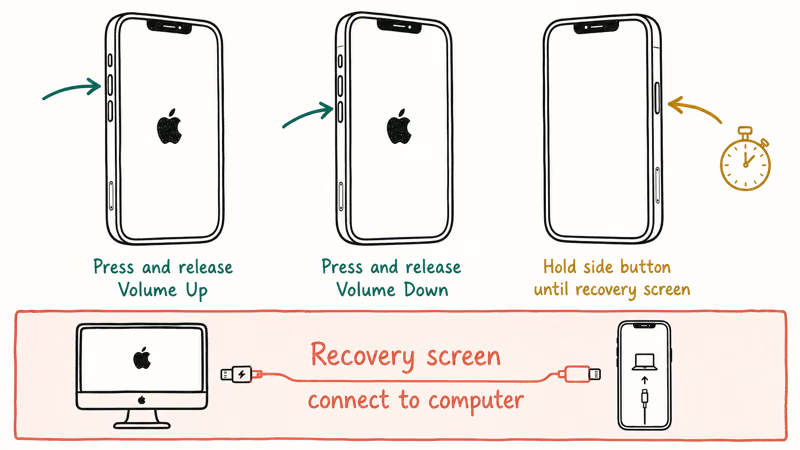
It works on every iPhone from the 6s through the iPhone 15 lineup. The steps are identical once you’re in Recovery Mode; only the model-specific button combo that triggers it changes.
You’ll need a Mac running macOS Catalina (10.15) or later, or a PC with the latest version of iTunes for Windows, a USB-to-Lightning or USB-C cable that fits both ends, about 30 to 60 minutes of uninterrupted time (the firmware download alone is roughly 5 GB), and your Apple ID and password ready before you start.
#Step 1: Power Off the iPhone Completely
Disconnect the phone from any cable first. For iPhone 8 and later, including iPhone SE 2nd and 3rd generation, press and hold the side button along with either volume button until the power-off slider appears. For iPhone 7 and 7 Plus, hold the side button only. For iPhone 6s and SE 1st generation, hold the top button.
Drag the slider and wait until the screen stays black for at least 10 seconds before the next step.
#Step 2: Enter Recovery Mode
The button sequence changes by model, and you must hold the trigger button while plugging in the cable, not before:
- iPhone 8 and later, including the iPhone 15 lineup: press and release Volume Up, press and release Volume Down, then press and hold the Side button while connecting to the computer. Keep holding until the Recovery Mode screen appears (a cable icon and computer logo).
- iPhone 7 and 7 Plus: hold Volume Down + Side button together while connecting the cable, until the Recovery Mode screen appears.
- iPhone 6s and SE 1st generation: hold Home + Top (or Side) button while connecting, until the Recovery Mode screen appears.
The Apple logo will flash partway through. That’s normal. Don’t release the buttons until you see the cable icon, otherwise iOS will boot normally back to the disabled screen.
#Step 3: Choose Restore in Finder or iTunes
On macOS Catalina and later, the iPhone appears in the Finder sidebar. On Windows or older macOS, iTunes opens with a prompt. A dialog will say “There is a problem with the iPhone that requires it to be updated or restored.” Click Restore, then Restore and Update to confirm.
Finder or iTunes downloads the latest IPSW firmware for your model from Apple. On a fast connection the download finishes quickly, while a slower line can take considerably longer since the firmware runs several gigabytes. After the download, the restore itself adds a few more minutes, and the phone reboots into the white “Hello” setup screen.
#Step 4: Sign Back in With Your Apple ID
When the device boots, it will prompt for the Apple ID and password originally signed in. This is the Activation Lock check. Not optional.
Once accepted, you can restore from an iCloud or computer backup at the Apps & Data screen, or set up as new if you’d rather start clean.
#What if Recovery Mode Fails or Stalls?
Recovery Mode failures almost always come from one of three causes:
- A bad cable. Non-MFi-certified or worn cables drop the connection mid-firmware-download and produce error 4013 or 4014. Apple recommends trying a different cable and USB port before retrying.
- An outdated host. Older Finder, iTunes, or macOS versions occasionally fail to fetch the latest IPSW. Updating macOS or iTunes for Windows resolves this in most cases.
- A Windows security software conflict. Some Windows antivirus tools block the Apple Mobile Device Service. Temporarily disable third-party security software, run iTunes as administrator, and retry.
If the restore stalls at the same percentage twice, force-quit Finder or iTunes, unplug the iPhone, repeat the Recovery Mode trigger from Step 2, and start over. A restore that keeps freezing at the same point is often a cable problem, so swapping the original cable for a higher-quality, MFi-certified one frequently lets the next attempt finish.
If the iPhone refuses Recovery Mode entirely (screen stays black or only shows the Apple logo), the device may need DFU mode instead. DFU is the deeper “factory programming” state below Recovery Mode and is documented step-by-step in our walkthrough on what restore iPhone means and when to use DFU.
#Can You Undisable an iPhone Without a Computer?
Yes, in two situations.
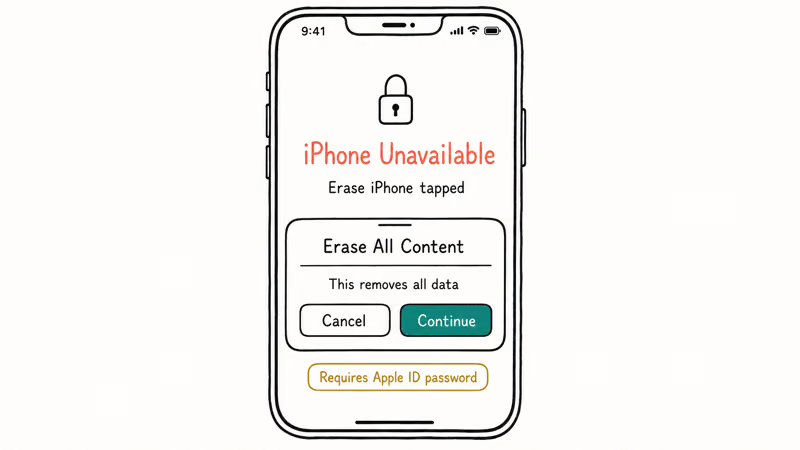
iOS 15.2 and later, Find My on, Apple ID password known. Apple added an in-screen “Erase iPhone” button to the bottom-right of the Security Lockout screen starting in iOS 15.2. After the device fully escalates to the lockout state, tap it, enter your Apple ID password, and confirm. The phone wipes itself over its cellular or Wi-Fi connection and reboots to the activation screen. No cable required.
Any iOS version, Find My on, Apple ID accessible from another device. Sign in at iCloud.com on any browser, choose All Devices, pick the disabled iPhone, and select Erase iPhone. The erase queues immediately and runs the next time the device has internet.
If the phone is offline, the queue persists until it reconnects. Apple’s Find My iPhone support page confirms that the erase removes the 6-digit passcode along with everything else, but it doesn’t remove Activation Lock; the same Apple ID is still required at re-activation.
Both routes still wipe the device. There is no Apple-supported method to remove a disabled-state passcode and keep your data. That’s the entire point of the lockout from a security standpoint.
#Backup Habits That Prevent Future Lockouts
The lockout itself is not the data loss event. The missing backup is. A few habits remove almost all of the risk:
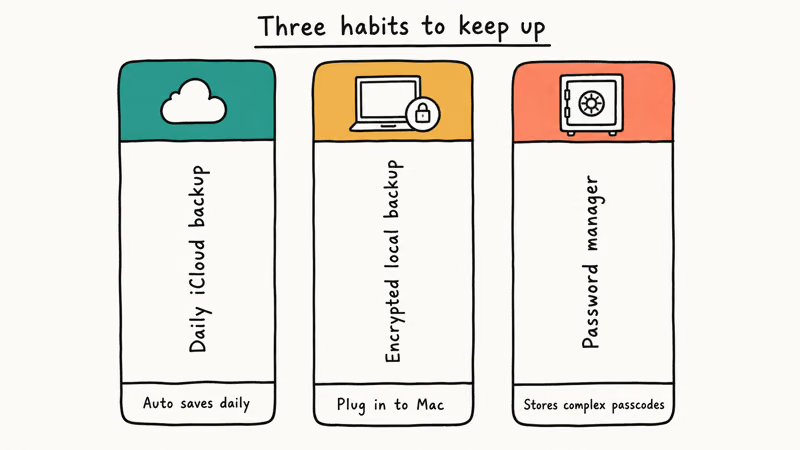
- Turn on iCloud Backup under
Settings>Your Name> iCloud > iCloud Backup. According to Apple’s iCloud storage page, every Apple ID gets 5 GB free, with paid tiers starting at 50 GB for $0.99 a month, which is what most users actually need once Photos is included. - Use Erase Data after 10 attempts under
Settings>Face ID & Passcode(or Touch ID & Passcode) only if you have a verified iCloud Backup or a computer backup. With that toggle on, the tenth wrong passcode entry wipes the device automatically. - Set up a Recovery Contact under
Settings>Your Name>Sign-In & Security>Account Recoveryif you tend to forget Apple ID passwords. The contact can issue a one-time recovery code if you get locked out. - Periodically connect the iPhone to your Mac or PC for a local encrypted backup. According to Apple’s iPhone backup support page, local encrypted backups include saved passwords, Health data, and Wi-Fi settings that iCloud Backup doesn’t encrypt by default. A full local encrypted backup usually finishes in a few minutes over a USB-C connection.
If the phone you’re trying to undisable has never been backed up, your options are limited to whatever syncs to other Apple services. Photos in iCloud Photos. Contacts in iCloud Contacts. Messages in iCloud Messages.
None of these resync until the phone is restored and signed back in.
#When to Skip DIY and Go to Apple Support
A handful of disabled-iPhone situations are not DIY-fixable in 2026, and trying to fix them yourself usually wastes a day before you call Apple anyway. Skip the Recovery Mode routine and book a Genius Bar appointment or call Apple Support if:
- You bought the iPhone used and the previous owner did not sign out of their Apple ID before handing it over. You’ll need them to remove the device from their account, or you need original proof of purchase to bring to an Apple Store.
- You inherited the device from a deceased family member. Apple’s Digital Legacy program lets a designated contact recover the Apple ID with a death certificate and access key.
- The iPhone is on a carrier financing plan that hasn’t been paid off. The device may be carrier-locked in addition to passcode-disabled, and the carrier must release the lock first.
- The display is cracked or unresponsive to the Recovery Mode button combo. Apple Store technicians can trigger DFU mode over a service cable that bypasses the buttons.
The Genius Bar can usually handle the restore in a single short appointment if you bring the original receipt, the phone, and the original cable. The trip is free even out of warranty as long as you don’t need parts.
#Bottom Line
For an iPhone you own and have a current Apple ID for, the right move is Recovery Mode + Finder (or iTunes on Windows) almost every time. It’s free, it works on every iPhone from 6s through the iPhone 15 lineup, and it doesn’t require any third-party utility. Skip the in-screen Erase iPhone option only if you’re on iOS 15.2 or later and don’t have a computer handy.
If you’re stuck on the Activation Lock screen after the restore because you can’t remember your Apple ID password, Apple Support is the only legitimate next step. No third-party tool can bypass it, and any that claims to either fails on the latest iOS or is selling you something more dangerous than a disabled iPhone. Back up before you put down this article so you never have to read it again.
For other lockouts, our guides cover model-specific Recovery Mode quirks:
- Unlocking iPhone 12 without a passcode
- Unlocking iPhone X without a password
- Bypassing a forgotten iPad passcode on a device you own
If your iPhone won’t start up to show the disabled screen, see my iPhone won’t turn on first. If the Apple ID itself is the blocker, the Apple ID locked recovery guide walks you through that path.
iPhone tips & tricks
#Frequently Asked Questions
Can I undisable my iPhone without losing my data?
No. Every Apple-supported method erases the device, and there’s no third-party method that actually keeps data on current iOS. Your data only comes back if you had iCloud Backup, an encrypted local backup, or service-level sync turned on before the lockout. Then you restore from that backup after the device is unlocked.
How long does Recovery Mode restore take?
Plan for 30 to 60 minutes door-to-door. The IPSW firmware download is the slowest part on a typical home connection at 5 to 8 GB, followed by 8 to 15 minutes for the actual restore. On a fast line the full process finishes well inside that window, while a slow DSL line can take roughly twice as long.
What happens if I exit Recovery Mode by accident?
Nothing breaks. The iPhone reboots back to the disabled screen and you re-enter Recovery Mode using the same button combo.
Does erasing from iCloud.com remove Activation Lock?
No. The remote erase removes the data and passcode but the device stays tied to the same Apple ID.
Can I undisable a used or second-hand iPhone?
Only if the previous owner is reachable and signs the device out of their Apple ID, or you have the original proof of purchase to take to an Apple Store. There’s no legitimate path around Activation Lock, and third-party “iCloud bypass” services tend to leave the device in a worse state than when you started. Sellers often end up refunding customers after a “bypassed” iPhone fails activation on a later iOS update at an Apple Store.
Why does iTunes say “error 4013” or “error 9” during restore?
Both are connection errors. Apple’s restore error troubleshooting page attributes these to a hardware or USB issue: a bad cable, faulty port, third-party security software, or insufficient power on the USB hub.
Will the disabled state come back after I unlock the phone?
Only if you set up a new passcode and then forget it again. The lockout counter resets to zero after a successful sign-in, so once you complete the restore and verify your Apple ID, the phone is back to a normal state. Consider turning on Erase Data after 10 attempts in Settings only after you confirm your backups are current.
Is there an Apple-approved way to unlock my iPhone without erasing it?
No. Apple’s design intent is that the only way past a forgotten passcode is a full restore, and that’s by design rather than a bug. Any service or app that claims otherwise is either lying, exploiting a vulnerability that gets patched within a single iOS point release, or running a scam. The closest legitimate option is the Recovery Contact feature for Apple ID recovery, which restores account access only.
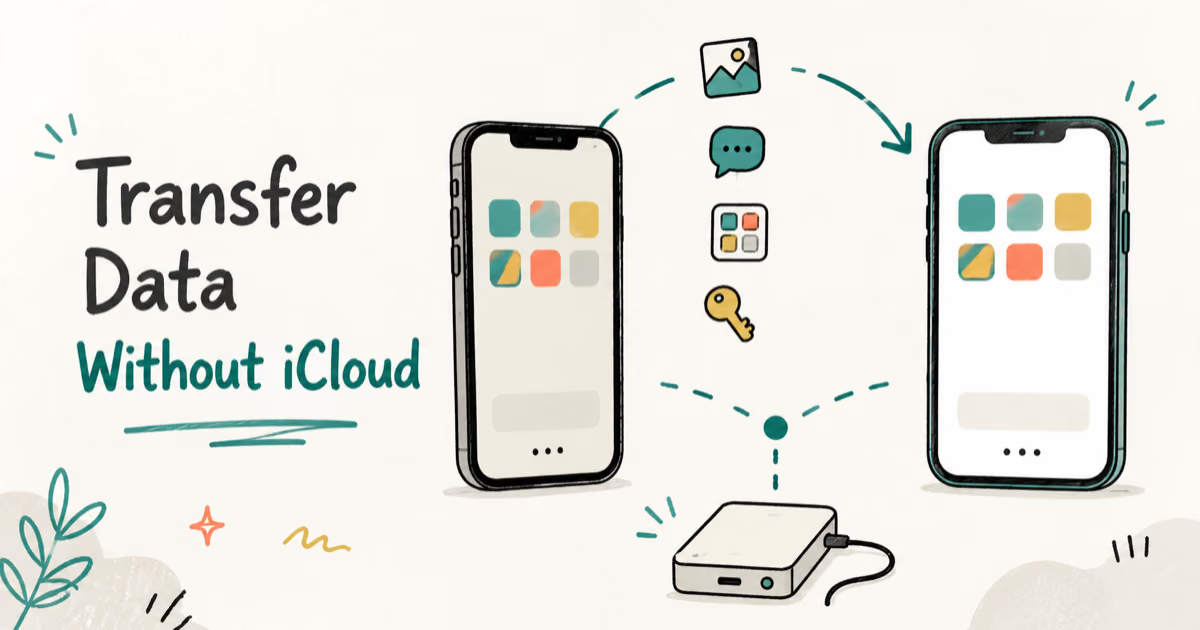
How to Transfer Data to a New iPhone Without iCloud
Move everything to your new iPhone without iCloud: Quick Start device-to-device transfer, wired migration, and encrypted Finder or iTunes backups.
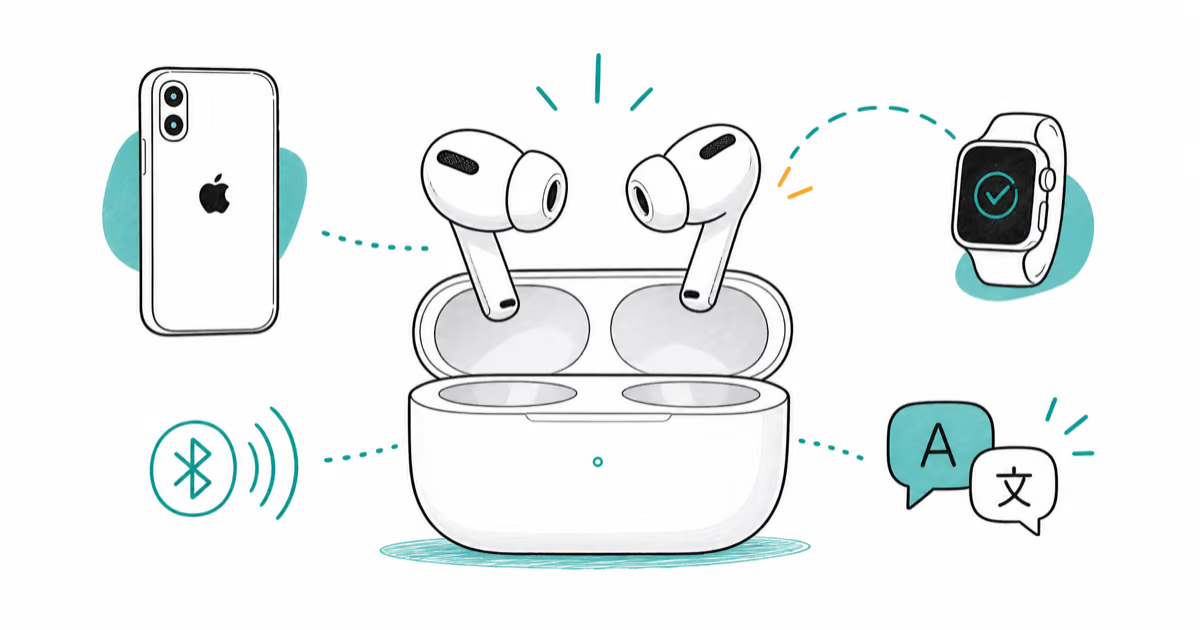
Best Wireless Earbuds for iPhone in 2026: USB-C Era Picks
Best wireless earbuds for iPhone in 2026, comparing AirPods Pro 3, Sony WF-1000XM6, Bose QC Ultra, and Anker Liberty 4 NC on the USB-C iPhone lineup.
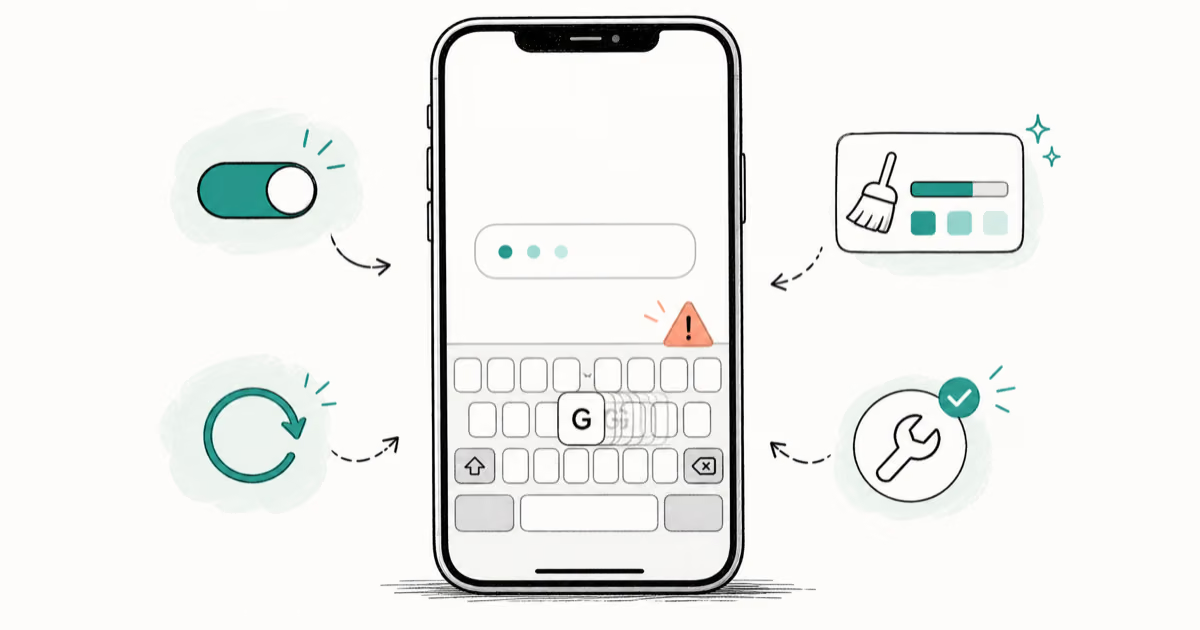
iPhone Keyboard Lag? 7 Proven Fixes for iOS 26 (2026)
Fix iPhone keyboard lag with 7 proven fixes for iOS 26. Covers restart, storage, predictive text, third-party keyboards, and dictionary reset.
How to Block Porn on an iPhone: A Guide for Parents
Learn how to block porn on iPhone using Screen Time, DNS filtering, and safe browsers. Step-by-step guide for parents to protect kids' devices.