How to Erase an iPhone Completely: 4 Proven Methods
Erase your own iPhone completely with Settings, Finder, iCloud remote wipe, and backup-first steps before selling, trading in, or fixing a locked device.

Quick AnswerBack up the iPhone, then go to Settings > General > Transfer or Reset iPhone > Erase All Content and Settings. Choose whether to keep or delete the eSIM, then enter the requested passcode and Apple Account password.
Your iPhone holds years of personal data, and wiping it properly matters. These steps apply only to a device or account you own. Never erase or try to access another person’s device without authorization; doing so can violate their privacy and applicable law.
The four workflows below are Settings erase, computer restore, Find My remote erase, and recovery mode.
- Erasing through Settings lets you choose whether to keep or delete an eSIM
- Synced iCloud data remains available after the device erase; confirm synchronization or a backup first
- Complete the Apple Account sign-out steps before selling the device
- Remote erase via Find My works for lost or stolen iPhones but needs internet
- Back up to iCloud or your computer first since erasing permanently deletes local files
#What Does Erasing an iPhone Actually Do?
Erasing an iPhone removes the personal data, app content, saved passwords, Apple Pay cards, and custom settings stored on it. The on-device flow returns the phone to the Hello screen, while a computer restore also reinstalls iOS.
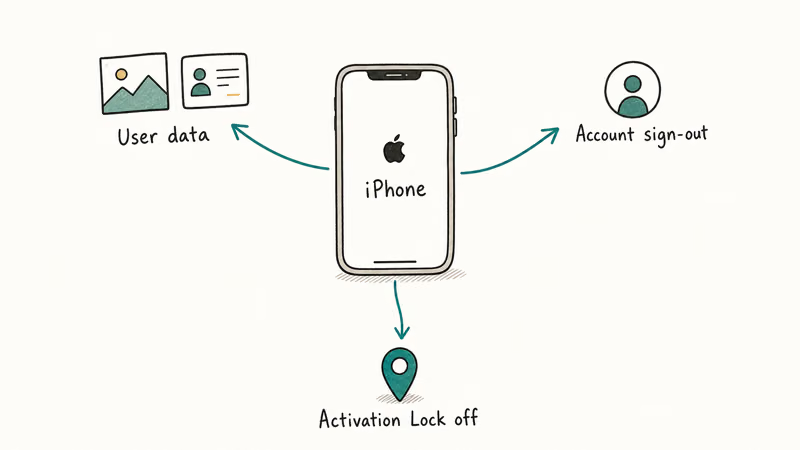
Apple’s Data Protection documentation says Erase All Content and Settings obliterates the key in Effaceable Storage and makes the protected files cryptographically inaccessible. Restore anything you still need from a backup instead of expecting to recover it from the erased iPhone.
Your iCloud account and any data synced to the cloud remain untouched. Photos in iCloud Photos, contacts, calendars, and notes stay right where they’ve always been.
#Erase an iPhone From Settings
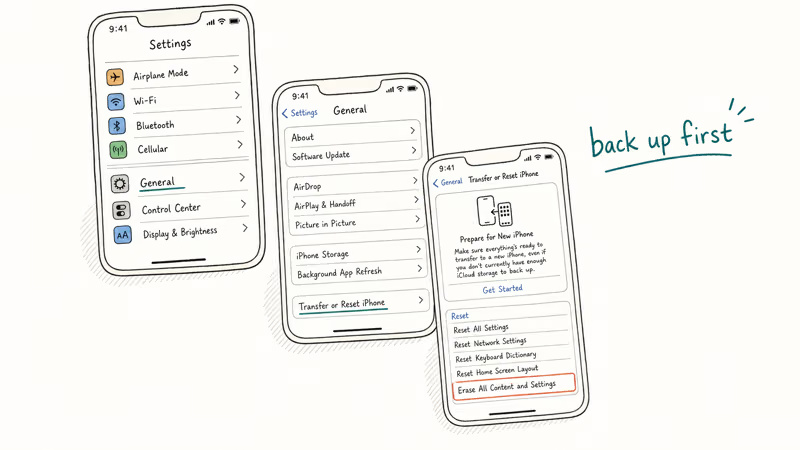
Use Settings first when the iPhone still unlocks.
-
Open Settings on your iPhone.
-
Tap General.
-
Scroll down and tap Transfer or Reset iPhone.
-
Tap Erase All Content and Settings.
-
Enter your passcode when prompted.
-
If asked, enter your Apple Account password to turn off Find My.
-
Tap Erase to confirm.
According to Apple’s current factory-reset guide, you should wait for the erase to finish; the iPhone then returns to the Hello screen. Keep the device connected to power if its battery is low, but follow the prompts instead of relying on an unpublished battery threshold.
#Erase an iPhone Using Finder, Apple Devices, or iTunes
If your iPhone is frozen or stuck on the Apple logo, connect it to a computer. Mac users on macOS Catalina or later use Finder, while Windows users use Apple Devices. iTunes remains the route on Windows PCs without Apple Devices and on macOS Mojave or earlier. If you can’t sign out of your Apple Account, don’t treat a normal Restore as an account bypass: Apple requires Find My to be turned off before that Restore is available.
Using Finder (macOS Catalina+):
-
Connect your iPhone to your Mac with a USB or USB-C cable.
-
Open Finder and select your iPhone in the sidebar under Locations.
-
Click the General tab.
-
Click Restore iPhone.
-
Confirm when prompted.
Using Apple Devices (Windows):
-
Connect your iPhone to your PC.
-
Open Apple Devices and select your iPhone in the sidebar.
-
Click General.
-
Click Restore iPhone and confirm.
Using iTunes (Windows without Apple Devices, or macOS Mojave and earlier):
-
Connect your iPhone to your computer.
-
Open iTunes and select your iPhone from the device menu.
-
Click Summary in the sidebar.
-
Click Restore iPhone.
-
Confirm the warning prompt.
Each computer method downloads and installs the latest iOS. It can take longer than erasing from Settings because the computer must download the software before the restore finishes.
According to Apple’s current computer restore guide, a factory restore removes the device’s information and settings and installs the latest iOS. If the iPhone is locked out or disabled, use the recovery-mode route in the next section.
A computer restore doesn’t remove Activation Lock. If it appears during setup, follow Apple’s removal options.
#Can You Erase an iPhone Remotely?
Yes. If your iPhone is lost or stolen, you can wipe it remotely through Find My. The device needs to be connected to Wi-Fi or cellular data for the erase command to go through. If it’s offline, the erase queues up and executes the next time it connects.
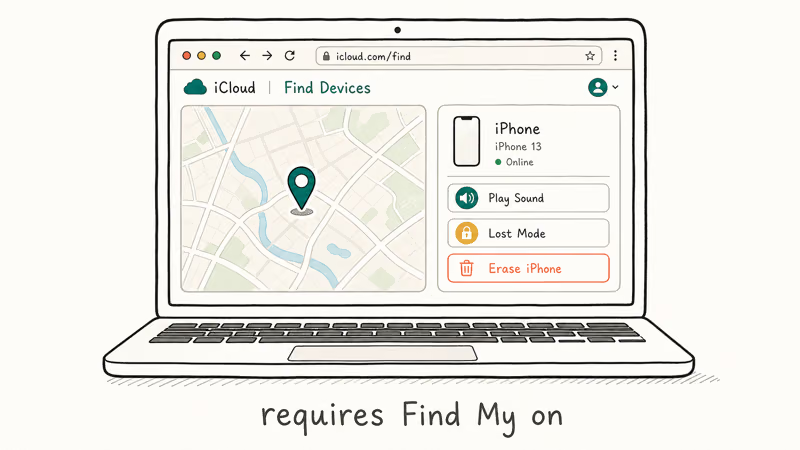
From another Apple device:
-
Open the Find My app.
-
Tap Devices and select your iPhone.
-
Scroll down and tap Erase This Device.
-
Follow the prompts to confirm.
From a browser:
-
Go to iCloud.com/find and sign in.
-
Select your iPhone from the device list.
-
Click Erase iPhone.
After the remote erase completes, Activation Lock stays on. That means nobody can set up or use the device without your Apple Account and password. Apple confirms this behavior in its current Activation Lock guide.
#Steps to Take Before Erasing
Skipping the prep steps can cause avoidable transfer and data-loss problems. Here’s a quick checklist:
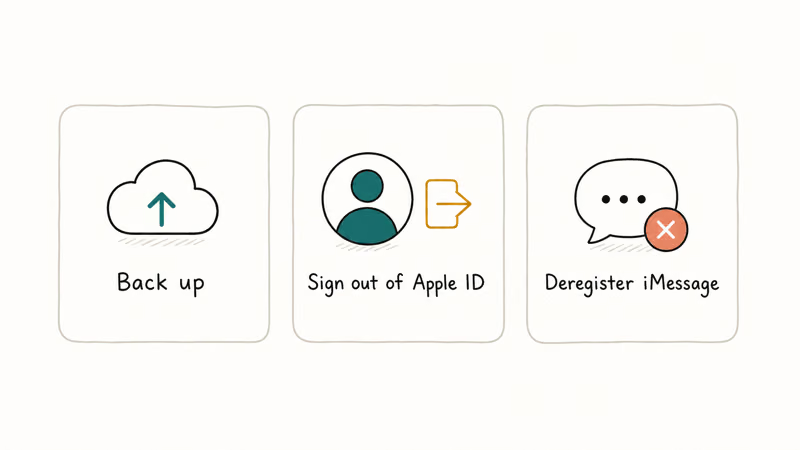
Back up your data. Go to Settings > [Your Name] > iCloud > iCloud Backup > Back Up Now. Or connect to your computer and back up through Finder, Apple Devices, or iTunes. We recommend doing both if you’re about to sell the phone. If your iCloud backup seems stuck, keep the iPhone on power and stable Wi-Fi, then follow the backup troubleshooting steps instead of relying on a fixed wait time.
Complete the Apple Account steps. Go to Settings > [Your Name] > scroll down > Sign Out, then follow the onscreen choices for your iOS version. Complete the requested Find My and account prompts before transferring the iPhone.
Unpair your Apple Watch. Open the Watch app on your iPhone, tap your watch, then tap the info button and select Unpair Apple Watch. This automatically creates a backup of your watch data that you can restore when you set up a new device or re-pair the same watch later.
Handle your SIM or eSIM. Remove a physical SIM before handing the phone over. According to Apple’s current eSIM guide, the erase flow lets you keep or delete the eSIM. Delete it when selling, trading in, or giving away the phone; don’t delete it merely as a troubleshooting step unless your carrier directs you to do so.
#iCloud Photos After an iPhone Erase
Erasing the iPhone removes its local copies; it doesn’t delete photos that already synced to iCloud. Sign in to iCloud on another device to confirm the library before you erase the phone.
The same principle applies to contacts, notes, reminders, Safari bookmarks, Health data, and iCloud Drive documents, but only when their relevant iCloud setting was enabled and synchronization finished before the erase. Confirm important cloud copies or a backup first.
One exception: if you turned off iCloud Photos and stored photos only on the iPhone, those are gone permanently after erasing. No way to recover them without a prior backup. Based on Apple’s iCloud Photos FAQ, photos only sync to the cloud when iCloud Photos is actively turned on in Settings.
#Erase an iPhone You Can’t Unlock
If you forgot your passcode or the device is disabled after too many wrong attempts, you still have options.
Recovery mode is Apple’s documented route when the device can’t update or restore normally. For iPhone 8 and later, Apple’s current instructions say to press and quickly release Volume Up, press and quickly release Volume Down, then hold the Side button until the Connect to Computer screen appears. Choose Restore on the computer; this reinstalls iOS and erases the data.
Find My works too. If it was enabled before the lockout, use iCloud.com or another Apple device to remotely erase the iPhone.
Tenorshare also markets 4uKey as a paid passcode-removal tool, but its product page combines separate screen-passcode and Activation Lock features. Use it only on a device you own, and don’t assume that clearing a screen passcode or erasing the phone clears Activation Lock. Try Apple’s recovery-mode restore first.
Some links on this page are affiliate links, which means fone.tips may earn a commission at no extra cost to you.
#Bottom Line
Start with the Settings method when the iPhone still unlocks. If it’s frozen or unresponsive, use Finder, Apple Devices, or recovery mode. For a lost device, send the erase through Find My and leave Activation Lock enabled while it remains missing.
Back up first, follow the eSIM choice shown on the device, and complete the Apple Account or Find My steps for the way you are erasing it.
iPhone tips & tricks
#Frequently Asked Questions
How long does it take to erase an iPhone?
Apple doesn’t publish one fixed completion time. The Settings flow tells you to wait for the erase, while a computer restore must also download and install iOS. Keep the iPhone connected to power and the computer connected to the internet until the onscreen process finishes.
Does erasing my iPhone cancel my phone plan?
No. Your carrier plan, phone number, and account stay active. Erasing only affects the device.
Can someone recover data after I erase my iPhone?
Apple’s Data Protection documentation describes erasing the device by securely discarding the relevant key in Effaceable Storage, which makes the protected files cryptographically inaccessible. Restore anything you still need from a backup rather than assuming it can be recovered from the erased phone.
Will erasing remove Activation Lock?
It depends on the erase method. Apple’s Settings reset flow asks for the Apple Account password, while its computer restore guide requires Find My to be turned off before Restore is available.
A remote Find My erase is different: Apple says Activation Lock remains enabled so the missing device can’t be reactivated without your permission.
Do I need to erase my iPhone before trading it in?
Yes, if you’re transferring the device. Apple’s current sell, give away, or trade-in checklist says to erase all content and settings after completing the backup and account steps. Follow the receiving trade-in provider’s current requirements instead of assuming every carrier uses the same evaluation rules.
Can I erase my iPhone without a computer?
Yes. The Settings method works entirely on the device. You just need your passcode and, when requested, your Apple Account password.
What happens to my eSIM when I erase?
The erase process lets you choose whether to keep or delete the eSIM. Keep it when you are erasing the phone for your own continued use. Delete it when you are selling, trading in, or giving away the phone; if you delete it, contact your carrier when you need to reactivate that cellular plan.
Is factory reset the same as erasing?
People often use “factory reset” to mean Erase All Content and Settings, Apple’s on-device erase flow. A computer factory restore also erases local data but reinstalls the latest iOS, so the two workflows aren’t identical.
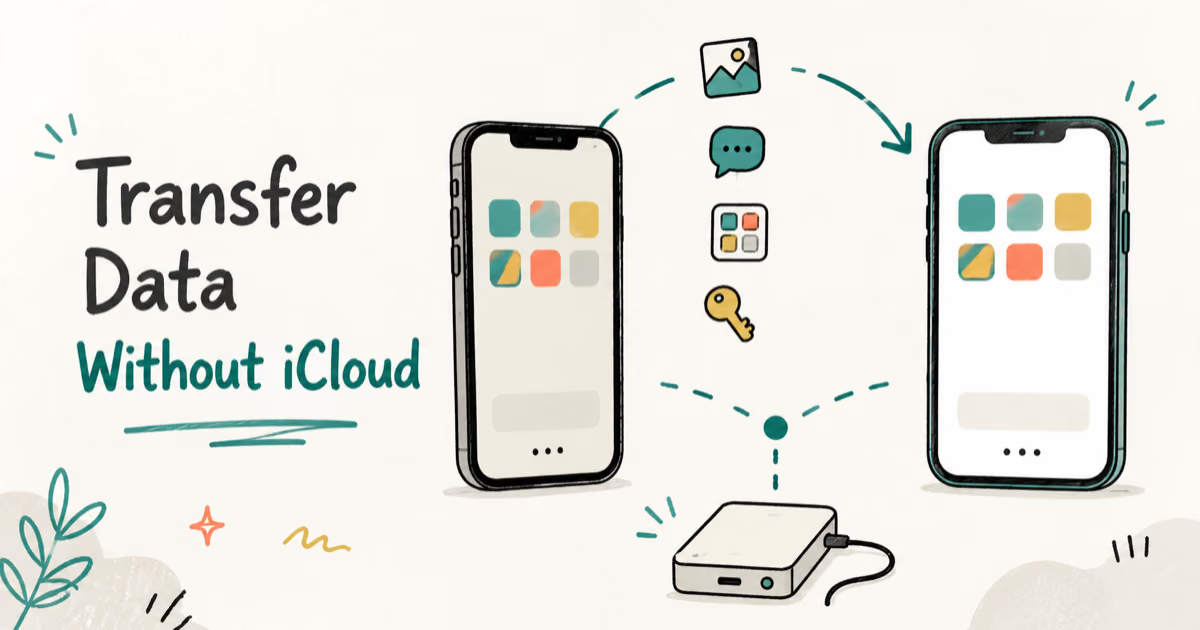
How to Transfer Data to a New iPhone Without iCloud
Move everything to your new iPhone without iCloud: Quick Start device-to-device transfer, wired migration, and encrypted Finder or iTunes backups.
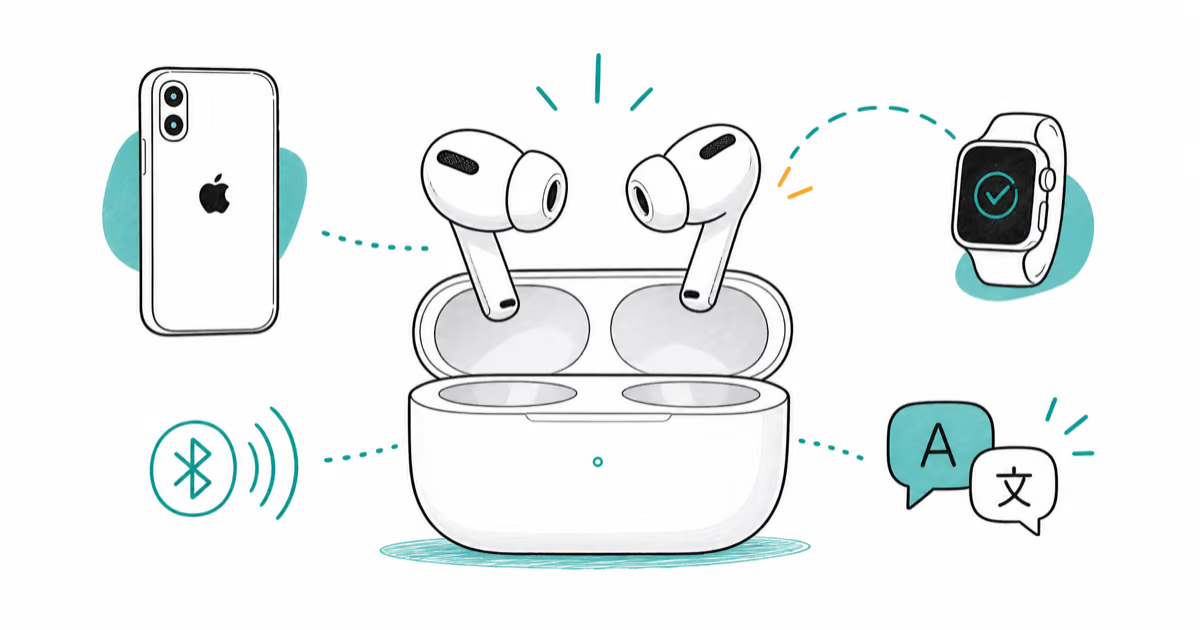
Best Wireless Earbuds for iPhone in 2026: USB-C Era Picks
Best wireless earbuds for iPhone in 2026, comparing AirPods Pro 3, Sony WF-1000XM6, Bose QC Ultra, and Anker Liberty 4 NC on the USB-C iPhone lineup.
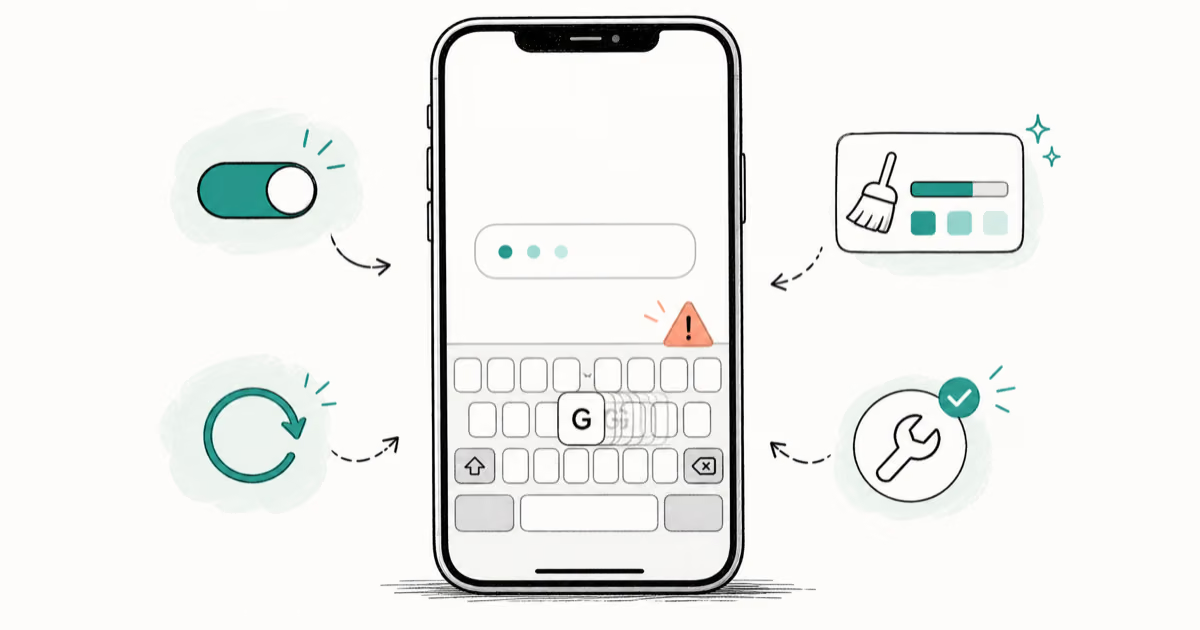
iPhone Keyboard Lag? 7 Proven Fixes for iOS 26 (2026)
Fix iPhone keyboard lag with 7 proven fixes for iOS 26. Covers restart, storage, predictive text, third-party keyboards, and dictionary reset.
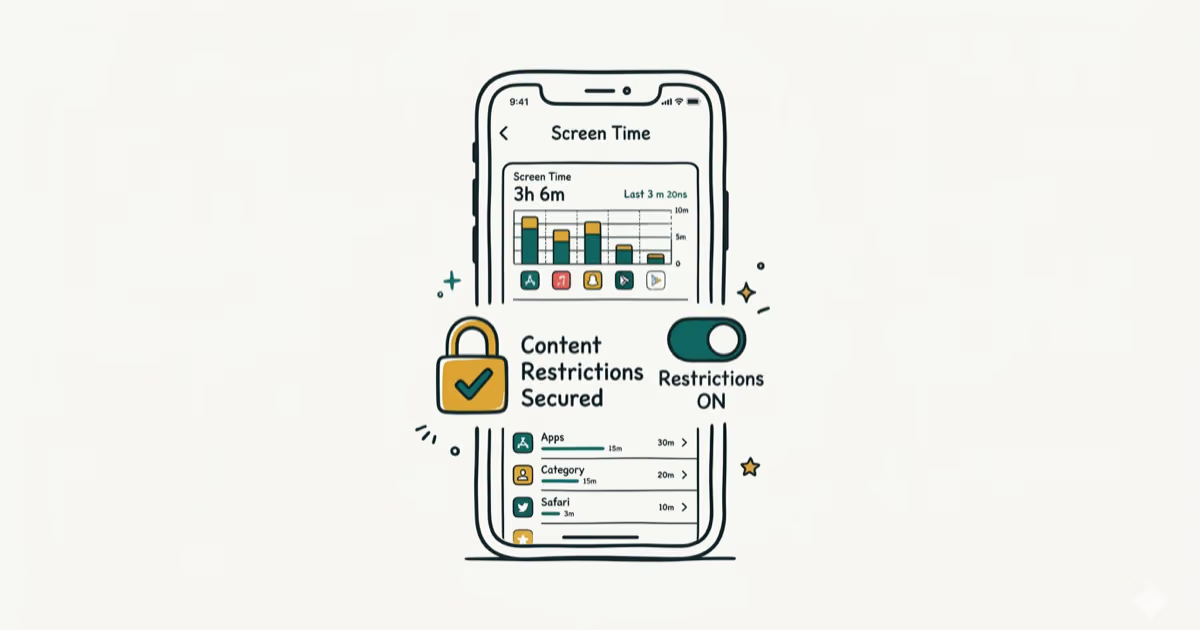
How to Block Porn on an iPhone: A Guide for Parents
Learn how to block porn on iPhone using Screen Time, DNS filtering, and safe browsers. Step-by-step guide for parents to protect kids' devices.