How to Change Photo Background to White: The Ultimate Guide
Learn how to change a photo background to white using free and paid tools like Photoroom, Pixelcut, and Photoshop. Perfect for product photos.
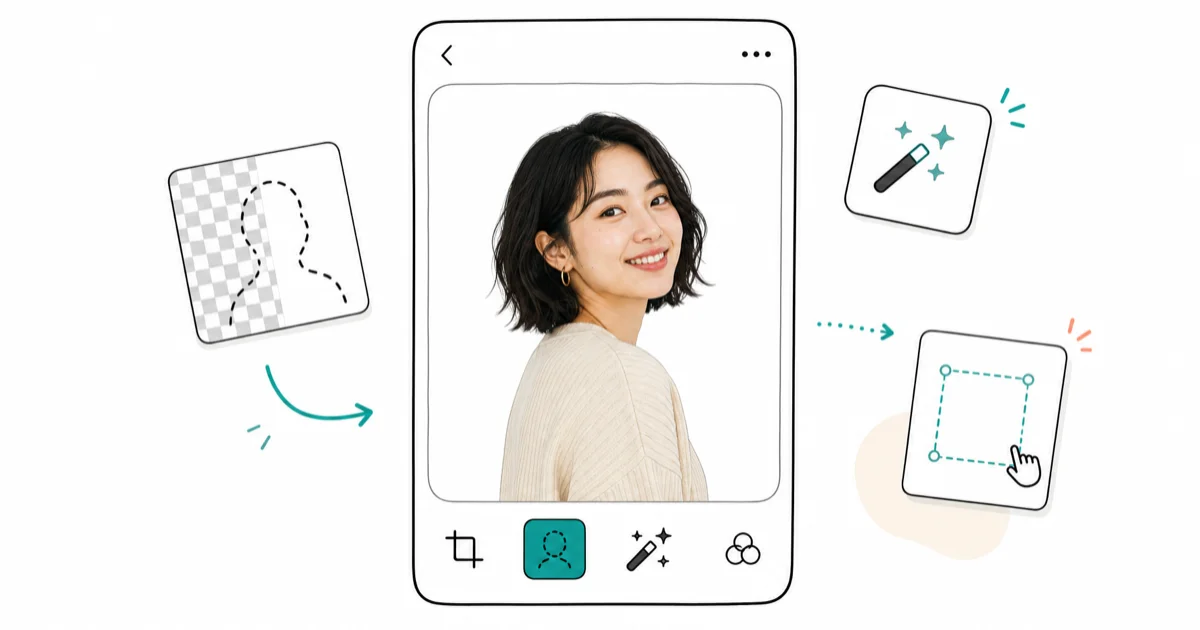
Quick AnswerUse an AI-powered tool like Photoroom or Pixelcut to automatically remove the background and replace it with white. For manual control, use Photoshop's Select Subject and Layer Mask features.
Changing a photo’s background to white is a valuable skill for photographers, e-commerce sellers, and anyone looking to create clean, professional-looking images. This comprehensive guide will walk you through the best tools and techniques to achieve a perfect white background, along with expert tips to ensure stunning results.
- Photoroom uses AI to remove backgrounds and add a white replacement in one click, with batch processing available in the Pro version.
- Pixelcut supports JPG, PNG, and HEIC file formats and is available on both iOS and Android for mobile editing.
- Amazon and eBay both recommend white backgrounds for product listings because they eliminate distractions and help products convert better.
- Photoshop’s Select Subject feature paired with Layer Mask gives the most precise control for complex subjects with fine details like hair.
- A consistent white background across multiple product images creates a cohesive look that strengthens brand identity in online stores.
#Why Change a Photo Background to White?
According to Amazon’s image guidelines, main product images need a pure white RGB 255, 255, 255 background with the product filling 85% of the frame.
- Enhanced Product Photography: A white background is the gold standard for e-commerce platforms like Amazon and eBay. It allows potential buyers to focus solely on the product without distractions.
- Clean and Professional Look: White backgrounds create a sense of cleanliness and professionalism, ideal for corporate headshots, portfolios, or any image where you want to convey a polished appearance.
- Versatility: White backgrounds are incredibly versatile, allowing images to be easily integrated into various design contexts, from websites to print materials.
- Improved Subject Focus: By eliminating background distractions, a white backdrop makes your subject pop, drawing the viewer’s attention exactly where you want it.
- Consistency: For brands or portfolios, using a consistent white background across multiple images creates a cohesive and organized look.
#Top Tools to Change Photo Backgrounds to White
Most modern tools export to PNG so the cutout can sit cleanly on a new white layer. The W3C PNG specification confirms that PNG supports an 8-bit alpha channel, which is why transparent cutouts composite without halo or fringe on any solid color.
#1. Photoroom
Photoroom is a powerful, AI-driven tool that makes changing photo backgrounds a breeze.
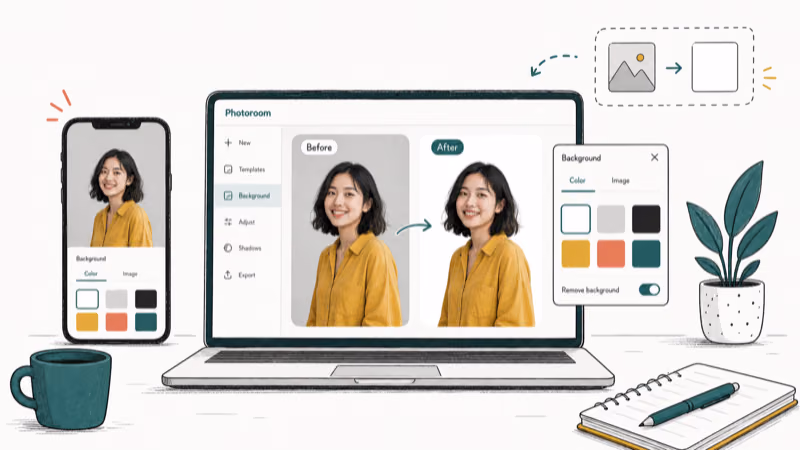
Key Features:
- Automatic background removal
- One-click white background addition
- Additional editing options (text, shadows, etc.)
- Batch processing (Pro version)
Step-by-Step Process:
- Visit Photoroom’s website and click “Start from a photo”
- Upload your image (JPG or PNG formats supported)
- Wait for the AI to automatically remove the background
- Click to add a white background
- Make any additional edits if desired
- Download your edited image as a PNG file
Pros:
- User-friendly interface
- Quick processing
- Additional editing features
Cons:
- Some advanced features require a paid subscription
Download: Photoroom for iOS | Photoroom for Android
#2. Pixelcut
Pixelcut is another excellent option, particularly popular among mobile users.
![]()
Key Features:
- AI-powered background removal
- One-tap background change
- Available on iOS and Android
- Batch processing capabilities
Step-by-Step Process:
- Open the Pixelcut app or visit their website
- Upload your image (JPG, PNG, or HEIC formats)
- Let the AI remove the background automatically
- Tap to add a white background
- Optionally add shadows or make other adjustments
- Download your edited image
Pros:
- Mobile-friendly
- Fast processing
- Intuitive interface
Cons:
- Some features locked behind premium subscription
Download: Pixelcut for iOS | Pixelcut for Android
#3. Remove.bg
Remove.bg is known for its simple upload-and-download workflow, which makes it a practical first stop when you need a white background quickly and don’t want to tune masks by hand.
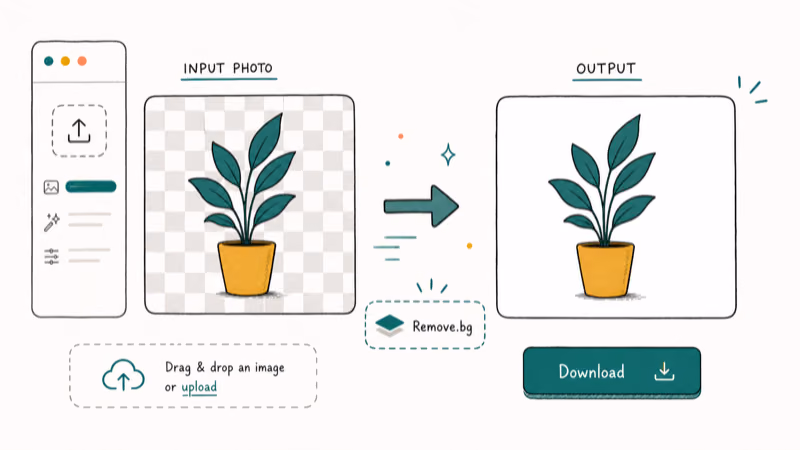
Key Features:
- One-click background removal and replacement
- Supports various image formats
- Batch processing available
- API for developers
Step-by-Step Process:
- Go to Remove.bg website
- Upload your image or paste a URL
- Wait a few seconds for automatic processing
- Download your image with a white background
Pros:
- Extremely fast and simple
- No account required for basic use
- Excellent for quick edits
Cons:
- Limited editing options beyond background removal
#4. Fotor
Fotor offers a broader editing suite than the dedicated background removers, so it’s useful when the white cutout is only one part of a larger resize, crop, or social-template workflow.

Key Features:
- AI-powered background removal
- Extensive editing capabilities
- Available online and as a mobile app
- Templates and design resources
Step-by-Step Process:
- Visit Fotor’s website or open the app
- Upload your photo
- Use the “Background Remover” tool
- Select white as your new background color
- Make any additional edits
- Download your finished image
Pros:
- Comprehensive editing suite
- User-friendly interface
- Available on multiple platforms
Cons:
- Free version has limitations on exports
Download: Fotor for iOS | Fotor for Android
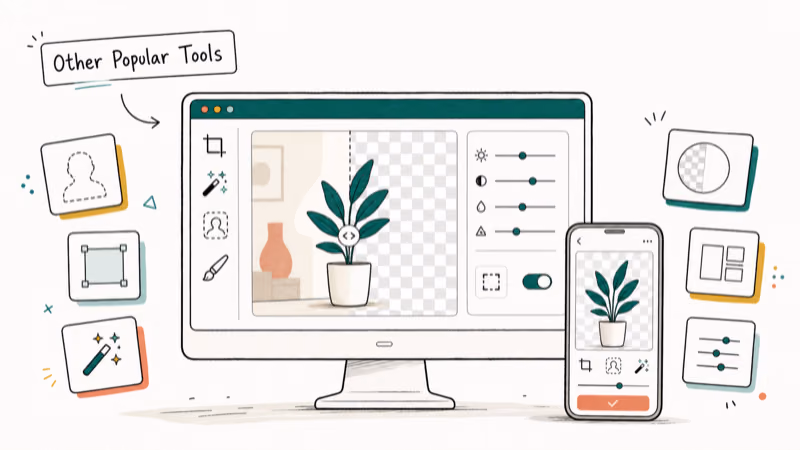
#Other Popular Tools
While we’ve covered the top four options in detail, there are several other tools worth mentioning:
- Picsart: Offers a wide set of editing tools, including background removal and changing.
- Canva: Popular for its design capabilities, Canva also offers background removal and changing features.
- Cutout.pro: Provides precise background removal with AI technology.
- inPixio: Known for its user-friendly interface and quick background changing capabilities.
- Paint.NET (for Windows users): A free, powerful alternative to Photoshop. Learn how to create a transparent background in Paint.NET.
#Tips for Best Results When Changing Photo Backgrounds
To ensure you get the best results when changing your photo background to white, consider these expert tips:
- Choose the Right Photo: Start with a high-quality image where the subject has clear, defined edges against the original background.
- Lighting Matters: Proper lighting in the original photo will make the transition to a white background look more natural. Avoid harsh shadows if possible.
- Refine the Edges: After automatic background removal, zoom in and manually refine any problematic edges for a cleaner result.
- Adjust Contrast and Brightness: Once you’ve added the white background, you may need to tweak the contrast and brightness of your subject to ensure it doesn’t look out of place.
- Consider Shadows: Adding a subtle shadow can make your subject look more natural against the white background, especially for product photos.
#How Do You Fix Hair, Glass, and Reflective Edges?
Even with the best tools, you may encounter some challenges. Fine hair, glass, reflections, and busy source backgrounds often need manual cleanup after automatic background removal. Here’s how to handle the most common edge cases:
- Complex Edges (e.g., Hair): For subjects with fine edges like hair or fur, use the tool’s refine edge feature or manually touch up these areas for the best result.
- Preserving Shadows and Reflections: If your subject has natural shadows or reflections, try to preserve these when removing the background for a more realistic look.
- Transparent or Reflective Objects: Glass or reflective surfaces can be tricky. In these cases, it may be best to shoot the object against a white background initially if possible.
#DIY Methods for Changing Photo Backgrounds to White
While AI-powered tools make the process easy, you might want more control. Here are two popular DIY methods:
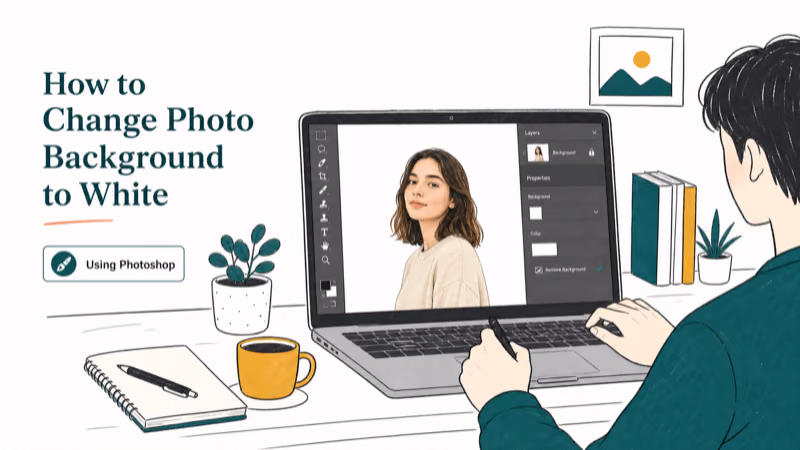
#Using Photoshop
Adobe’s Photoshop documentation states that the Select Subject command relies on Adobe Sensei machine learning to find the most prominent subject in an image with a single click. A Layer Mask keeps the cutout editable, which is safer than permanently erasing pixels when you need to refine hair, fabric, or product edges.
- Open your image in Photoshop
- Use the Quick Selection tool to select your subject
- Refine the edge of your selection
- Create a layer mask to isolate your subject
- Add a new white background layer
- Make any necessary adjustments to blend the subject with the new background
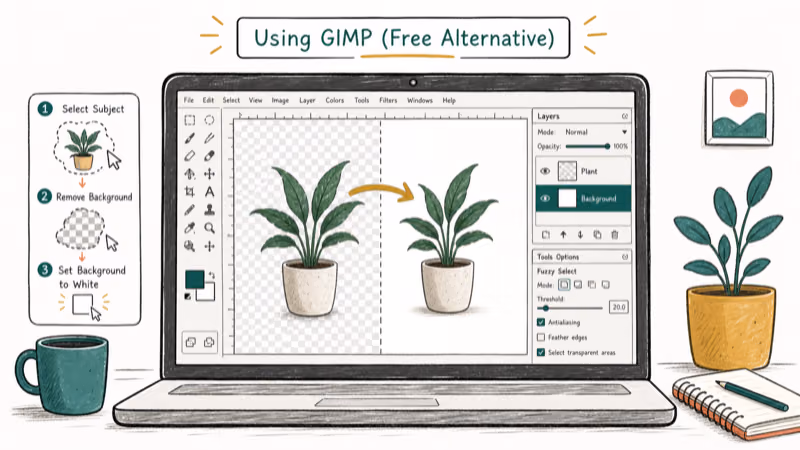
#Using GIMP (Free Alternative)
- Open your image in GIMP
- Use the Free Select tool to outline your subject
- Invert the selection (
Select>Invert) - Delete the background
- Add a new white background layer
- Export your image
#Additional Photo Editing Tools and Techniques
While changing backgrounds to white, you might want to explore other photo editing options:
- Background Blur: For a softer look, try using a background blur app. Check out our guide on blur background apps for iOS, Android, and PC.
- Shadow Removal: Sometimes, removing shadows can help create a cleaner white background. Here’s a list of shadow removal apps to help you achieve this.
- Image Unblurring: If your original image is blurry, you might want to sharpen it before changing the background. Learn how to unblur a picture or image.
- Teeth Whitening: For portrait photos, consider using a teeth whitening app to enhance smiles before changing the background.
- Watermark Removal: If you’re using Canva and need to remove a watermark, here’s a guide on how to remove Canva watermarks.
#When to Use Professional Services Instead of DIY
While DIY tools have come a long way, there are times when it’s worth hiring a professional:
- For large volumes of products that need consistent, high-quality images
- When dealing with particularly complex subjects (e.g., jewelry with fine details)
- If you’re not confident in your editing skills and the images are for crucial business purposes
- When you need advanced retouching beyond just changing the background
Use this quick selector when you’re choosing between the main white-background workflows. It keeps the choice tied to the photo type instead of the longest feature list.
| Job type | Best first tool | Why it fits |
|---|---|---|
| One social profile photo | Remove.bg | Fast upload, quick preview, and easy manual touch-up. |
| Marketplace product photo | Photoroom | Strong white-background templates and export presets for commerce images. |
| iPhone HEIC portrait | Pixelcut | Mobile-first workflow, so you don’t need to convert the file first or move the photo through desktop software before editing. |
| Hair, glass, or jewelry | Photoshop or GIMP | Manual masking gives you more control over fine edges. |
| Hundreds of SKUs | Professional retoucher | Consistency matters more than single-image speed. |
Don’t judge the cutout only on a white preview screen. Zoom to 200%, switch briefly to a gray checkerboard or colored layer, and look for halos around hair, transparent glass, and product shadows. That one-minute check catches most edge problems before the final white export hides them.
Save both a transparent PNG master and a flattened white-background JPG. The PNG keeps future edits flexible, while the JPG is usually the file you’ll upload to marketplaces, resumes, and profile forms.
Name the master file clearly so you don’t overwrite it during quick re-exports.
#Bottom Line
For most product shots and headshots, Photoroom or Remove.bg will get you to a clean white cutout in under a minute. Pixelcut is the strongest mobile option for HEIC photos straight from an iPhone.
Reach for Photoshop or GIMP only when you need pixel-perfect control over hair, glass, or jewelry. The manual Layer Mask workflow is slower but more forgiving on tricky edges. Whichever route you take, start with a sharp, well-lit source image and verify the final background is true white (RGB 255, 255, 255) before sending product photos to Amazon or eBay.
#Frequently Asked Questions
Will changing the background affect the quality of my image?
When the cutout is exported as PNG and the white layer is added underneath, the visible subject pixels are untouched. JPG re-exports can introduce mild compression artifacts at the edges, so keep a PNG master and only flatten to JPG for the final upload.
Can I change the background to colors other than white?
Yes. Every tool covered above lets you swap the white layer for any solid color, gradient, or template background.
Are there any copyright issues with changing photo backgrounds?
Editing photos you own or have explicit permission to use is fine. If you pulled the image from a stock site, check the license — editorial-use stock typically forbids commercial edits, even minor ones like background swaps.
How do I get clean edges on hair against a new white background?
Use the refine-edge or “decontaminate colors” option in whichever tool you picked, then zoom to 200% and brush-clean any remaining halo manually. Hair against a busy original background almost always needs a manual pass, since fully automated cutouts rarely nail wispy strands on the first try.
Can I change the background of a photo taken on my smartphone?
Yes. Photoroom, Pixelcut, and Remove.bg all accept HEIC, JPG, and PNG straight from iPhone or Android cameras, and the dedicated mobile apps run the same AI model as their web versions.
Should I export the final image as PNG or JPG?
If the photo will sit on a webpage with a non-white surrounding (or you may swap backgrounds later), keep it as PNG so the transparency stays intact. For Amazon, eBay, and most product listings, flatten to JPG at 80-90% quality to keep file sizes small while staying within marketplace requirements.
What size should my final white-background image be?
Match the target platform’s spec: Amazon recommends at least 1600 pixels on the longest side for zoom support, Shopify works well with 2048 x 2048 squares, and Etsy accepts up to 3000 pixels per side. Always export larger than you think you need — downsizing later preserves quality, upsizing does not.