iPhone Stuck in Recovery Mode: Safe Update and Restore Steps
Use current Apple Recovery Mode steps, choose Update before destructive Restore, handle long downloads, and know when an iPhone needs service.
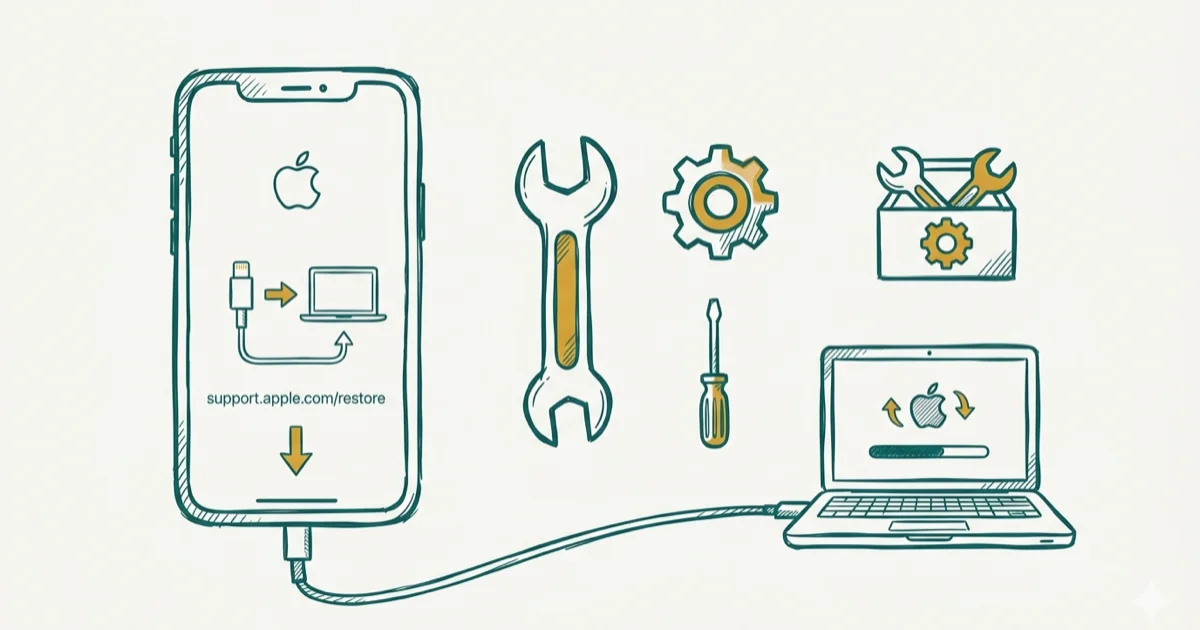
Quick AnswerConnect the iPhone to Finder, Apple Devices, or iTunes and choose Update first when offered. Update attempts to reinstall iOS without erasing data; Restore erases the iPhone.
A cable-and-computer screen means the iPhone is in Recovery Mode. Try a force restart once; if the screen returns, use Apple’s computer-based recovery flow and understand the difference between Update and Restore before clicking either option.
Use these steps only on an iPhone you own or are explicitly authorized to manage. Recovery Mode does not remove Activation Lock or authorize access to another person’s data.
- A force restart does not erase the iPhone, but a device that returns to the recovery screen still needs computer-based troubleshooting
- Use Finder on a current Mac, Apple Devices on Windows, or iTunes only on older supported systems
- Choose Update first when offered because it attempts to reinstall iOS without erasing data
- Restore erases the iPhone and installs the latest compatible iOS version
- If the iPhone can’t update or restore in Recovery Mode, Apple says it may need service
#1. Is It the Recovery Screen?
According to Apple’s current Recovery Mode guide, the Connect to computer screen shows a cable pointing toward a computer. An Apple logo with a progress bar is a different state, and Apple’s one-hour rule applies only to the restore-or-migration progress-bar case covered in the loading-screen guide.
If the iPhone repeatedly shows an Apple logo and restarts without reaching the recovery screen, use the restart-loop checks instead. Don’t infer a cause such as a failed jailbreak, corrupt file, or hardware fault from the recovery screen alone.
#2. Try One Force Restart
A force restart is non-destructive and can exit a recovery screen that appeared after a temporary interruption.
iPhone 8 or later, including iPhone SE (2nd generation or later):
- Press and quickly release Volume Up.
- Press and quickly release Volume Down.
- Hold the Side button until the Apple logo appears.
iPhone 7 or iPhone 7 Plus: Hold the Side button and Volume Down together until the Apple logo appears.
iPhone 6s or earlier, including iPhone SE (1st generation): Hold the Home button and the Side or Top button together until the Apple logo appears.
According to Apple’s force-restart instructions, the Apple logo is the release cue and can take longer than ten seconds to appear on Face ID models. If the Connect to computer screen returns, continue below rather than repeating force restarts indefinitely.
#3. Open the Correct Computer App
Connect the iPhone directly with a known-good data cable, then open:
- macOS Catalina or later: Finder
- Windows: Apple Devices; use iTunes only if Apple Devices is not installed
- macOS Mojave or earlier: iTunes
Locate the iPhone in the app. If the computer doesn’t recognize it, try another USB port or cable and update the computer app before assuming the phone is unrecoverable. The iPhone-won’t-restore guide covers computer and cable checks in more detail.
#4. Put the iPhone Back Into Recovery Mode
Keep the iPhone connected while using the model-specific sequence from Apple’s current guide.
iPhone 8 or later: Press and release Volume Up, press and release Volume Down, then hold the Side button past the Apple logo until the Connect to computer screen appears.
iPhone 7 or iPhone 7 Plus: Hold the Side or Top button and Volume Down until the Connect to computer screen appears.
iPhone 6s or earlier: Hold the Home button and the Side or Top button until the Connect to computer screen appears.
Don’t substitute a generic DFU timing sequence. Apple’s current consumer Recovery Mode article gives these model-specific steps and says a device that can’t update or restore may need service.
#5. Should You Choose Update or Restore?
When Finder, Apple Devices, or iTunes offers Update or Restore, choose Update first if available. Apple’s Recovery Mode article says Update attempts to reinstall the current compatible iOS version while keeping personal data.
Update is an attempt, not a no-data-loss guarantee. If it fails and the only remaining computer option is Restore, pause and confirm whether a usable backup exists. According to Apple’s computer restore guide, Restore erases the iPhone’s information and settings and installs the latest compatible iOS version. Read what Restore iPhone means before accepting that boundary.
#6. Handle a Download That Takes More Than 15 Minutes
According to Apple’s current Recovery Mode article, the iPhone can leave the Connect to computer screen when the software download takes more than 15 minutes. Let the download finish, then repeat the Recovery Mode sequence.
That 15-minute value is a screen-exit condition, not a promised repair duration. Download and installation time varies, so don’t cancel solely because an unsupported timetable has expired.
#7. Escalate Errors and Repeated Failures
If the computer reports a numbered error, use Apple’s error-specific guidance before restoring again. The error 4013 guide covers one common named error without treating every recovery failure as the same problem.
If the iPhone still can’t update or restore after current software, a working cable, another USB port, and the correct Recovery Mode sequence, contact Apple or an authorized service provider. Don’t pay for a third-party “no data loss” promise that has no verified source.
#8. Reduce Risk Before a Future Update
After the iPhone works again, create a current backup and review Settings > General > iPhone Storage before the next large update. Apple’s update troubleshooting article requires enough available storage, power, and internet access but doesn’t publish one universal battery percentage, storage amount, or waiting period that prevents Recovery Mode.
Don’t interrupt an actively moving progress bar. If an Apple-logo progress bar stops after a restore or migration, use Apple’s condition-specific guidance rather than a generic thirty-minute timer.
#Bottom Line
Try one force restart. If the recovery screen returns, connect to Finder, Apple Devices, or iTunes and choose Update first when offered. Restore erases the iPhone. If current Recovery Mode steps can’t update or restore it, move to Apple service instead of unsourced DFU timings or paid repair guarantees.
#Frequently Asked Questions
Does Recovery Mode itself erase an iPhone?
No. Entering Recovery Mode does not erase data. The computer action matters: Update attempts to reinstall iOS without erasing data, while Restore erases the iPhone.
How long can an iPhone stay on the recovery screen?
Apple doesn’t publish a damage deadline for remaining on that screen. Its documented 15-minute condition concerns the device leaving Recovery Mode while a software download continues.
Can I back up an iPhone while stuck in Recovery Mode?
Don’t assume a new backup is possible. A locked or non-booting iPhone might not be available to Finder, Apple Devices, iTunes, or iCloud for a fresh backup. Check for an existing backup before choosing Restore.
Should I use DFU Mode if Recovery Mode fails?
Apple’s current consumer Recovery Mode guide says a device that can’t update or restore may need service. It doesn’t prescribe one universal DFU button-timing sequence, so this guide doesn’t invent one.
What if the iPhone returns to the Apple logo after Update?
Compare the exact screen with the stuck-on-Apple-logo guide. A moving progress bar, a static logo, and a restart loop have different next steps.
Can recovery software guarantee that my data stays intact?
No verified source on this page supports that guarantee. Treat important data as at risk unless you have a usable backup, and use Apple’s Update-versus-Restore boundary when deciding.
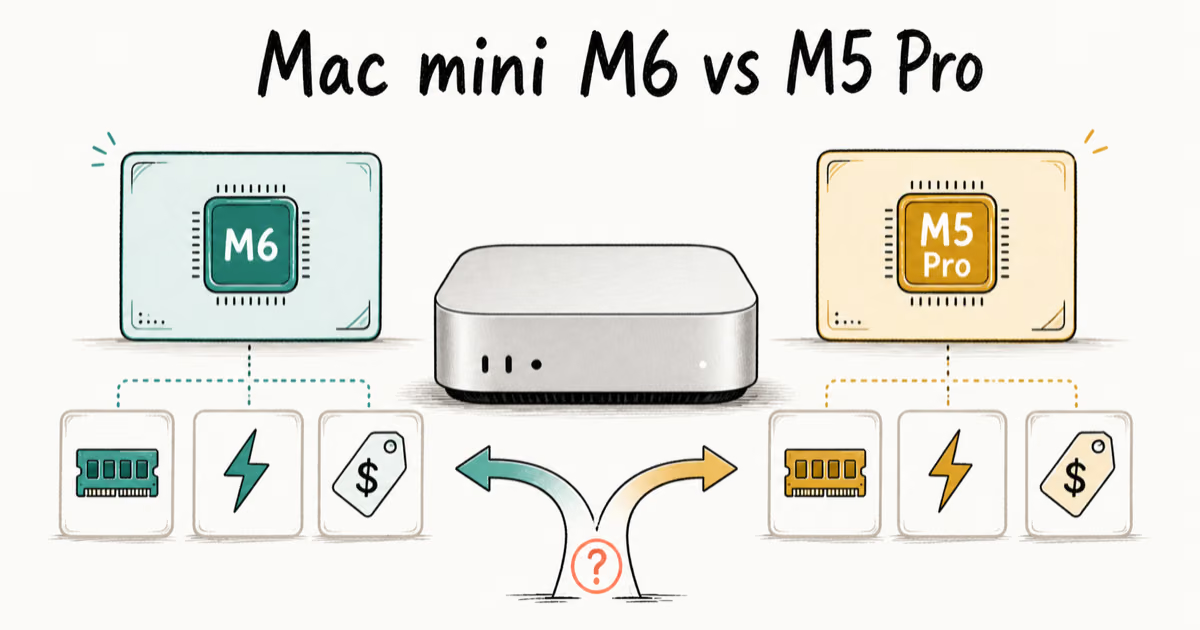
Mac mini M6 vs M5 Pro: Which Model Should You Buy?
Mac mini M6 vs M5 Pro compared on price, memory, ports, displays, and real workloads. Find the better 2026 Mac mini for your desk and budget.
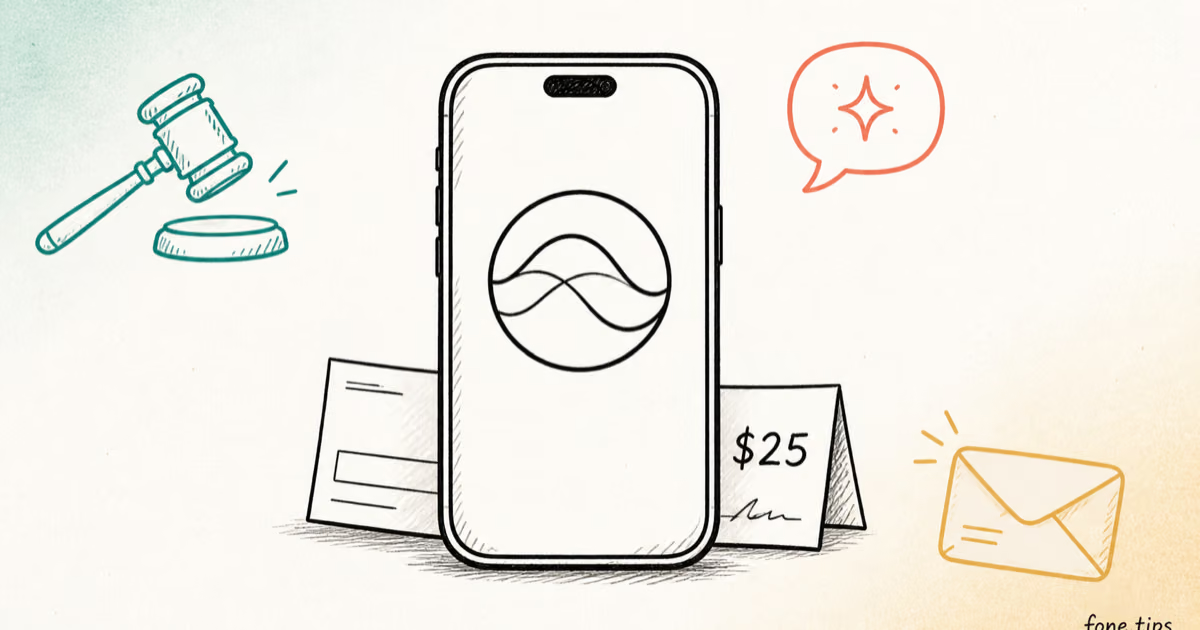
Apple Siri Settlement: Who Qualifies and How to Claim
Apple's $250 million Siri settlement covers iPhone 15 Pro and iPhone 16 models bought June 2024 to March 2025. See who qualifies and how claims work.
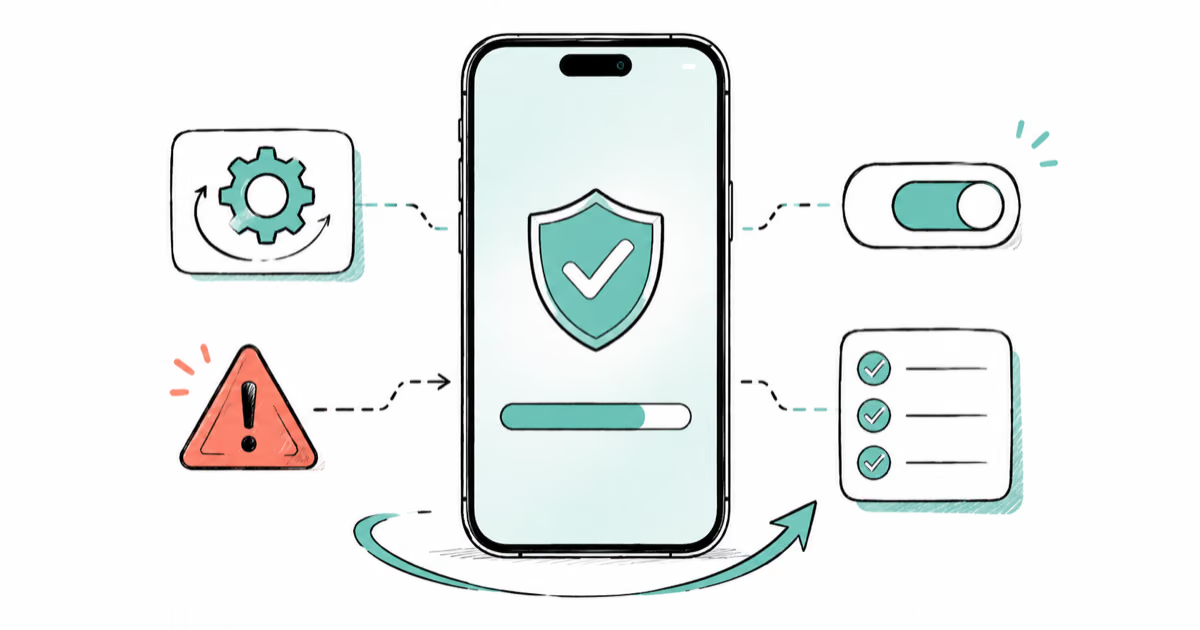
iOS 26.6.1 Security Update: What Apple Fixed and Who Gets It
Apple released iOS 26.6.1 on August 17 with 29 security fixes, including an IPSec interception bug. See what it patches, who gets it, and how to update.
iPhone Adaptive Power: How It Works and When to Use It
Learn how iPhone Adaptive Power works, which models support it, what it changes, and when Low Power Mode is still the better battery-saving choice.