Windows File Recovery – How to Use It On Your Windows 10 PC?
How to use Windows File Recovery on Windows 10 to recover deleted files. Covers Default, Segment, and Signature modes with step-by-step commands.
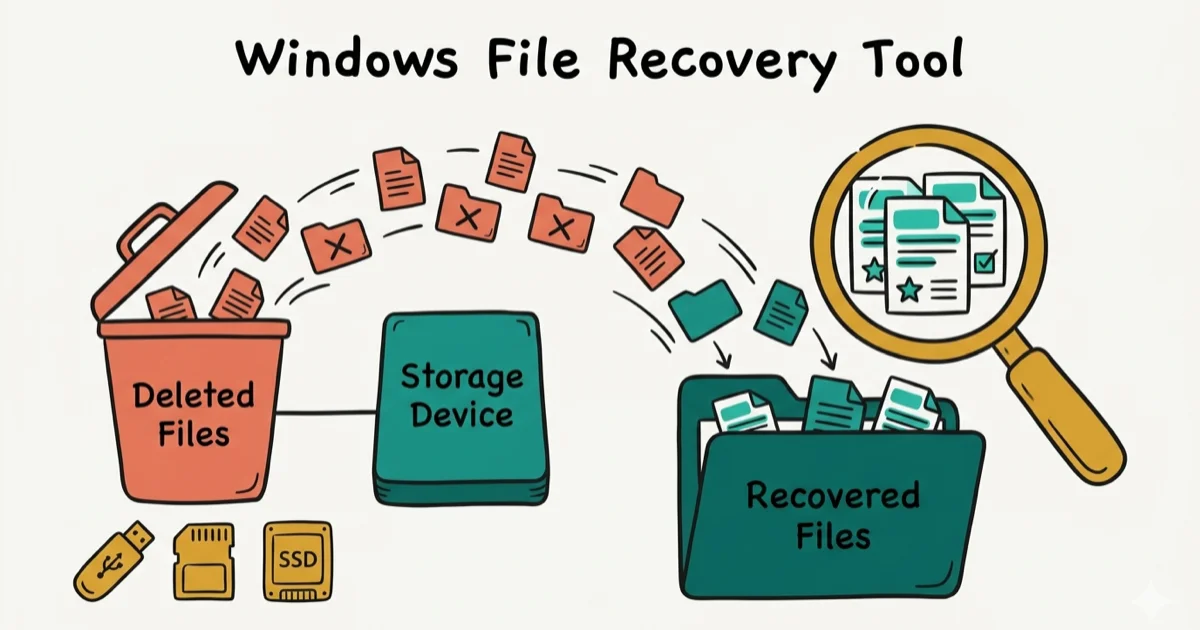
Quick AnswerWindows File Recovery is a free command-line tool from Microsoft that recovers deleted files from hard drives, SSDs, USB drives, and SD cards using Default, Segment, or Signature modes.
Windows File Recovery is an integrated tool in the Windows system. The purpose of this tool is to recover potentially deleted files from storage devices like hard disks, SD cards, and USBs.
- Windows File Recovery requires Windows 10 May 2020 Update or newer
- Three modes available: Default (quick NTFS), Segment (deep NTFS), and Signature (FAT/exFAT)
- SSD recovery is difficult because TRIM erases deleted data almost immediately
- Always save recovered files to a different drive than the source to avoid overwriting remaining data
- Creating regular backups is more reliable than any recovery tool since success rates vary
Although it’s provided with the Windows OS, many users are unaware of its usage. So, in this article, we explain all about Windows File Recovery and how to use it.
#Introduction to Windows File Recovery
In a nutshell, the Windows File Recovery tool in Windows doesn’t come with a graphical interface. You’ll find this tool only as a command-line utility.
Recovery rates with this tool vary widely between HDD and SSD configurations. It’s a more hands-on process than you might expect from an official Microsoft tool available in Windows 10’s App Store.
According to Microsoft’s official documentation, Windows File Recovery requires Windows 10’s May 2020 Update (version 2004) at the minimum. If you have a newer version of Windows 10, that would be good. What you should remember is that it doesn’t run on older versions of Windows.
The possibility of Windows File Recovery to find and recover a file you’ve already deleted depends on the drive. Technically, the deleted files aren’t actually flushed away from hard drives immediately.
However, if you’re using an SSD (Solid State Drive), the files are often flushed away immediately. PCWorld’s data recovery guide confirms that SSDs with TRIM enabled erase deleted blocks within seconds, making recovery nearly impossible. Have you saved plenty of data into the SD card, for instance, after deleting a file? If that’s the case, the chances are that your file is overwritten.
Assume that you were able to recover deleted files by any chance. If that is the case, you are most likely to recover only a limited number of files. Also, the files you recover can be corrupted.
You’ll get only the remaining data on the drive, and that’s a limitation. Recently deleted files on a mechanical hard drive are usually the most recoverable, while an SSD with TRIM enabled returns far fewer. Creating regular backups is still the most reliable strategy.
Windows File Recovery utility comes with several modes that are used for various situations and different file systems. In this article, we will explain how to use this tool and its different modes.
PS: here is the best free SD card recovery for your reference.
#Installing Windows File Recovery
To start the process, you should first install the Windows File Recovery tool. The Microsoft Store listing states that it’s a free Microsoft app, and installing from the Store is how you begin the data recovery process.
You should launch the store and search for the option “Windows File Recovery.” If not, you can simply click that link to open the store.
At the completion of the installation, you should open your Start menu and look for the option “File Recovery.” Then, you should launch the “Windows File Recovery” shortcut once and click on “Yes” to the UAC prompt.
As a result, you’ll see a separate prompt window asking for Administrator access. This is where you’ll start running the File Recovery commands.
If you’re recovering from an external drive, a hard drive docking station makes the process easier. You can also use other command-line environments like Windows Terminal and PowerShell.
However, you should be sure to launch them through Administrator access. When you open the Start menu, you should right-click the one you would like to use. Then, you should choose “Run as Administrator.”
Besides, let’s learn more about how to recover unsaved Excel files after your computer crash.
#How to Use Windows File Recovery and Recover Deleted Files
To make use of Windows File Recovery, you should run the command called Winfr. You should also specify the drive you would like to look for the deleted file. Also, you should define the destination to which you would like to save data.
Also, the switches control what the tool searches for and the way it searches. It’s essential to save the recovered file to a different drive.
Mentioned below is the basic format.
winfr source-drive: destination-drive: /switches
Once you have run the command, the respective tool will create a directory for that. The respective directory will be named “Recovery_[date and time]” on the destination drive you specify.
By the way, let’s explore the role and function of the conhost.exe process in Windows. Learn how to differentiate between its legitimate and potential malicious uses.
#What is the Mode You Should Try?
Before proceeding with the data recovery, you should determine a specific mode. This is the mode you’ll be using to scan for the potentially deleted files. There are three different modes: Default, Segment, and Signature.
Default mode scans the MFT table and typically completes fairly quickly. Segment mode is similar but slower and more thorough.
The Signature Mode is somewhat advanced, and it can look for files by type as well. For instance, it can support formats like ASF, JPEG, MP3, MPEG, PDF, PNG, and ZIP files.
It’s required for you to know with which file type the respective drive is formatted. To learn this, you should go to File Explorer and right-click the drive under This PC.
After that, you should choose “Properties.” Eventually, you’ll be able to see the file format displayed under the “General” tab.
Below is a list of options you should use in the different situations you would come across.
-
Are you looking for a file you have deleted latterly, and the drive is formatted with NTFS? Well, NTFS is the default file mode of Windows 10. If that is the case, you should use Default Mode.
-
Are you trying to scan an NTFS drive on which a file is deleted a short while ago? You have formatted the drive, or the drive is corrupted. In that case, what can you do? If that’s the case, you should try using the Segment mode first and then use the Signature mode afterward.
-
Do you want to find a file stored in a drive formatted in FAT, exFAT, or ReFS drive? If that situation applies to you, make sure that you try the Signature Mode. You should note that the Default and Segment modes work only with NTFS file systems.
If you are not sure about the type of situation you are facing, just go to Default Mode. Then, you should try Segment Mode and then Signature Mode. Those two modes should be tried only if the Default Modes don’t work for you.
#How Can You Recover a File Using the Default Mode?
To use the default mode of Windows File Recovery, you should use /n with a search path.
- To search for a file named XYZ.docx, you should use the command in the following way.
/n XYZ.docx.
In addition to that, you should specify the full path of the file. For instance, you should use /n \Users\Jack\Documents\XYZ.docx
Do you want to look for all the files in the Documents folder? And, is your username Jack? If so, the command will be /n \Users\Jack\Documents.
Do you want to search with a wildcard? If that’s the case, you can use a *. In this case, the example would be /n \Users\Jack\Documents*.docx. That will help you find all DOCX files located inside the Documents folder.
Let’s put everything together now. Say you want to find all DOCX files on drive C and copy them to drive D. Run this command:
winfr C: D: /n *.docx
Once prompted, you should hit the letter “Y,” and you’ll be able to continue.
Just like we’ve mentioned above, you can find the recovered files. Those files will be located in the directory named “Recovery_[date and time]” on the destination drive.
- Do you need to find all files with a word in their name? If so, you can use wildcards. So, to search for all documents with “PROPOSAL” anywhere in their name, you’d run:
winfr C: D: /n PROPOSAL
- You can also specify multiple searches with multiple /n switches if required. So, to find all the Word, Excel, and PowerPoint files (MS Office files), you should run the following.
winfr C: D: /n _.docx /n _.xlsx /n *.pptx
- Do you want to find a file called urgent.pdf, which was located in \Users\Bob\Documents folder on drive C? And assume that you want to copy it to drive D. In that case, follow the command below.
winfr C: D: /n \Users\Bob\Documents\urgent.pdf
#Recovering Files With Segment Mode
As you have read already, the Segment mode works almost exactly like the Default mode. To use this mode, use /r before /n.
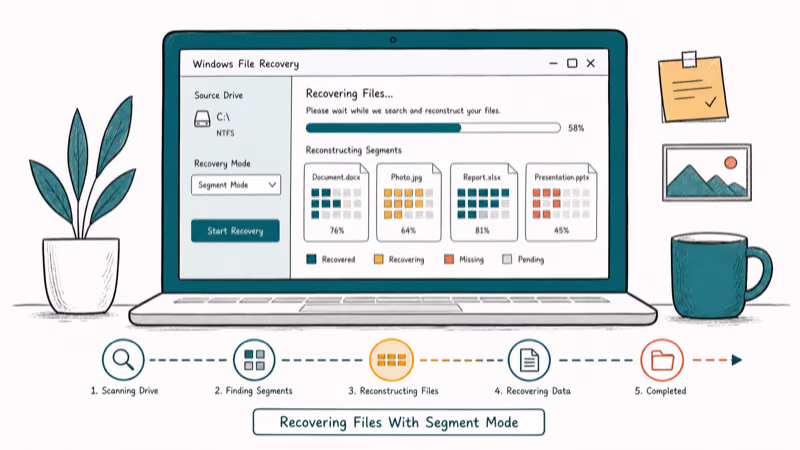
For instance, you can recover all MP3 files from a C drive using the below-mentioned command.
winfr C: D: /r /n *.MP3
Well, if the Default Mode doesn’t do the job, you should simply add the /r and search again. Keep in mind that files you’ve emptied from the Recycle Bin are the most common targets for recovery.
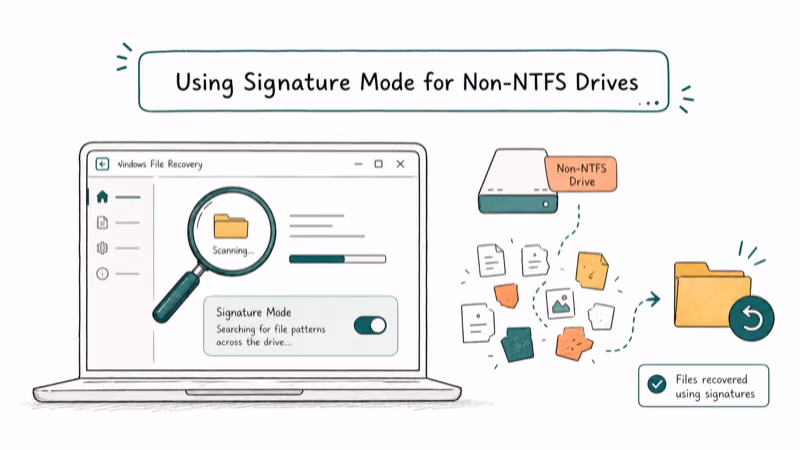
#Using Signature Mode for Non-NTFS Drives
This works in a slightly different manner. This method searches file types, so it can only find deleted files of certain file types. You should use /x to specify the Signature model and /y: to list the file type groups.
Mentioned below is a list of file types that are supported.
-
JPEG: jpg, jpeg, jpe, jif, jfif, jfi
-
PNG: png
-
PDF: pdf
-
ASF: wma, wmv, asf
-
ZIP: zip, docx, xlsx, pptx, odt, ods, odp, odg, odi, odf, odc, odm, ott, otg, otp, ots, otc, oti, otf, oth
-
MP3: mp3
-
MPEG: mpeg, mp4, mpg, m4a, m4v, m4b, m4r, mov, 3gp, qt
You can pull up this list at any time by running the command:
winfr /#
Do you want to search for drive E for documents in PDF format? And do you want to save them from driving D? If so, run the below command.
winfr E: D: /x /y
#Frequently Asked Questions
Can I recover files deleted from external storage devices?
Yes, Windows File Recovery works with external storage devices like USB drives and external hard drives. Just make sure they’re connected to your Windows 10 system before running the recovery command.
Can I recover files that were deleted a long time ago?
The chances of successful recovery decrease over time, especially if the drive has been heavily used. It’s best to try Windows File Recovery as soon as you realize files are missing.
Are there any file types that can’t be recovered?
Windows File Recovery supports documents, images, videos, and more. However, severely damaged or overwritten files may not be recoverable regardless of which mode you use.
Can I recover files from a formatted drive?
Yes, you can recover files from a formatted drive using Segment or Signature mode. Run the tool as soon as possible after formatting to maximize your chances.
Does Windows File Recovery work on SSDs?
It can technically run on SSDs, but recovery rates are much lower because TRIM erases deleted data blocks almost immediately. On traditional hard drives, your chances are significantly better.
Is there a file size limit for recovery?
There’s no specific file size limit. The tool can recover files of any size as long as the data hasn’t been overwritten on the source drive.
#Bottom Line
Windows File Recovery is a solid free option for recovering deleted files, especially from NTFS-formatted hard drives. Start with Default mode for recently deleted files, move to Segment if that doesn’t work, and use Signature mode for FAT/exFAT drives. Remember that SSD recovery success is limited by TRIM, so regular backups remain the best protection against data loss.

Bluetooth Not Working on Snapdragon X? Fixes for 2026
Bluetooth not working on your Snapdragon X Copilot+ PC? Generic audio, mice, and keyboards work, but vendor apps often lack an ARM build. Fixes inside.

Docker Desktop and WSL2 Not Working on Snapdragon X? Fix It
WSL2 runs fine on Snapdragon X, but Docker Desktop ARM is Early Access and throws WSL errors. Use WSL2 plus native ARM64 Ubuntu and Docker Engine.

Does iTunes Work on Snapdragon X? ARM Windows 11 Guide
Yes, iTunes runs on Snapdragon X laptops through Prism emulation, but the Apple Devices app is the smoother route. Here is what to install on ARM.

Does OBS Studio Work on Snapdragon X? ARM64 Build Guide
Yes, OBS Studio has an experimental ARM64 build since version 31.1, but x64 plugins won't load and hardware encoding is missing. Here is what works.